Info : Vous modifiez un tutoriel prérequis. Toutes les modifications apportées affecteront les 9 tutoriels qui comprennent cette étape.
Traduction de l’étape 2
Étape 2


-
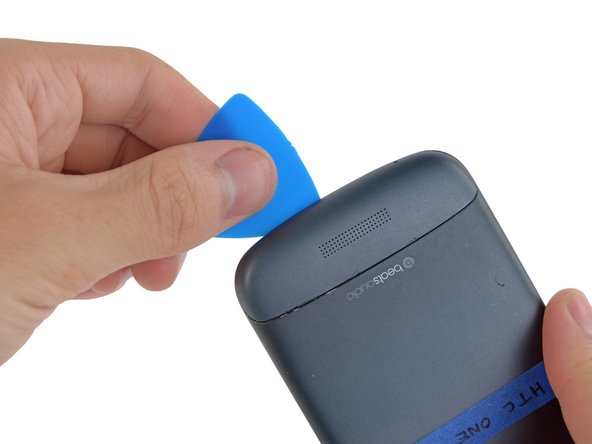
Gently place an opening pick in the corner of the gap between the bottom casing and rear case.
-
Slide the opening pick along the side of the casing, prying it away from the adhesive as you go.
Vos contributions sont faites dans le cadre de la licence open source Creative Commons.