Traduction de l’étape 9
Étape 9


-
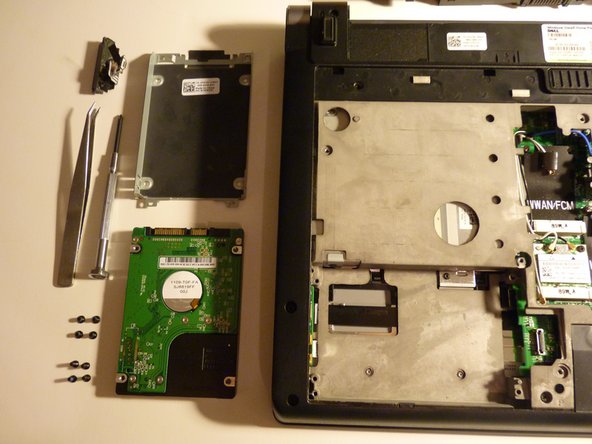
If you removed the drive using steps 1-7 then what you have should be left in picture 1
-
If you had trouble removing the drive, and you went through to step 8, then the parts remaining will be in picture 2
-
The drive should have a SATA interface, so you should be able to mount it into another computer using 2.5" to 3.5" converter brackets and a SATA cable
Vos contributions sont faites dans le cadre de la licence open source Creative Commons.