Traduction de l’étape 3
Étape 3


-
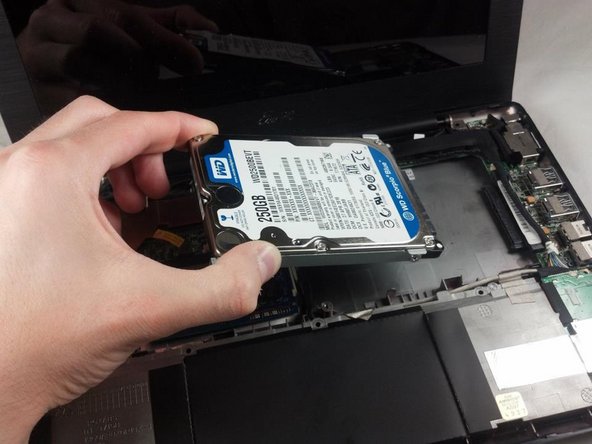
Lift the left side of the hard drive slightly. Gently pull the hard drive to the left in order to free it from the pin connection on the right side.
-
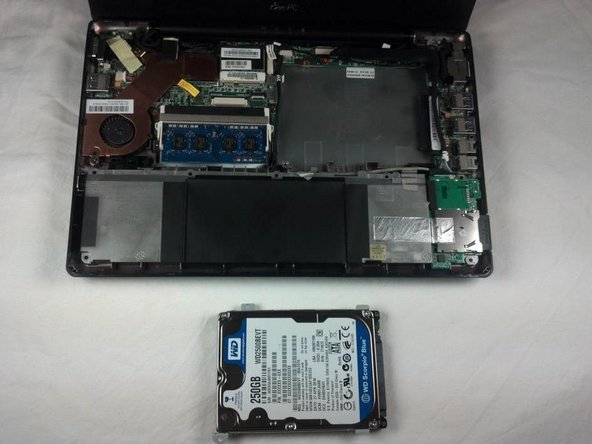
Continue pulling the hard drive out from the socket until it's free from the rest of the laptop.
| [* black] Lift the left side of the hard drive slightly. Gently pull the hard drive to the left in order to free it from the pin connection on the right side. | |
| - | [* black] Continue pulling the hard drive until it |
| + | [* black] Continue pulling the hard drive out from the socket until it's free from the rest of the laptop. |
| [* icon_caution] Removing the hard drive at too great or too small an angle can cause damage to both the hard drive and the connector to the motherboard. |
Vos contributions sont faites dans le cadre de la licence open source Creative Commons.