Aller au contenu principal

Reemplazo del joystick derecho del Nintendo Switch

Anglais
Espagnol

Traduction de l’étape 15

Étape 15
Right Joy-Con Joystick Replacement: étape 0, image 1 de 3 Right Joy-Con Joystick Replacement: étape 0, image 2 de 3 Right Joy-Con Joystick Replacement: étape 0, image 3 de 3
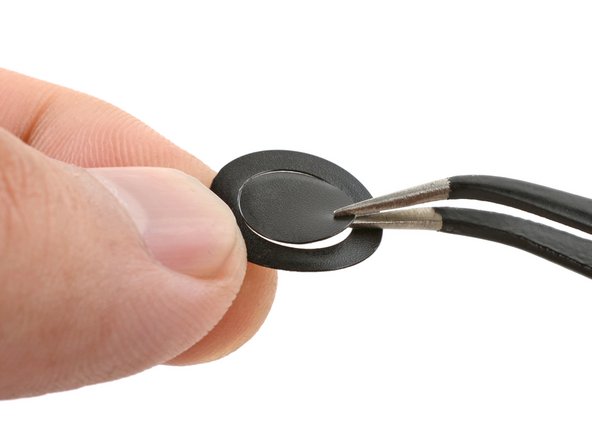
  • Peel the ring sticker from its liner.

  • If the sticker center is still attached, separate and remove it from the ring.

  • Set the ring sticker in the joystick recess and press it with your fingers for a few seconds to attach it.

Despega la pegatina del anillo de su revestimiento.

Si el centro de la pegatina sigue pegado, sepáralo y retíralo del anillo.

Coloca el adhesivo anular en el hueco del joystick y presiónalo con los dedos durante unos segundos para fijarlo.

Vos contributions sont faites dans le cadre de la licence open source Creative Commons.