Info : Vous modifiez un tutoriel prérequis. Toutes les modifications apportées affecteront les 2 tutoriels qui comprennent cette étape.
Traduction de l’étape 6
Étape 6

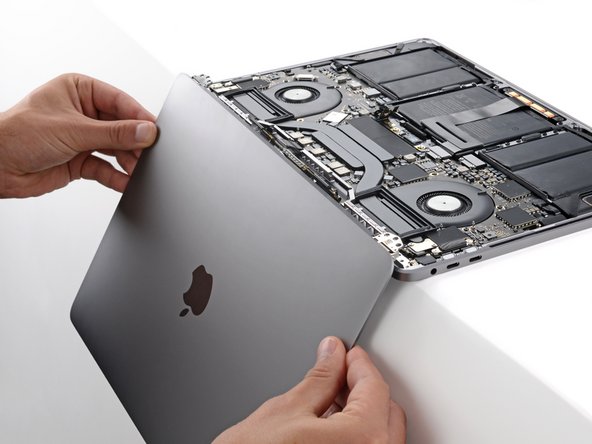
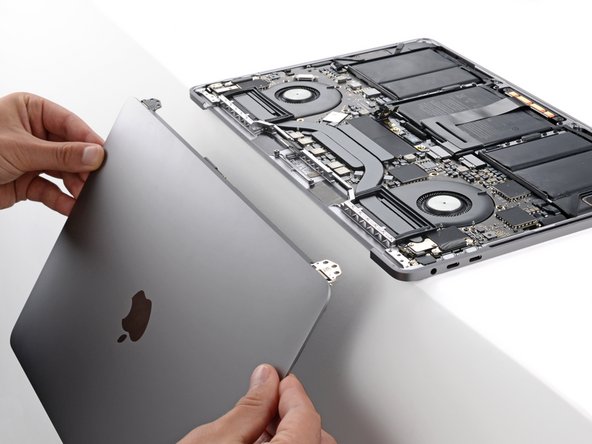


Remove the screen
-
Free the right hinge and remove the screen.
-
Make sure the screen hinges are fully open and guide them into their recesses in the frame.
-
Partially tighten the six hinge screws.
-
Close your laptop and make sure the screen is properly aligned. If it clicks or snaps, readjust the alignment.
-
Fully tighten the hinge screws.
Vos contributions sont faites dans le cadre de la licence open source Creative Commons.