Aller au contenu principal

Remplacement de la batterie du MacBook Pro 13" Touch Bar fin 2016

Info : Vous modifiez un tutoriel prérequis. Toutes les modifications apportées affecteront le tutoriel qui comprend ces étapes.

Anglais
Français

Traduction de l’étape 4

Étape 4
MacBook Pro 13" Touch Bar Late 2016 Battery Replacement: étape 0, image 1 de 3 MacBook Pro 13" Touch Bar Late 2016 Battery Replacement: étape 0, image 2 de 3 MacBook Pro 13" Touch Bar Late 2016 Battery Replacement: étape 0, image 3 de 3
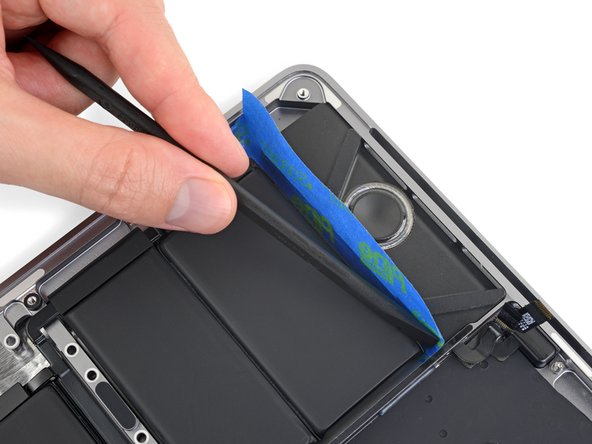
  • Press all along the edge of the tape with your spudger to stick it securely to the MacBook Pro's aluminum case, sealing off the speaker from the battery.

  • Be careful not to poke or puncture the battery.

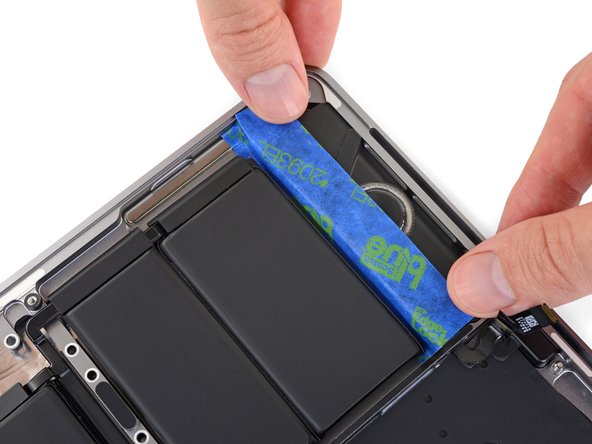
  • Fold the tape over and lightly adhere it to the speaker to keep it out of the way.

  • The foam bumpers on top of the speaker may tear when peeling the tape off. Don't press the tape directly onto the bumpers.

Appuyez le long du côté court gauche du morceau de ruban avec votre spatule pour qu'il adhère bien au boîtier en aluminium du MacBook Pro et que le haut-parleur soit isolé de la batterie.

Faites attention à ni heurter ni percer la batterie.

Repliez le ruban adhésif et faites-le légèrement adhérer au haut-parleur pour qu'il ne vous dérange pas.

Les amortisseurs en mousse au dessus du haut-parleur risquent de se déchirer quand vous décollerez le ruban adhésif. Évitez donc les amortisseurs.

Vos contributions sont faites dans le cadre de la licence open source Creative Commons.