Info : Vous modifiez un tutoriel prérequis. Toutes les modifications apportées affecteront les 2 tutoriels qui comprennent cette étape.
Traduction de l’étape 20
Étape 20

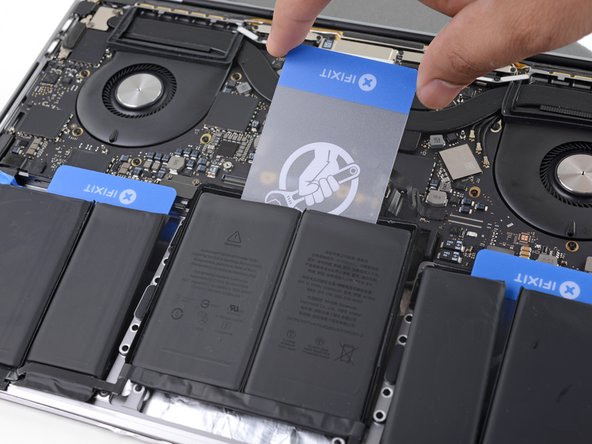


Separate the middle cells
-
Slide the corner of one of your plastic cards underneath the top edge of one of the cells and then work it underneath the other cell.
-
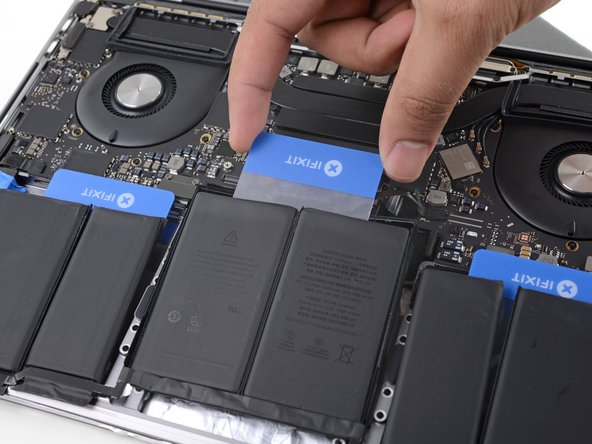
Wiggle the card from side to side and slide it underneath the battery cells to fully separate the adhesive holding them in place.
Vos contributions sont faites dans le cadre de la licence open source Creative Commons.