Traduction de l’étape 10
Étape 10


Unscrew the right circuit board
-
Remove the four screws securing the right circuit board.
-
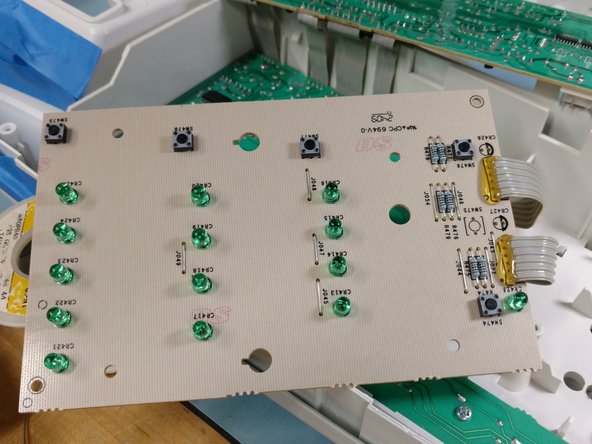
You can gently lift and flip the board to the left (as shown in the second picture). You can see the five switches on the front of the board.
-
It may be helpful to use a pen and draw a circle around each switch on the back (green side) of the board. This may save time when de-soldering the switches. Note: If any of your switches tested bad I'd change them all. At 20 cents each it's not worth opening the washing machine again later.
-
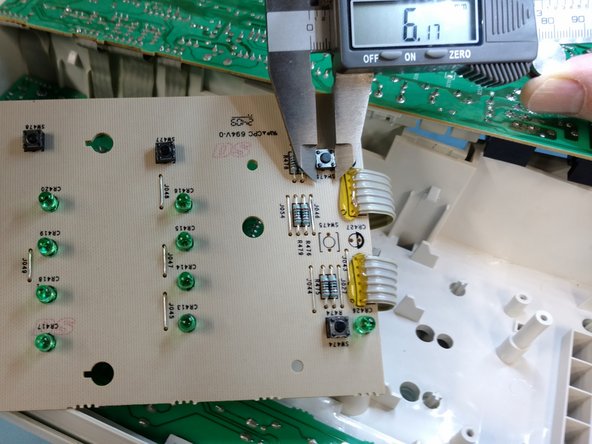
If you haven't measured the switches yet now is a good time. The third picture shows how I used a digital caliper to measure the switch so I knew what to order.
Vos contributions sont faites dans le cadre de la licence open source Creative Commons.