Aller au contenu principal

Sostituzione guida di carica Joy-Con sinistro

Anglais
Italien

Traduction de l’étape 11

Étape 11
Left Joy-Con Charging Rail Replacement: étape 0, image 1 de 2 Left Joy-Con Charging Rail Replacement: étape 0, image 2 de 2
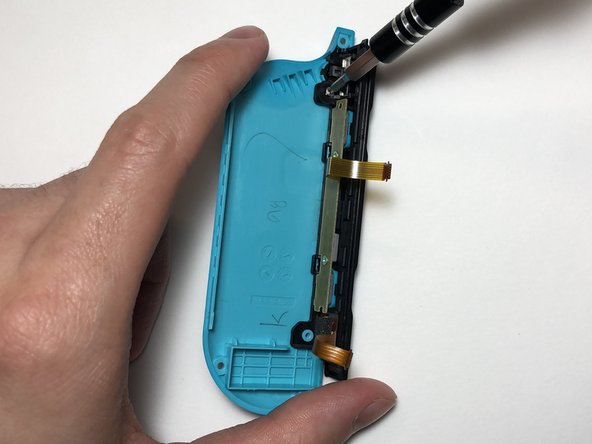
  • Align the charging rail with the two standoffs on the back shell.

  • Secure the rail onto the back shell using the 2 mm Phillips #000 screws.

Allinea la guida di carica con i due distanziali sulla copertura posteriore.

Fissa la guida alla copertura posteriore usando le due viti a croce Phillips#000 da 2 mm.

Vos contributions sont faites dans le cadre de la licence open source Creative Commons.