Traduction de l’étape 4
Étape 4

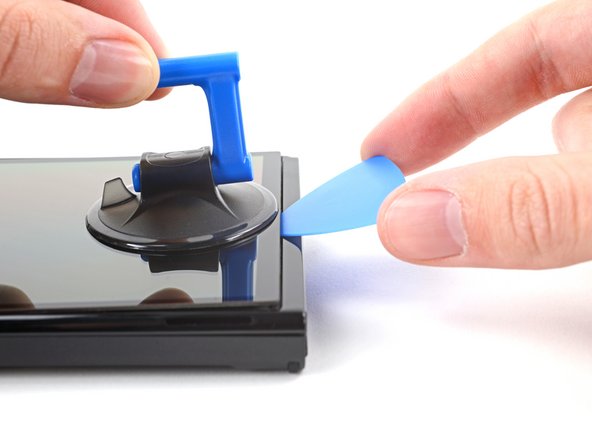


Insert an opening pick
-
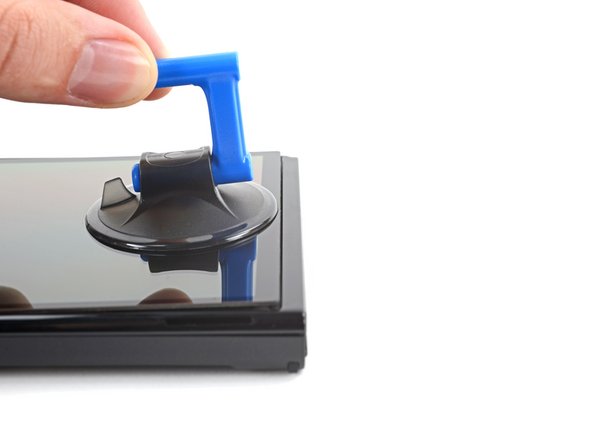
Once the screen is warm to touch, apply a suction handle to the bottom edge of the screen and as close to the edge as possible.
-
Lift the screen with the suction handle to create a small gap between the screen and the frame.
-
Insert an opening pick into the gap between the frame and the screen.
Vos contributions sont faites dans le cadre de la licence open source Creative Commons.