Traduction de l’étape 6
Étape 6


Put a new drive in the bracket
-
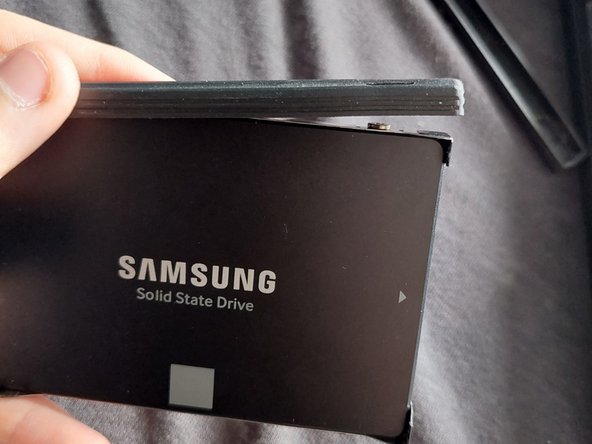
Get your new drive, and just put it in. Make sure the SATA ports face the end of the bracket that does not have the pull tab, and that the L-shaped connectors have their short side pointing down towards the metal plate.
-
Screw the four screws back in, and put the protective rubber back on the sides of the bracket.
-
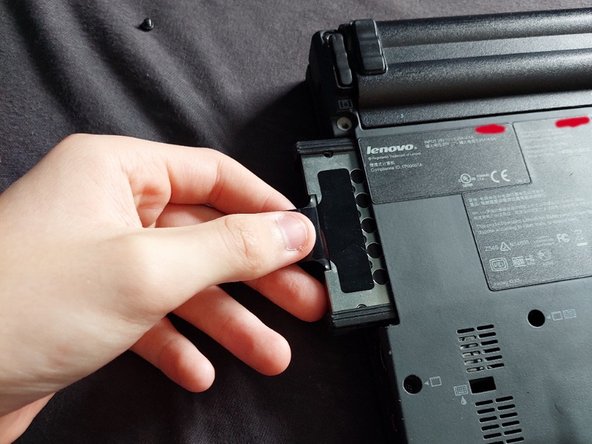
Flip the drive upside down, with the gold contacts facing towards you and gently put it back in the drive slot.
Vos contributions sont faites dans le cadre de la licence open source Creative Commons.