Aller au contenu principal

Creative MUVO 2 Battery Replacement

Anglais
Français

Traduction de l’étape 7

Étape 7
Creative MUVO 2 Battery Replacement, prepare and install new battery: étape 0, image 1 de 3 Creative MUVO 2 Battery Replacement, prepare and install new battery: étape 0, image 2 de 3 Creative MUVO 2 Battery Replacement, prepare and install new battery: étape 0, image 3 de 3
prepare and install new battery
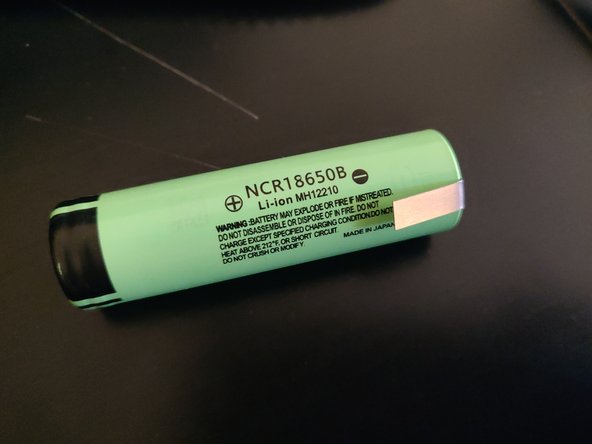
  • Get a new 18650 battery. I bought an expensive one from Panasonic. Be sure to spend some money in order to get a genuine one, and make sure to buy one that contains extra protection circuitry and solder tabs!

  • Sorry for the lack of pictures: Basically you have to improvise a bit. solder the cable with the plug somehow to the battery's solder tabs. Be sure to have the correct polarity! Also use plenty of sticky tape to protect everything from causing short circuits!

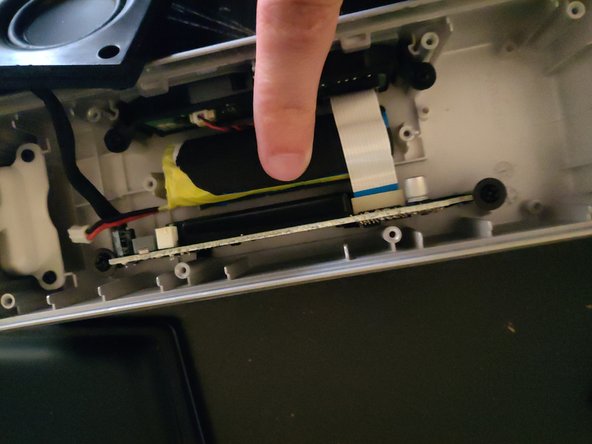
  • Finally, take the blue cushion-wrapping and somehow try to wrap it around the battery. Then try to attach the battery to the case using the black plastic brace and the two screws.

  • Carefully plug the battery-plug into the main circuit board and check that nothing starts to heat up or even cause smoke. In which case you have probably messed up.

  • Connect the speakers and switch the device on. If everything works, put everything back together.

  • Please note that your device is probably not IP66 anymore, but in my case the battery again lasts for many hours.

Insérez ici votre traduction

Insérez ici votre traduction

Insérez ici votre traduction

Insérez ici votre traduction

Insérez ici votre traduction

Insérez ici votre traduction

Vos contributions sont faites dans le cadre de la licence open source Creative Commons.