Traduction de l’étape 3
Étape 3

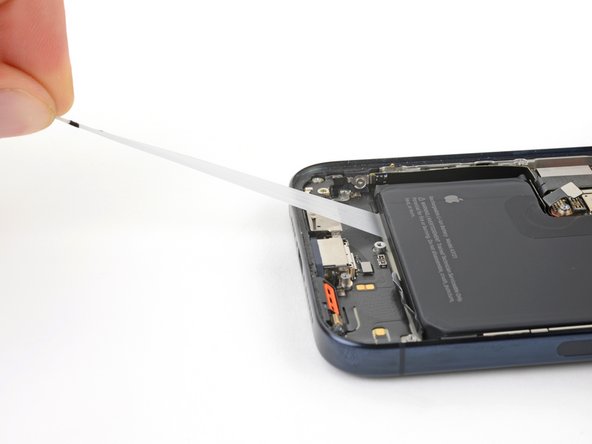


Remove the stretch release adhesive
-
Pull one of the pull tabs out from under the battery until you can grip it with your fingers or wrap it around your tool.
-
Hold the phone steady using the edges of the frame—don't press down on the battery.
-
Pull the strip slowly, evenly, and at a low angle without dragging on other components.
-
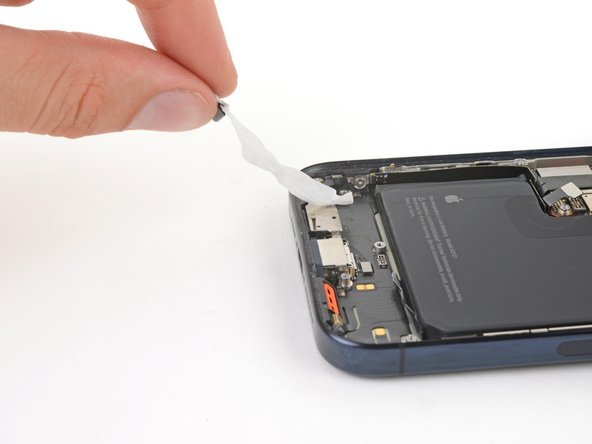
Continue pulling, re-gripping or wrapping it around your tool as you go, until the strip fully releases from under the battery.
-
Repeat this step for the other two strips.
Vos contributions sont faites dans le cadre de la licence open source Creative Commons.