Traduction de l’étape 5
Étape 5

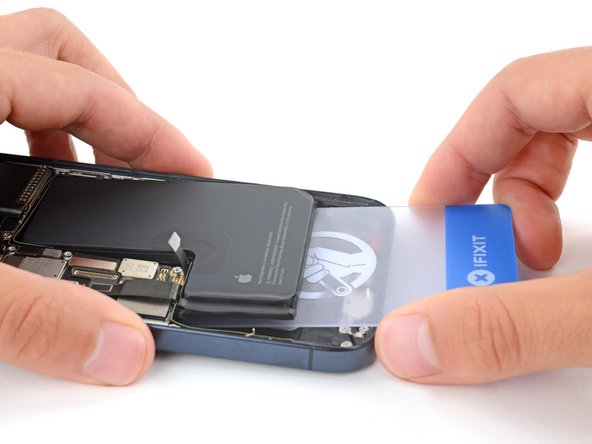


Pry up the battery
-
Insert the short edge of a plastic card between the bottom edge of the battery and the frame.
-
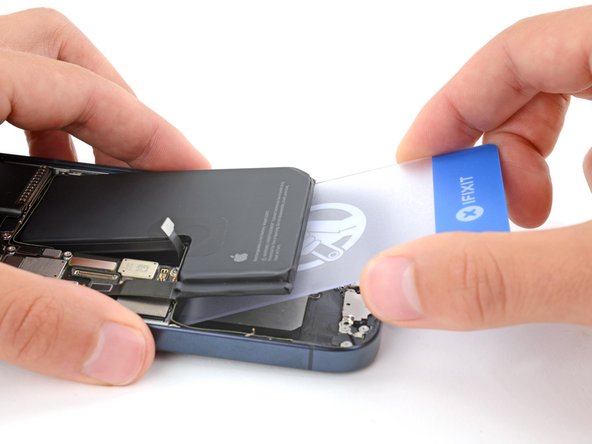
Gently pry up the battery until the adhesive fully separates.
Vos contributions sont faites dans le cadre de la licence open source Creative Commons.