Aller au contenu principal

Roccat Vulcan II Mini Air Backplate Replacement

Info : Vous modifiez actuellement une condition préalable du tutoriel que vous venez de consulter. Toutes les modifications affecteront les 2 tutoriels qui comprennent cette étape.

Anglais
Français

Traduction de l’étape 1
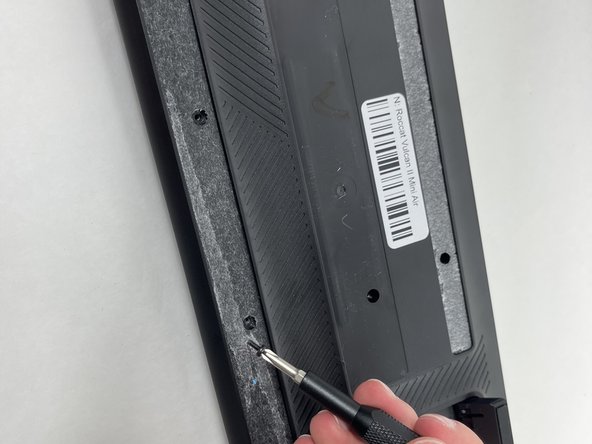
Étape 1
Roccat Vulcan II Mini Air Backplate Replacement: étape 0, image 1 de 3 Roccat Vulcan II Mini Air Backplate Replacement: étape 0, image 2 de 3 Roccat Vulcan II Mini Air Backplate Replacement: étape 0, image 3 de 3
  • Flip your keyboard over so the bottom is facing up.

  • Before you begin, gently peel the sticker in the center and rubber strip that runs along the bottom and top to expose all the screws.

  • Be sure to save the rubber screw covers for reinstallation when you're finished.

  • Use a Phillips #0 screwdriver to remove all of the screws from the back plate.

  • Keep the screws for the replacement.

Insérez ici votre traduction

Insérez ici votre traduction

Insérez ici votre traduction

Insérez ici votre traduction

Insérez ici votre traduction

Vos contributions sont faites dans le cadre de la licence open source Creative Commons.