Aller au contenu principal

Remplacement du panneau frontal de l'iPhone 3G

Info : Vous modifiez un tutoriel prérequis. Toutes les modifications apportées affecteront le tutoriel qui comprend ces étapes.

Anglais
Français

Traduction de l’étape 7
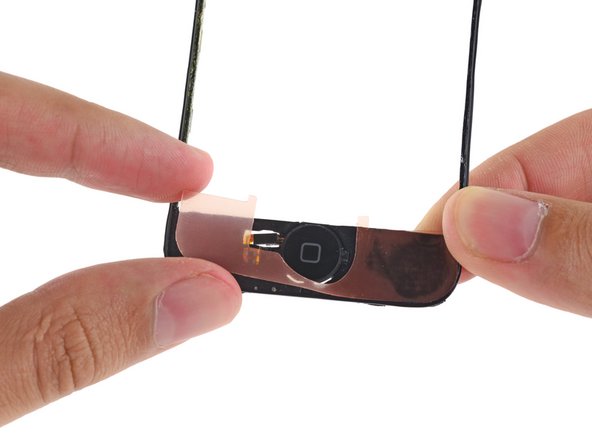
Étape 7
iPhone 3G Front Panel Replacement: étape 0, image 1 de 3 iPhone 3G Front Panel Replacement: étape 0, image 2 de 3 iPhone 3G Front Panel Replacement: étape 0, image 3 de 3
  • Place the second adhesive strip or double stick tape on the home button end of the front panel frame.

  • Run the flat end of a spudger over the strip to stick it down and push bubbles out from under the sticker.

Placez la deuxième bande adhésive ou du scotch double face sur la partie du bouton home du châssis du panneau frontal.

Avec la partie plate d'une spatule (spudger), aplatissez bien la bande et faites-en sortir les bulles d'air.

Vos contributions sont faites dans le cadre de la licence open source Creative Commons.