Info : Vous modifiez un tutoriel prérequis. Toutes les modifications apportées affecteront le tutoriel qui comprend ces étapes.
Traduction de l’étape 8
Étape 8


-
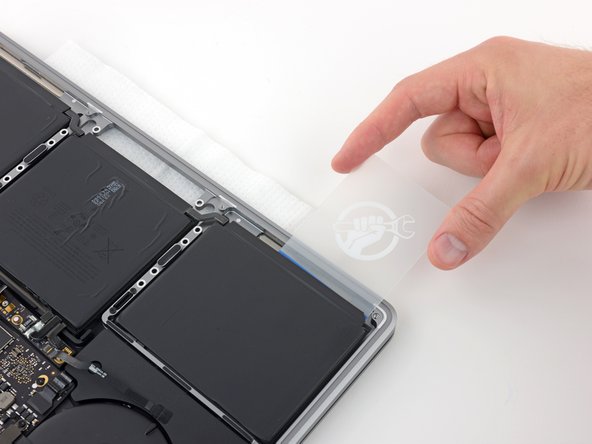
After 2-3 minutes have passed, slide a plastic card under the edge of the battery cell where you applied the adhesive remover.
| - | [* black] After 2-3 minutes have passed, slide a plastic card under the edge of the battery cell where you applied the adhesive remover. |
|---|---|
| + | [* black] After 2-3 minutes have passed, slide a [product|IF145-101|plastic card] under the edge of the battery cell where you applied the adhesive remover. |
| [* icon_note] It may help to gently twist the card to open up a slight gap between the battery cell and the MacBook Pro's case. | |
| + | [* icon_caution] An excess of adhesive remover may damage your plastic card. |
Vos contributions sont faites dans le cadre de la licence open source Creative Commons.