Aller au contenu principal

Ce dont vous avez besoin

Cette vue éclatée n'est pas un tutoriel de réparation. Pour réparer votre PlayStation, utilisez notre manuel de réparation.

  1. (TC) PlayStation Teardown, (TC) PlayStation Teardown: étape 1, image 1 de 1
    • Flip the unit upside down to access the six screws on the bottom.

    • Remove the six screws indicated with a Phillips-head screwdriver. All the screws are of the same length.

  2. (TC) PlayStation Teardown: étape 2, image 1 de 1
    • Turn the unit back over, and pull the top half up and away from the device.

  3. (TC) PlayStation Teardown: étape 3, image 1 de 1
    • Unplug the laser assembly's power cable and ribbon cable from the main board.

    • Remove the two screws on the memory card/controller port, disconnect the ribbon cable, and lift it out of the case.

  4. (TC) PlayStation Teardown: étape 4, image 1 de 2 (TC) PlayStation Teardown: étape 4, image 2 de 2
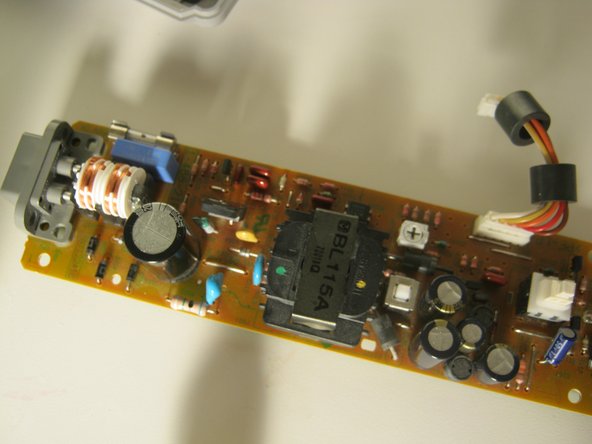
    • To remove the power supply, disconnect the cable and remove the two screws, then lift it out of the case.

  5. (TC) PlayStation Teardown: étape 5, image 1 de 2 (TC) PlayStation Teardown: étape 5, image 2 de 2
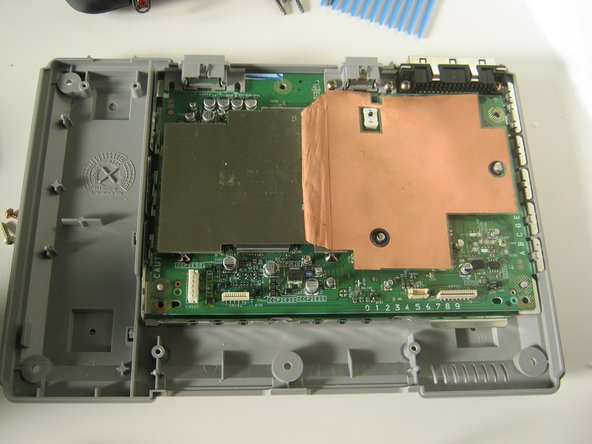
    • Remove the 3 screws from the shield.

  6. (TC) PlayStation Teardown: étape 6, image 1 de 2 (TC) PlayStation Teardown: étape 6, image 2 de 2
    • Remove the 5 Phillips screws.

    • You can now lift the main board out of the case.

  7. (TC) PlayStation Teardown: étape 7, image 1 de 2 (TC) PlayStation Teardown: étape 7, image 2 de 2
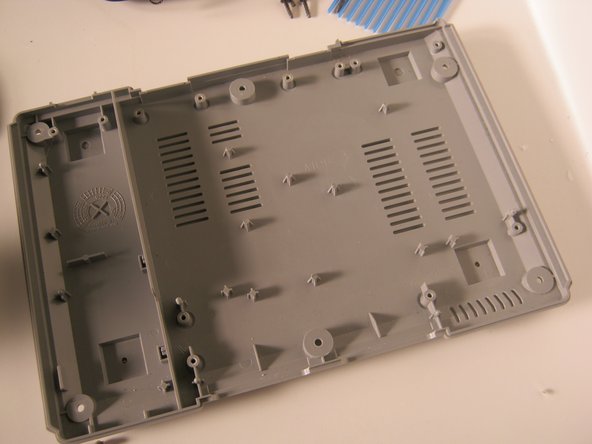
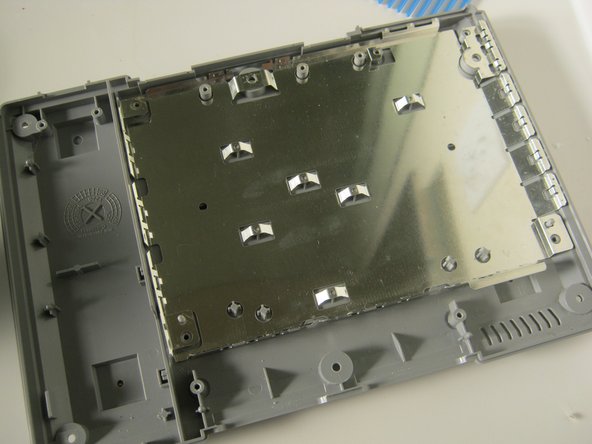
    • Lift the RF shield out of the case.

  8. (TC) PlayStation Teardown: étape 8, image 1 de 2 (TC) PlayStation Teardown: étape 8, image 2 de 2
    • Reinstall the RF shield by dropping it in and lining up the slots and tabs.

  9. (TC) PlayStation Teardown: étape 9, image 1 de 2 (TC) PlayStation Teardown: étape 9, image 2 de 2
    • Replace the main board. Only install the screws indicated in red.

  10. (TC) PlayStation Teardown: étape 10, image 1 de 1
    • Replace the top shield, and secure with the 3 screws indicated.

    • Reinstall the memory card / controller module. Connect the ribbon cable and replace the 2 screws.

  11. (TC) PlayStation Teardown: étape 11, image 1 de 1
    • Align the optical drive assembly with the three pegs.

    • Reconnect the power and data cables for the optical drive.

  12. (TC) PlayStation Teardown: étape 12, image 1 de 1
    • Slide the cover on the system in the same way you took it off and replace the black screws indicated.

  13. (TC) PlayStation Teardown: étape 13, image 1 de 1
    • Plug in the console and turn it on.

    • Thanks for looking at my teardown!

Nick

Membre depuis le 11/10/09

89 943 Réputation

52 tutoriels rédigés

Équipe

Master Techs Membre de l'équipe Master Techs

Community

321 membres

1 525 tutoriels rédigés

0 commentaires

Ajouter un commentaire

Nombre de vues :

Dernières 24 heures : 1

7 derniers jours : 24

30 derniers jours : 83

Total : 43,172