Introduction
This teardown guide shows step-by-step how to take apart your PSP 3000
Ce dont vous avez besoin
-
-
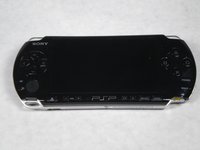
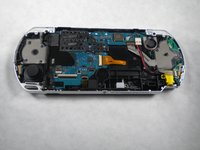
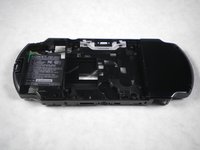
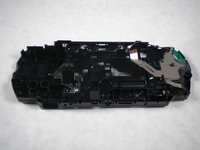
The first picture is a view of the front of the PSP-3000. The second picture is of the back.
-
-
-
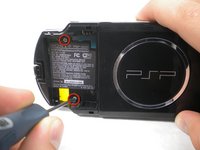
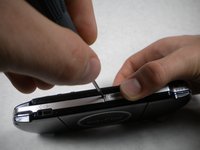
Using a spudger or fingernail (spudger set available at iFixit) http://www.ifixit.com/Tools/Metal-Spudge... peel back the warranty sticker that was behind the battery.
-
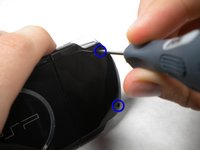
Using a Phillips #0 screwdriver (screwdriver available at iFixit Tools), Unscrew all four screws from the back of the PSP.
-
Two from behind the battery.
-
And two on the right side of the PSP.
-
-
-
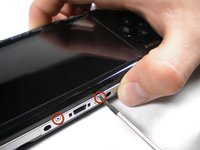
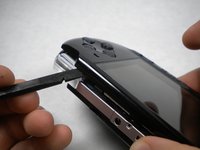
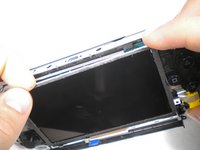
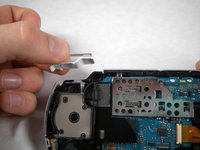
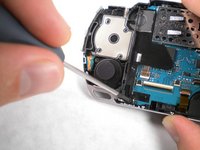
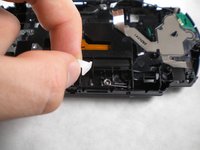
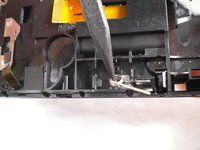
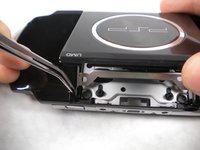
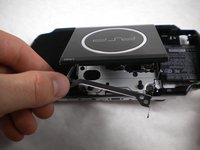
Push the homebar to the right to release the tab on the right side of the LCD screen.
-
Slowly begin to lift the LCD screen off the PSP from the top edge.
on my PSP 3003, the homebar assembly is also screwed in on the left, with the silver painted part of the outside frame blocking it. Removing the screw first, carefully moving the blocking plastic out of the way(it is flimsy), and pushing the homebar to the left will remove the homebar from its place. ⏎⏎
⏎⏎
TronicsFix ('A Repair Shop "Broke" This Rare PSP - Extended Version') encountered this. In 29:42, he notices that the left of the homebar is on top of the silver painted plastic, which he quickly fixed and screwed in. -
-
-
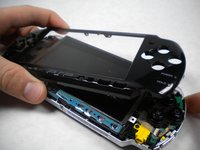
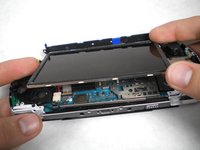
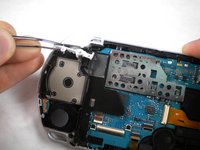
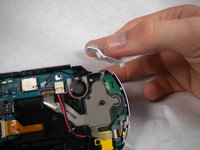
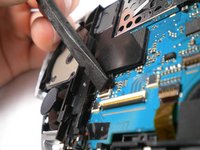
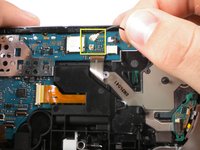
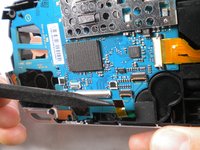
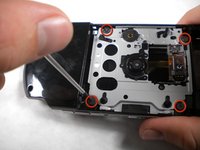
Using a spudger or fingernail, flip the small brown locks on the four ribbon cable connectors up.
-
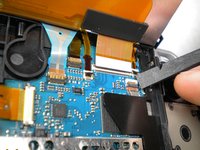
WARNING! Be carefull removing the small ribbion from the LCD connector, it is very delicate. Using a spudger lift the black plastic up, NOT the white part on the connector!
-
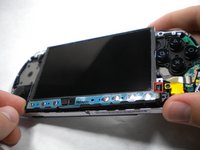
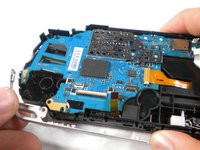
Pull all four ribbon cables out, and remove the LCD screen and homebar from the PSP.
-
-
-
-
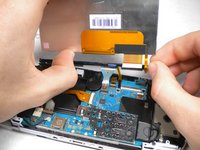
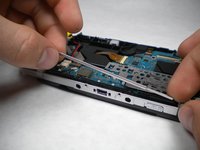
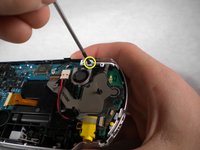
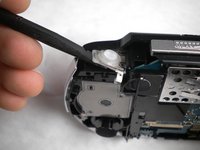
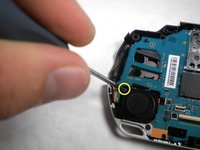
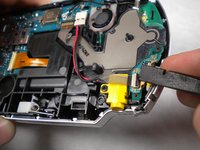
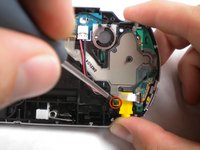
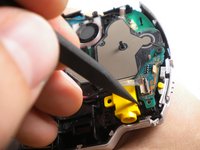
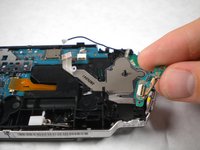
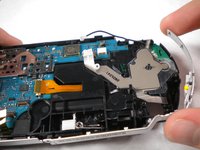
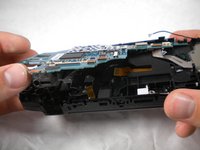
Pull the plug connecting the power jack to the motherboard.
-
Remove the power jack.
-
-
-
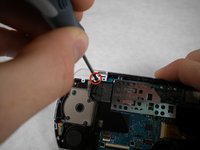
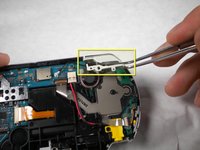
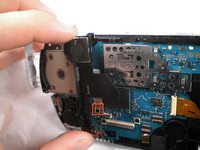
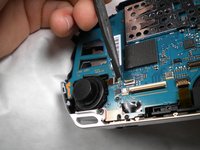
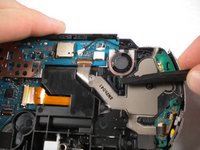
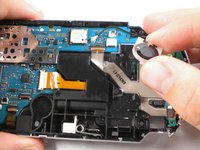
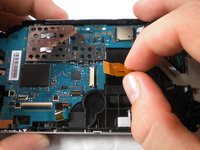
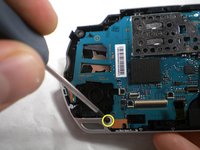
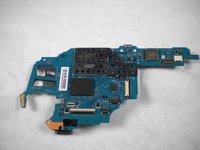
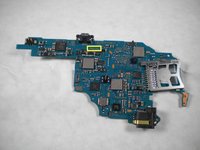
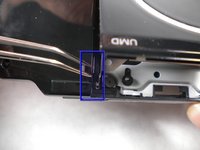
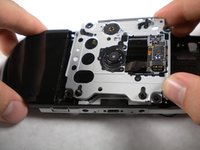
Unlock and remove one last ribbon cable from the bottom edge of the PSP.
-
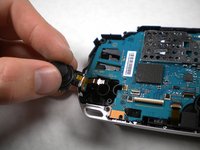
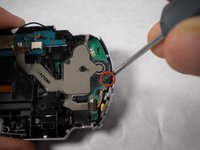
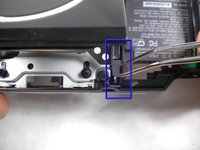
Remove the screw from the bottom left corner of the PSP.
you need to caerfully unplug the big orrange ribbon cable. push the little black parts from the white part appart and caerfully unplug the cable
-


9 commentaires
Does a PSP have any bearings inside of it?
No ball bearings. Thumbsticks are probably just Lubed plastics rubbing against eachother
mahonen -
This has inspired me to build my own PSP. I had one as a child, and want one now for the nostalgia. Thanks!
I was putting a new screen on a psp3001
and the ribbon flex connector broke and now there’s nothing to hold the small ribbon in place
how do I fix this
Trying to figure out the size screw to fit the holes on either side of the USB port. Anyone know? I believe the tv tuner addon used it to mount to the psp, but I plan to use it to mount something externally for a battery mod.
Thanks for making this guide! It will serve me well on my quest to refurbish my PSP 3001. Not only do I want to clean the grime from all the years I have used it, but I also need to clean the electronics inside it, as they have suffered liquid damage close to the UMD drive. Thanks so much again!
-RG