Aller au contenu principal
Tutoriel Archivé
Ce tutoriel est conservé uniquement à des fins de suivis historiques. Utilisez la version actuelle du tutoriel pour effectuer votre réparation.

Ce dont vous avez besoin

Cette vue éclatée n'est pas un tutoriel de réparation. Pour réparer votre iPod Touch 5th Generation, utilisez notre manuel de réparation.

  1. iPod Touch 5th Generation Teardown, iPod Touch 5th Generation Teardown: étape 1, image 1 de 1
    • Have an I pod dosen't matter what color it is

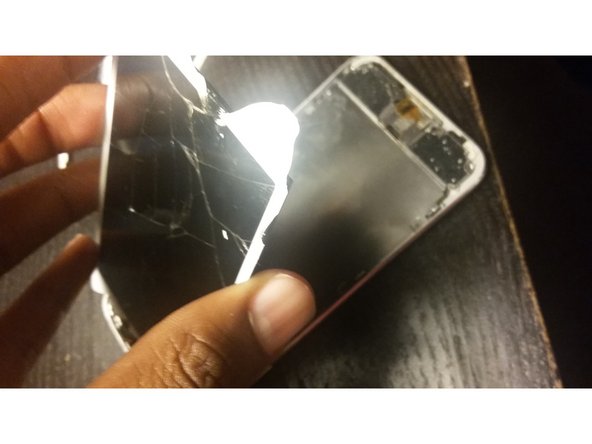
    • You would also need something sharp for the screen or a blow dryer to remove it

  2. iPod Touch 5th Generation Teardown, The opening of the phone: étape 2, image 1 de 1
    • Before removing the screen you need to appply heat to the I pod so that the pod can be easy to lift up.

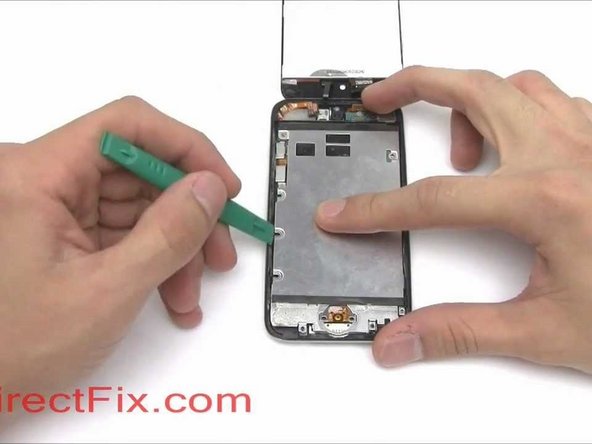
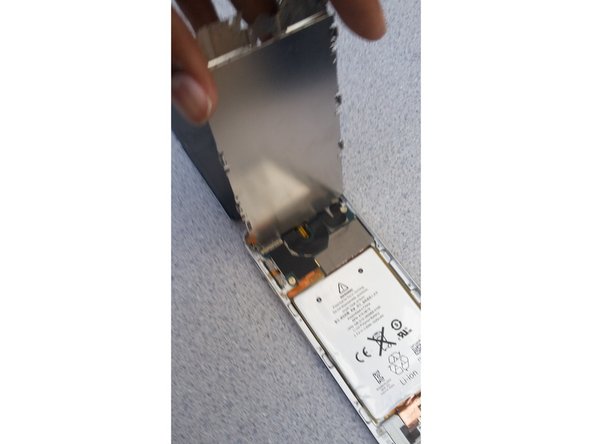
    • Be sure to use a spudgre so you can lift the phone up

  3. iPod Touch 5th Generation Teardown: étape 3, image 1 de 1
    • After taking of the screen use 3.5 millimeter size screw driver to take off the digitizer.

    • Do not add pressure when screwing off.

  4. iPod Touch 5th Generation Teardown: étape 4, image 1 de 1
    • After a short while remove the digitizer slowly off so that you can only see the battery.

    • Please do not press on the battery,cause the battery is lithium

  5. iPod Touch 5th Generation Teardown, Final step: étape 5, image 1 de 1
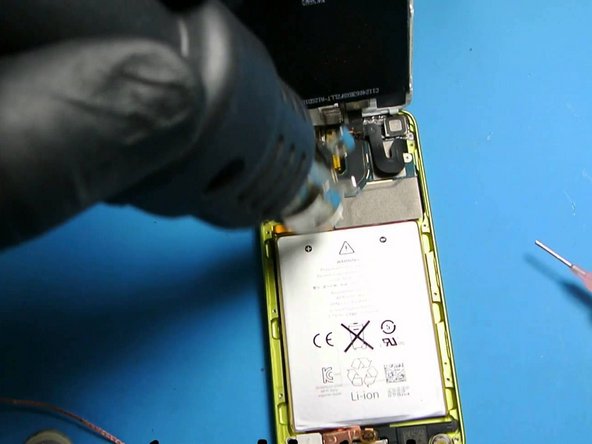
    • When replacing the battery use the spudger so to pull the battery up

    • And after using the spudger use a blow dryer and turn it on low so that that battery can lift up

Cartel Taylor

Membre depuis le 11/08/16

247 Réputation

1 tutoriel rédigé

0 commentaires

Ajouter un commentaire

Nombre de vues :

Dernières 24 heures : 2

7 derniers jours : 3

30 derniers jours : 3

Total : 1,144