Aller au contenu principal
Pour réparer ensemble - Je crée un compte

Microsoft Surface Pro X Kickstand Replacement

Ce dont vous avez besoin

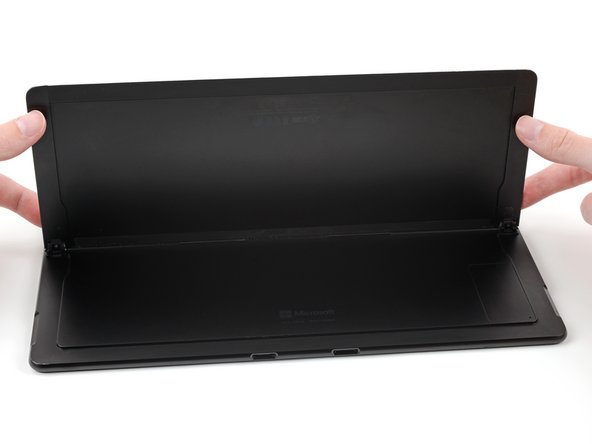
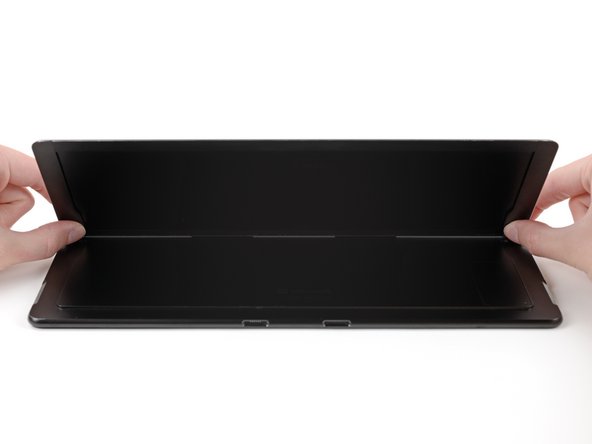
    1. Microsoft Surface Pro X Kickstand Replacement, Open the kickstand: étape 1, image 1 de 2 Microsoft Surface Pro X Kickstand Replacement, Open the kickstand: étape 1, image 2 de 2
      • Make sure your Surface Pro X is turned off, and laying screen-side down on a soft surface.

      • After turning off your device, make sure to remove the SSD from the Surface before starting any repairs. This will disconnect the battery and prevent damage to the device.

      • Lift the kickstand to at least a 90° angle, so that it is perpendicular to the Surface's screen. The further you open the hinge, the easier it is to access the SSD and SIM card door.

      Demander à FixBot

      Ajouter un commentaire

    2. Microsoft Surface Pro X Kickstand Replacement, Open the SSD and SIM card door: étape 2, image 1 de 2 Microsoft Surface Pro X Kickstand Replacement, Open the SSD and SIM card door: étape 2, image 2 de 2
      • Insert a SIM card eject tool or a paperclip into the small hole in the bottom right corner of the SSD and SIM card door, located near the bottom right corner of the Surface.

      • Press firmly to open the door.

      Demander à FixBot

      Ajouter un commentaire

    3. Microsoft Surface Pro X Kickstand Replacement, Remove the SSD and SIM card door: étape 3, image 1 de 1
      Demander à FixBot

      Ajouter un commentaire

    1. Microsoft Surface Pro X Kickstand Replacement, Remove the SSD screw: étape 4, image 1 de 1
      • Use a T3 Torx screwdriver to remove the 2.4 mm screw securing the SSD.

      Demander à FixBot

      Ajouter un commentaire

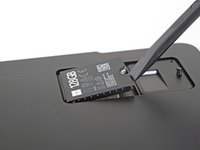
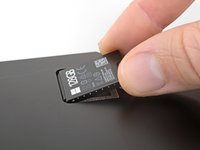
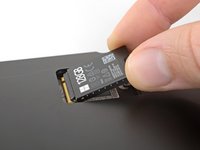
    2. Microsoft Surface Pro X Kickstand Replacement, Remove the SSD: étape 5, image 1 de 3 Microsoft Surface Pro X Kickstand Replacement, Remove the SSD: étape 5, image 2 de 3 Microsoft Surface Pro X Kickstand Replacement, Remove the SSD: étape 5, image 3 de 3
      • Use your finger or a spudger to lift the SSD just enough that it clears the edges of its recess.

      • Don't lift the SSD more than you have to—doing so may damage the SSD or its socket.

      • Gently pull the SSD straight out of its socket.

      • When reinstalling the SSD, be sure it is properly seated before reinstalling its retaining screw.

      Demander à FixBot

      Ajouter un commentaire

    1. Microsoft Surface Pro X Kickstand Replacement, Place the Surface on your work surface: étape 6, image 1 de 1
      • Place your Surface screen-side down on your work surface.

      Demander à FixBot

      Ajouter un commentaire

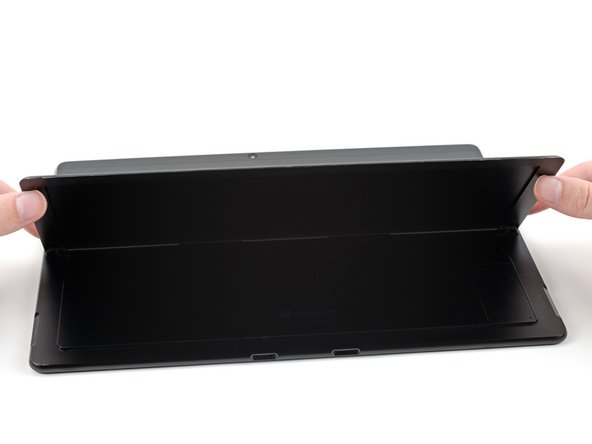
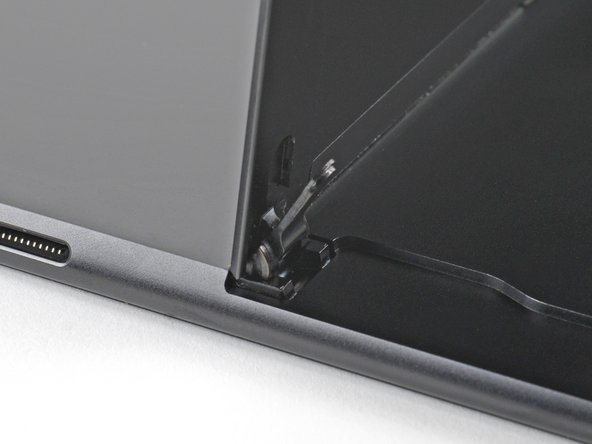
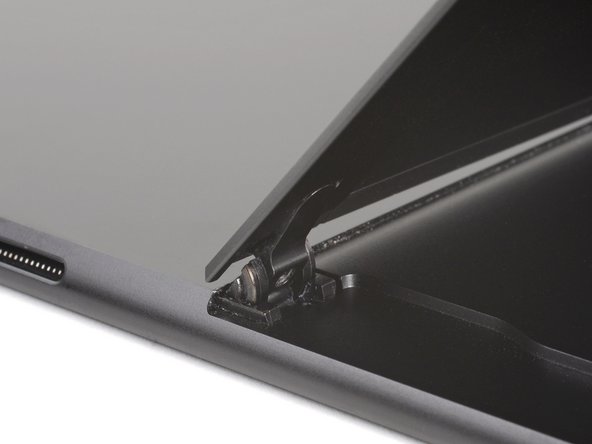
    2. Microsoft Surface Pro X Kickstand Replacement, Lift the kickstand: étape 7, image 1 de 3 Microsoft Surface Pro X Kickstand Replacement, Lift the kickstand: étape 7, image 2 de 3 Microsoft Surface Pro X Kickstand Replacement, Lift the kickstand: étape 7, image 3 de 3
      • Lift the kickstand to about a 90° angle.

      Demander à FixBot

      Ajouter un commentaire

    3. Microsoft Surface Pro X Kickstand Replacement, Remove the kickstand hinge screws: étape 8, image 1 de 2 Microsoft Surface Pro X Kickstand Replacement, Remove the kickstand hinge screws: étape 8, image 2 de 2
      • Use a T3 Torx screwdriver to remove two 2.5 mm screws securing the kickstand to the kickstand hinges.

      Demander à FixBot

      Ajouter un commentaire

    4. Microsoft Surface Pro X Kickstand Replacement, Remove the kickstand: étape 9, image 1 de 2 Microsoft Surface Pro X Kickstand Replacement, Remove the kickstand: étape 9, image 2 de 2
      • Hold both hinges and the kickstand.

      • Move the kickstand down to a 45° angle.

      Demander à FixBot

      Ajouter un commentaire

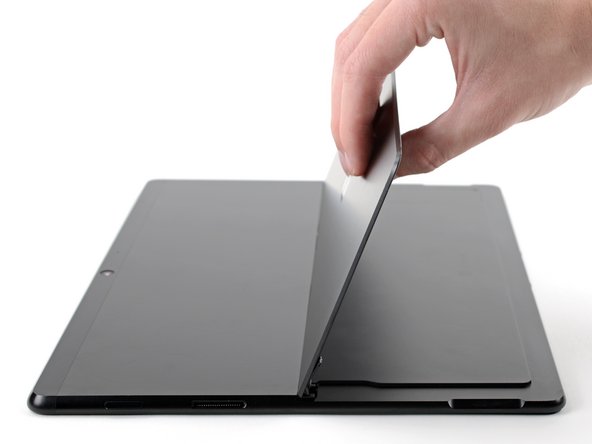
    5. Microsoft Surface Pro X Kickstand Replacement: étape 10, image 1 de 3 Microsoft Surface Pro X Kickstand Replacement: étape 10, image 2 de 3 Microsoft Surface Pro X Kickstand Replacement: étape 10, image 3 de 3
      • Hold the kickstand by the center of its bottom edge.

      • Move the kickstand up by about 10° to detach the kickstand's screw bosses from the hinges.

      • During reassembly, make sure the hinges are fully inserted into their recesses in the kickstand. Follow the instructions in the next step to reinsert the hinges.

      Demander à FixBot

      Ajouter un commentaire

    6. Microsoft Surface Pro X Kickstand Replacement, Hinge reassembly information: étape 11, image 1 de 3 Microsoft Surface Pro X Kickstand Replacement, Hinge reassembly information: étape 11, image 2 de 3 Microsoft Surface Pro X Kickstand Replacement, Hinge reassembly information: étape 11, image 3 de 3
      • During reassembly, follow these steps to make sure the hinges are fully inserted into their kickstand recesses:

      • Tilt the bottom edge of the kickstand toward the hinges.

      • Insert the hinges into the kickstand recesses.

      • Check to see if the faces of the hinges are flush with the underside of the kickstand.

      Demander à FixBot

      Ajouter un commentaire

    7. Microsoft Surface Pro X Kickstand Replacement: étape 12, image 1 de 2 Microsoft Surface Pro X Kickstand Replacement: étape 12, image 2 de 2
      • There are two adhesive tabs securing the kickstand to the frame. You'll need to pull them out with a strong and steady force.

      • The two adhesive tabs are located in the middle of the kickstand edge closest to the frame.

      Demander à FixBot

      Ajouter un commentaire

    8. Microsoft Surface Pro X Kickstand Replacement: étape 13, image 1 de 3 Microsoft Surface Pro X Kickstand Replacement: étape 13, image 2 de 3 Microsoft Surface Pro X Kickstand Replacement: étape 13, image 3 de 3
      • Pull slowly to avoid tearing the two adhesive tabs.

      • While holding the Surface with one hand, pull the kickstand out of the frame.

      • Be sure to insert the tabs when installing the new kickstand before replacing the screws.

      Demander à FixBot

      Ajouter un commentaire

Conclusion

To reassemble your device, follow these instructions in reverse order.

Repair didn’t go as planned? Try some basic troubleshooting, or ask our Microsoft Surface Pro X Answers community for help.

Annulation : je n'ai pas terminé ce tutoriel.

Une autre personne a terminé cette réparation.

Kyle Smith

Membre depuis le 02/01/21

52 616 Réputation

124 tutoriels rédigés

3 commentaires de tutoriel

How do I order the 2.5 mm screws holding kickstand on. Mine are missing.

kaption93 - Réponse Partager

The hinge replacement guide is vague, there should be one that's more specific. It'd be cool if you gave a link to the kickstand replacement in case the kickstand screw taps are stripped or unusable (sheered screw half in hole).

Otherwise, I thank you for what you do, much appreciated..

Joe M - Réponse Partager
Where can the replacement kickstand be purchased?

DMos - Réponse Partager

Ajouter un commentaire

Nombre de vues :

Dernières 24 heures : 0

7 derniers jours : 19

30 derniers jours : 60

Total : 3,289