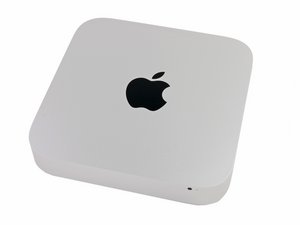
The old model (install SSD in HD slot, transfer old HD to second slot) is a holdover from an earlier era, when minis came with optical drives installed in the second slot. Up through 2011, when optical drives started to disappear from Macs, the second slot was often a much slower 3Gbps SATA II slot. Installing a 6Gbps SATA III HD or SSD in that SATA II slot could often create a lot of problems, since the drives were often unable to scale down to the slower bus speed. You'll see a lot of discussion on iFixit about the issue involving 2011 Unibody MacBook Pros, which are notorious for acting up when there's a SATA III drive installed in a SATA II bay.
But by 2012, optical drives had been removed from all but one Macintosh model (the Mid 2012 13" Unibody MacBook Pro). All 2012+ Macs with two or more SATA busses have 6Gbps SATA III on both busses. As far as the specs are concerned, either drive should work in either bus at full speed.
What's more, minis from 2011 onward are specifically designed for two SATA drives; the Mac mini Server configurations are essentially the same as the corresponding Mac minis, but they already have an extra drive installed in the second bay. In later generations, the hard drive can be paired with an SSD to create a Fusion drive, which can be formatted with Disk Utility. And that's where things get complicated...
In most "roll your own Fusion drive" installations for machines that Apple did not originally spec with Fusion (that is, all machines except iMacs and minis), the DIY-er must install the SSD into the first bay (the one where the hard drive was originally installed) and transfer the HD to the second (spare or optical) bay, in order to get the Fusion drive to format correctly. If a Fusion drive is part of your plan for this upgrade, it's probably wise to follow the accepted practice and move the stock HD to the second, empty bay. If you know for sure that you don't want to go to Fusion, then you can put each drive wherever you want. If you change your mind later on, you may have to open up the machine and rotate the drives first.
Creating a Fusion drive is a more complicated discussion, for which you should probably start a new question.
As for the cable: SATA is SATA is SATA, pretty much. If you were using generic cables, it probably wouldn't make any difference which cable connected to which drive. In this case, it probably does - not because the cable included in the iFixit Dual Drive Kit carries data any differently, but because the size limitations of the mini enclosure mean that the cable is shaped a certain way to reach exactly from the socket on the logic board to the drive mounted in the second bay, and no farther. I think the logical thing to do is to use the original SATA cable to connect to whichever drive is in the first (original HD) bay, and the iFixit cable to connect to whichever drive is in the second (originally empty) bay. Safety first.
Cette réponse est-elle utile ?
A voté
Annuler
Indice
13
Annuler
Faites défiler ce fil pour trouver l'endroit approprié pour y placer ce commentaire. Cliquez ensuite sur « Ajouter un commentaire à cette contribution » pour le déplacer.

 2
2  2
2  6
6 