Introduction
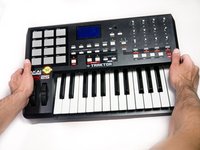
Use this guide if any of the keys are broken, chipped, or stuck.
Ce dont vous avez besoin
-
-
Remove all the selector knob covers by pulling them off.
 Demander à FixBot
-
-
-
Using needle nose pliers, remove the washers from the four corner selector knobs.
-
-
-
Flip the device over. Using a Philips #2 screw driver, remove the fourteen 10.3 mm black screws holding the back panel in place.
-
-
-
-
Carefully flip the device to the front making sure you secure the face plate and the chassis together.
-
-
-
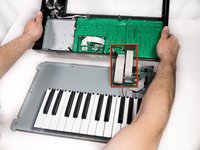
Rotate the device 180 degrees and carefully remove the face plate by slightly lifting the screen side towards you and then sliding the bottom out from under the keys.
-
-
-
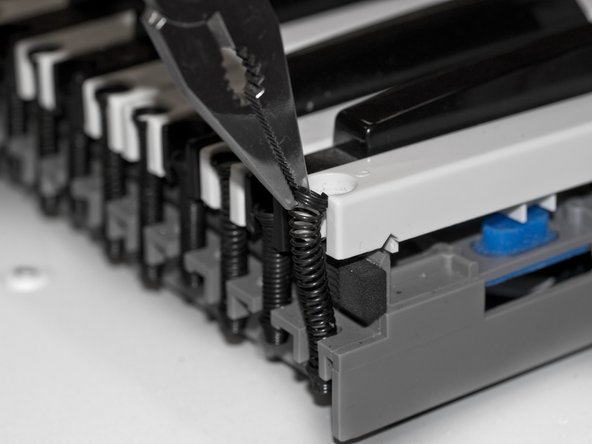
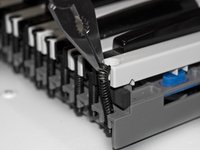
Using needle nose pliers, grip the top of the spring coil, that is holding down the key, and gently lift the spring away from the key.
-
-
-
Lift the key from the front of the keyboard towards the back in order to remove it completely.
-








To reassemble the keyboard and close up the case, follow these instructions in reverse order.
Annulation : je n'ai pas terminé ce tutoriel.
7 autres ont terminé cette réparation.

Équipe

Cal Poly, Team 20-6, Maness Winter 2013 Membre de l'équipe Cal Poly, Team 20-6, Maness Winter 2013
CPSU-MANESS-W13S20G6
5 membres
6 tutoriels rédigés
