Introduction
If your Alienware X51 PC begins to freeze up or shut down at random points, you may need to replace the fan (refer to the Troubleshooting Guide for more details). Replacing the fan, which helps with cooling down the processor, is as simple as unscrewing the fan. This replacement can be applied to the Alienware X51 R1, as well as the other models (the R2 or R3).
Ce dont vous avez besoin
-
-
-
Place the PC so the name "Alienware" is on top and facing you.
-
Slide the front panel towards you and lift up.
 Demander à FixBot
-
-
-
Fully disconnect the panel by unplugging the lighting cord going into the PC's internal system.
-
Remove the front panel from the rest of the device.
-
-
-
-
-
-
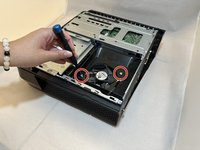
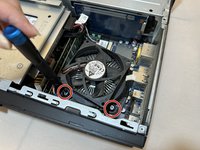
Remove the two 2.0 mm screws holding the fan protector in place using a Phillips #1 screwdriver.
-
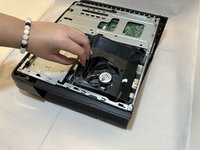
Remove the protector holding the fan in.
-
-
-
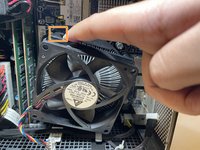
Use a Phillips #1 screwdriver to loosen the four spring screws around the fan until you hear a click.
-
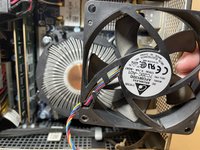
Gently pull back the clips and remove the fan by pulling it out.
-
-




To reassemble your device, follow these instructions in reverse order.
Annulation : je n'ai pas terminé ce tutoriel.
2 autres ont terminé cette réparation.

Équipe

Eastern Washington University, Team 1-2, Carnegie Fall 2023 Membre de l'équipe Eastern Washington University, Team 1-2, Carnegie Fall 2023
EWU-CARNEGIE-F23S1G2
4 membres
7 tutoriels rédigés
