Introduction
Over time, the buttons on your Amazon Luna gaming controller can wear out, become less responsive, or stop functioning entirely due to regular use, dirt buildup, or mechanical issues. To maintain optimal performance and extend the lifespan of your controller, it's essential to address these issues through proper cleaning, maintenance, or button replacement when needed. This guide offers a detailed, step-by-step process to safely remove and care for your controller's buttons. Following these instructions will help restore your device's functionality, ensuring a smoother gaming experience while preventing further damage during disassembly or repair.
Ce dont vous avez besoin
-
-
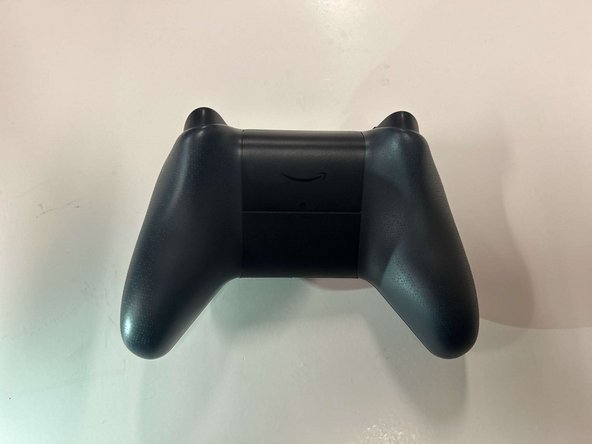
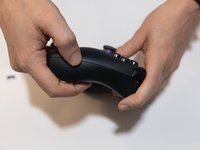
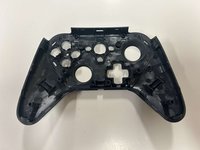
Flip the controller over to its front and locate the seam where the front plate connects to the rest of the body.
-
-
-
-
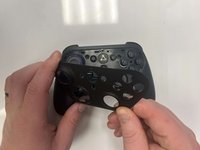
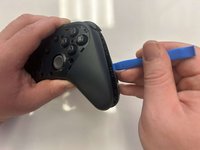
Remove the six 8 mm screws securing the controller's body using a TR9 Torx screwdriver.
-
-
-
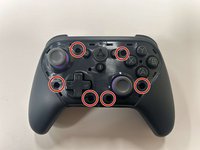
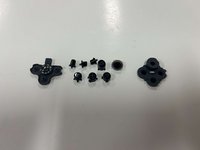
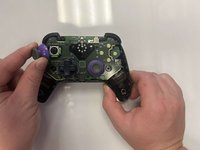
Gently pull the joystick thumbstick straight up to remove it from the controller.
-
-
-
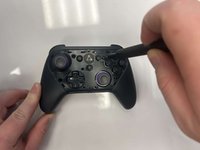
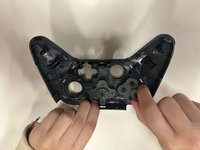
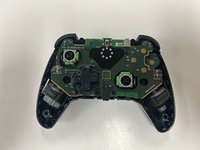
Gently grab the controller's circuitry and hold the bottom shell.
-
Pull the circuitry gently out from the shell.
-


To reassemble your device, follow these instructions in reverse order.
Annulation : je n'ai pas terminé ce tutoriel.
Une autre personne a terminé cette réparation.

Équipe

Western Carolina University, Team 1-4, Virtue Fall 2024 Membre de l'équipe Western Carolina University, Team 1-4, Virtue Fall 2024
WCU-VIRTUE-F24S1G4
3 membres
5 tutoriels rédigés
2 commentaires de tutoriel
After putting it together, did your B button work again? I can't get mines to function anymore. The joysticks are also moving around a lot on their on.
I would check your reassembly and make sure none of the pads are damaged under the buttons