Aller au contenu principal
Pour réparer ensemble - Je crée un compte

Asus X501A-RH31 Keyboard Replacement

Ce dont vous avez besoin

  1. Asus X501A-RH31 Keyboard  Replacement, Battery: étape 1, image 1 de 1
    • Turn the laptop over so that the back is facing upwards.

    Demander à FixBot

    Ajouter un commentaire

  2. Asus X501A-RH31 Keyboard  Replacement: étape 2, image 1 de 1
    • To unlock the left tab, make sure the tab on the left has red showing.

    Demander à FixBot

    Ajouter un commentaire

  3. Asus X501A-RH31 Keyboard  Replacement: étape 3, image 1 de 2 Asus X501A-RH31 Keyboard  Replacement: étape 3, image 2 de 2
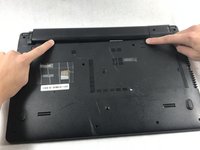
    • To unlock the right tab, push the right slider to the left with one hand.

    • Push the battery out with the other hand.

    Demander à FixBot

    Ajouter un commentaire

  4. Asus X501A-RH31 Keyboard  Replacement, Keyboard: étape 4, image 1 de 2 Asus X501A-RH31 Keyboard  Replacement, Keyboard: étape 4, image 2 de 2
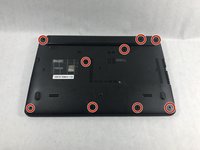
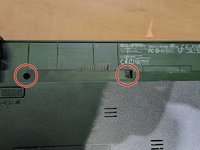
    • Using the Phillips #00 screwdriver unscrew all nine screws from the bottom of the laptop, as well as the additional two screws inside the battery compartment.

    • Nine of the screws are 5 mm long, 4.5 mm in diameter, while two screws closest to the hinges are 7 mm long.

    Demander à FixBot

    Ajouter un commentaire

  5. Asus X501A-RH31 Keyboard  Replacement: étape 5, image 1 de 1
    • Turn the laptop over and open the top so the keyboard is facing you.

    Demander à FixBot

    Ajouter un commentaire

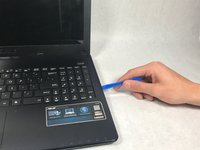
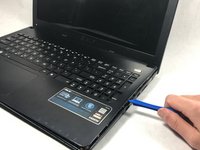
  6. Asus X501A-RH31 Keyboard  Replacement: étape 6, image 1 de 2 Asus X501A-RH31 Keyboard  Replacement: étape 6, image 2 de 2
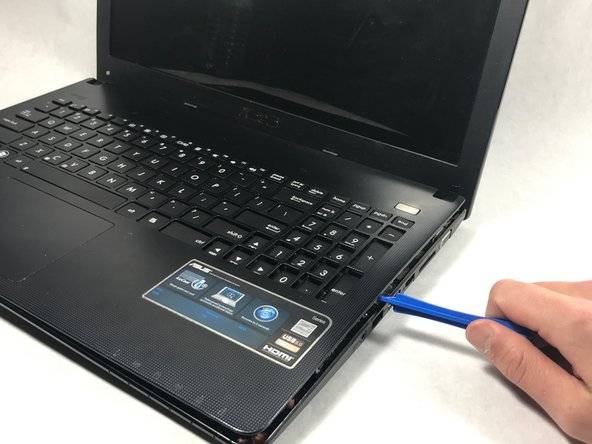
    • Pry off the keyboard cover on the edge using the plastic opening tool.

    • Start from one side. Once it is lose, carry out the same procedure on the front and other side.

    • Only do little sections at a time as the keyboard may break if you attempt to take the whole thing off from a single point.

    Demander à FixBot

    Ajouter un commentaire

  7. Asus X501A-RH31 Keyboard  Replacement: étape 7, image 1 de 1
    • Slowly lift the keyboard upward, but do not remove completely.

    • Remove the two data cables that attach the keyboard to the motherboard.

    Demander à FixBot

    Ajouter un commentaire

  8. Asus X501A-RH31 Keyboard  Replacement: étape 8, image 1 de 1
    Outil utilisé dans cette étape :
    Tweezers
    $4.99
    • Use tweezers to pull the white plastic piece up that is attached to the data cable.

    • Repeat this process for the big black cable as well.

    • Use caution when unlatching the data cables from the motherboard. The cables are extremely delicate and can break.

    Demander à FixBot

    Ajouter un commentaire

Conclusion

To reassemble your device, follow these instructions in reverse order.

Annulation : je n'ai pas terminé ce tutoriel.

Une autre personne a terminé cette réparation.

Romana Hruby

Membre depuis le 10/20/17

596 Réputation

5 tutoriels rédigés

Équipe

UMass Dartmouth, Team S3-G3, Bailey Fall 2017 Membre de l'équipe UMass Dartmouth, Team S3-G3, Bailey Fall 2017

UMASSD-BAILEY-F17S3G3

3 membres

8 tutoriels rédigés

0 commentaires de tutoriel

Ajouter un commentaire

Nombre de vues :

Dernières 24 heures : 0

7 derniers jours : 2

30 derniers jours : 26

Total : 1,552