Aller au contenu principal
Pour réparer ensemble - Je crée un compte

Atmega328P Microcontroller Replacement for Arduino Board

Ce dont vous avez besoin

    1. Atmega328P Microcontroller Replacement for Arduino Board, Atmega328P Microcontroller: étape 1, image 1 de 1
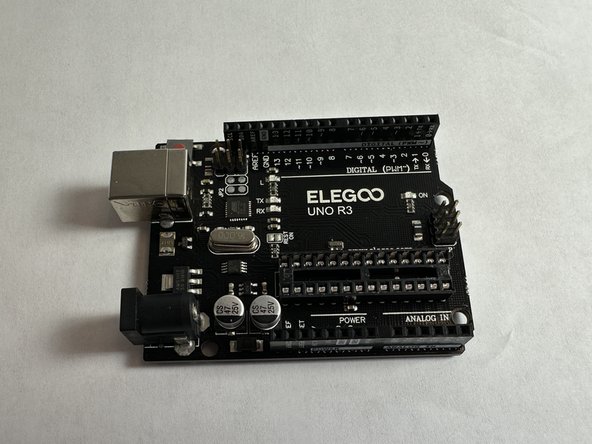
      • Place the Arduino UNO R3 board on a flat clean surface.

      Demander à FixBot

      Ajouter un commentaire

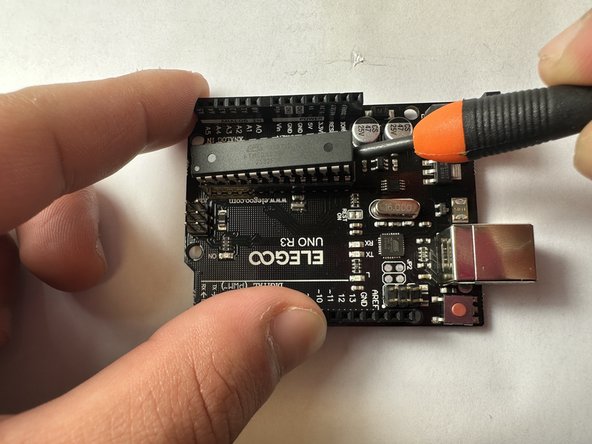
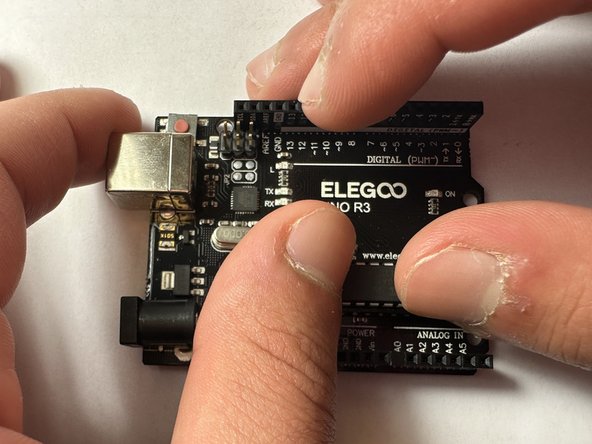
    2. Atmega328P Microcontroller Replacement for Arduino Board: étape 2, image 1 de 2 Atmega328P Microcontroller Replacement for Arduino Board: étape 2, image 2 de 2
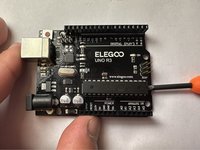
      • On the right side of board, position a nylon spudger in between the microcontroller and the dip socket, and gently lift upwards to pry it out.

      • The bottom of the microcontroller can be scratched if not done carefully. Do not use a metal tool for this step.

      Demander à FixBot

      Ajouter un commentaire

    3. Atmega328P Microcontroller Replacement for Arduino Board: étape 3, image 1 de 2 Atmega328P Microcontroller Replacement for Arduino Board: étape 3, image 2 de 2
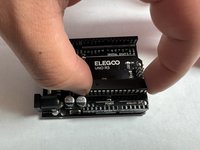
      • Repeat the same process on the other side.

      • Lift both sides evenly to prevent any damage to the pins.

      Demander à FixBot

      Ajouter un commentaire

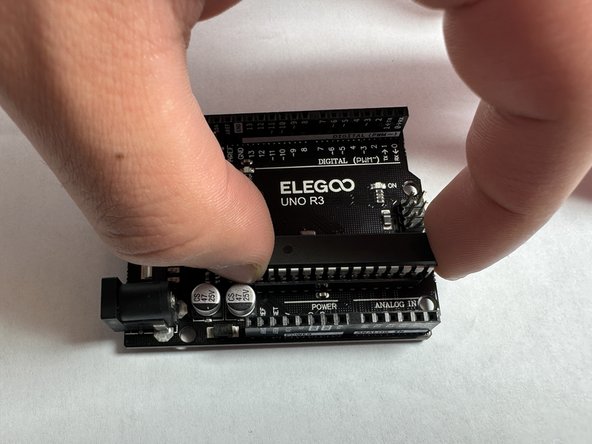
    4. Atmega328P Microcontroller Replacement for Arduino Board: étape 4, image 1 de 3 Atmega328P Microcontroller Replacement for Arduino Board: étape 4, image 2 de 3 Atmega328P Microcontroller Replacement for Arduino Board: étape 4, image 3 de 3
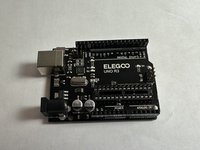
      • Repeat steps 2 and 3 until the microcontroller is loose enough to remove out of the socket.

      Demander à FixBot

      Ajouter un commentaire

    5. Atmega328P Microcontroller Replacement for Arduino Board: étape 5, image 1 de 1
      • Remove replacement microcontroller out of packaging.

      Demander à FixBot

      Ajouter un commentaire

    6. Atmega328P Microcontroller Replacement for Arduino Board: étape 6, image 1 de 1
      • If needed, straighten the pins of the replacement microcontroller and place it directly over the dip socket.

      • Make sure the notch on the side of the microcontroller is facing the right, matching the white lines on the board.

      Demander à FixBot

      Ajouter un commentaire

    7. Atmega328P Microcontroller Replacement for Arduino Board: étape 7, image 1 de 2 Atmega328P Microcontroller Replacement for Arduino Board: étape 7, image 2 de 2
      • Gently press the microcontroller into the dip socket

      Demander à FixBot

      Ajouter un commentaire

Conclusion

To reassemble your device, follow these instructions in reverse order.

Annulation : je n'ai pas terminé ce tutoriel.

3 autres ont terminé cette réparation.

Youssef Qteshat

Membre depuis le 01/26/23

217 Réputation

1 tutoriel rédigé

Équipe

UC Davis, Team 5-5, Morris Winter 2023 Membre de l'équipe UC Davis, Team 5-5, Morris Winter 2023

UCD-MORRIS-W23S5G5

2 membres

4 tutoriels rédigés

0 commentaires de tutoriel

Ajouter un commentaire

Nombre de vues :

Dernières 24 heures : 2

7 derniers jours : 14

30 derniers jours : 56

Total : 1,462