Aller au contenu principal
Pour réparer ensemble - Je crée un compte

Azpen A720 Touch Screen Replacement

Ce dont vous avez besoin

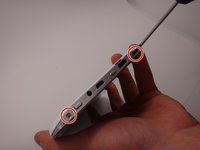
    1. Azpen A720 Touch Screen Replacement, Back Cover: étape 1, image 1 de 2 Azpen A720 Touch Screen Replacement, Back Cover: étape 1, image 2 de 2
      • Use a Phillips #00 screwdriver to remove the two 4mm screws found on the top edge of the tablet near the power button.

      Demander à FixBot

      Ajouter un commentaire

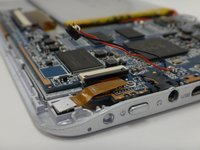
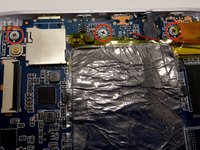
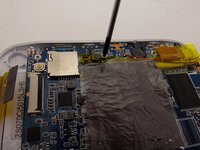
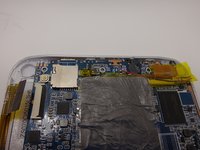
    2. Azpen A720 Touch Screen Replacement: étape 2, image 1 de 3 Azpen A720 Touch Screen Replacement: étape 2, image 2 de 3 Azpen A720 Touch Screen Replacement: étape 2, image 3 de 3
      • Use the plastic opening tool to pry the white back from the silver frame. Start near the micro SD slot.

      • Slide the plastic opening tool around the perimeter of the casing until the back is disconnected.

      Demander à FixBot

      Ajouter un commentaire

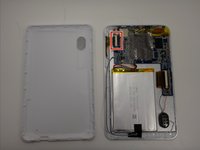
    3. Azpen A720 Touch Screen Replacement: étape 3, image 1 de 1
      • Remove the rear casing.

      Demander à FixBot

      Ajouter un commentaire

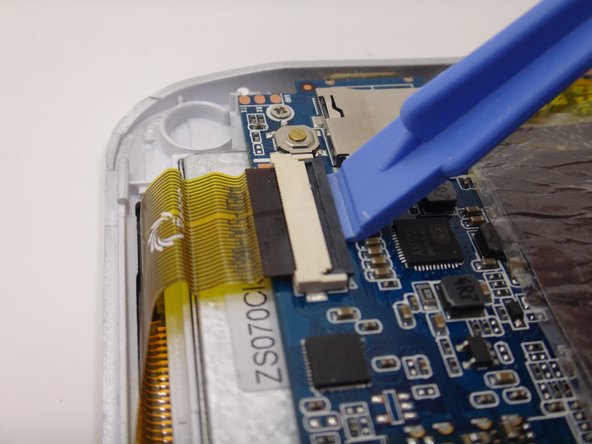
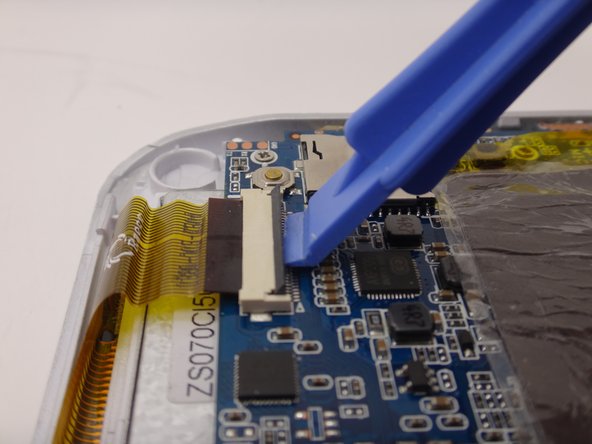
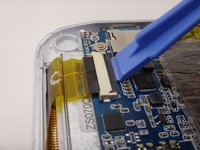
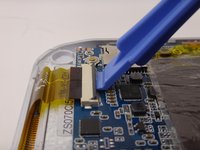
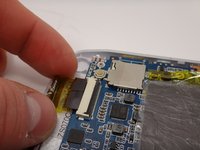
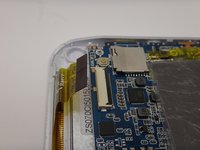
    1. Azpen A720 Touch Screen Replacement, Touch Screen: étape 4, image 1 de 3 Azpen A720 Touch Screen Replacement, Touch Screen: étape 4, image 2 de 3 Azpen A720 Touch Screen Replacement, Touch Screen: étape 4, image 3 de 3
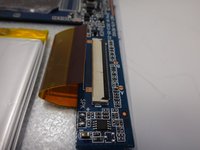
      • Use the plastic opening tool to gently lift the release lever for the ZIF cable.

      • The ZIF connector is delicate. Be careful not to damage the tab!

      Demander à FixBot

      Ajouter un commentaire

    2. Azpen A720 Touch Screen Replacement: étape 5, image 1 de 2 Azpen A720 Touch Screen Replacement: étape 5, image 2 de 2
      • Gently remove the ZIF cable from the connector.

      Demander à FixBot

      Ajouter un commentaire

    3. Azpen A720 Touch Screen Replacement: étape 6, image 1 de 2 Azpen A720 Touch Screen Replacement: étape 6, image 2 de 2
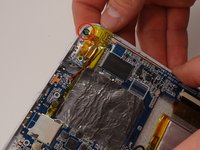
      • Disconnect the second ZIF connector using the same method detailed earlier.

      Demander à FixBot

      Ajouter un commentaire

    4. Azpen A720 Touch Screen Replacement: étape 7, image 1 de 3 Azpen A720 Touch Screen Replacement: étape 7, image 2 de 3 Azpen A720 Touch Screen Replacement: étape 7, image 3 de 3
      Outil utilisé dans cette étape :
      Tweezers
      $4.99
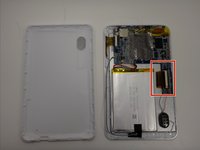
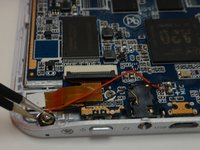
      • Locate the microphone. It is at the top of the device and next to the audio jack.

      • Using tweezers, gently remove the microphone.

      • Remember to reinsert the microphone when reassembling!

      Demander à FixBot

      Ajouter un commentaire

    5. Azpen A720 Touch Screen Replacement: étape 8, image 1 de 3 Azpen A720 Touch Screen Replacement: étape 8, image 2 de 3 Azpen A720 Touch Screen Replacement: étape 8, image 3 de 3
      • Remove the three 4mm Phillips #00 screws securing the motherboard in place.

      Demander à FixBot

      Ajouter un commentaire

    6. Azpen A720 Touch Screen Replacement: étape 9, image 1 de 3 Azpen A720 Touch Screen Replacement: étape 9, image 2 de 3 Azpen A720 Touch Screen Replacement: étape 9, image 3 de 3
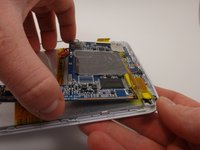
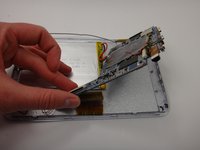
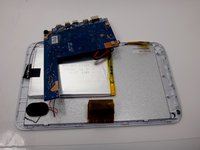
      • Remove the motherboard from the casing, being careful not to damage the remaining wires.

      • It's okay if the buttons fall out of the case.

      • Flip the motherboard so it rests upside down and out of the way of the metal backing.

      Demander à FixBot

      Ajouter un commentaire

    7. Azpen A720 Touch Screen Replacement: étape 10, image 1 de 2 Azpen A720 Touch Screen Replacement: étape 10, image 2 de 2
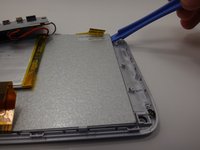
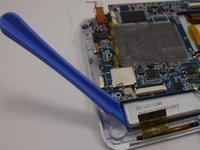
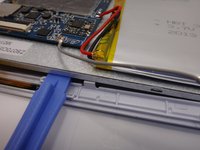
      • Starting at the edge, use a plastic opening tool to carefully pry the front casing off of the metal backing.

      • Leave the plastic opening tool in place underneath the metal backing to prop it up.

      • Move the motherboard out of the way as needed.

      Demander à FixBot

      Ajouter un commentaire

    8. Azpen A720 Touch Screen Replacement: étape 11, image 1 de 2 Azpen A720 Touch Screen Replacement: étape 11, image 2 de 2
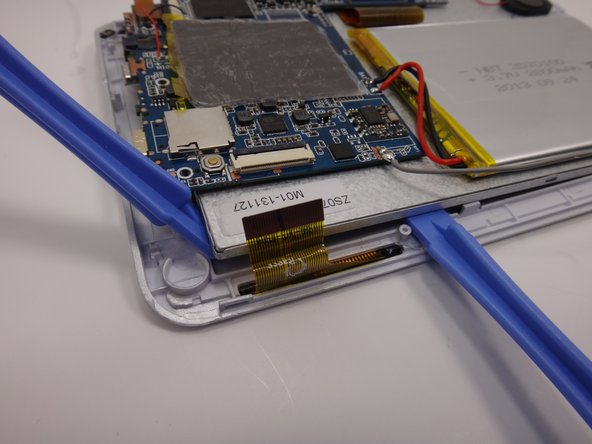
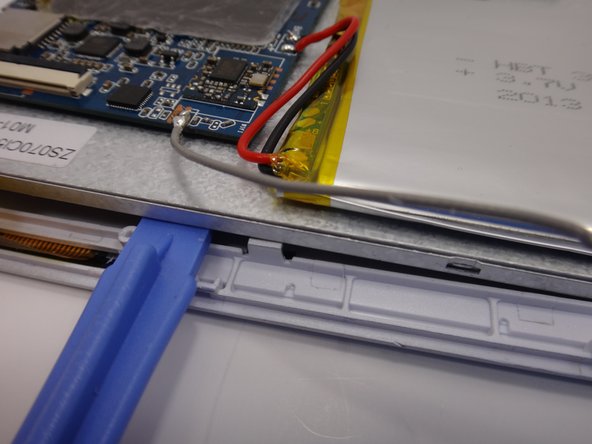
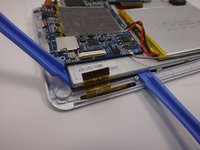
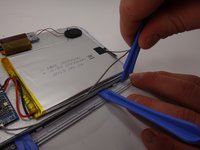
      • Using a second plastic opening tool, pry the adjacent side of the metal backing from the front casing/touch screen.

      • Pry close to the plastic tabs so you do not break them.

      • Leave the plastic opening tool in place underneath the metal backing to prop it up.

      Demander à FixBot

      Ajouter un commentaire

    9. Azpen A720 Touch Screen Replacement: étape 12, image 1 de 1
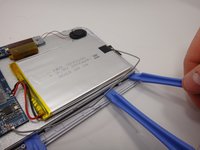
      • Remove the first plastic opening tool and use it to pry along the second edge.

      • Slide the tool along the edge until it is close the next tab, and gently pry the metal up.

      Demander à FixBot

      Ajouter un commentaire

    10. Azpen A720 Touch Screen Replacement: étape 13, image 1 de 3 Azpen A720 Touch Screen Replacement: étape 13, image 2 de 3 Azpen A720 Touch Screen Replacement: étape 13, image 3 de 3
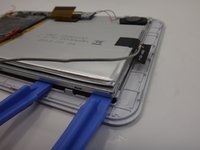
      • Use a third plastic opening tool to pry at the corner of the tablet and pop off the metal backing.

      Demander à FixBot

      Ajouter un commentaire

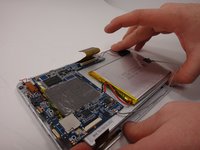
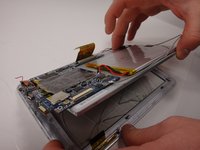
    11. Azpen A720 Touch Screen Replacement: étape 14, image 1 de 3 Azpen A720 Touch Screen Replacement: étape 14, image 2 de 3 Azpen A720 Touch Screen Replacement: étape 14, image 3 de 3
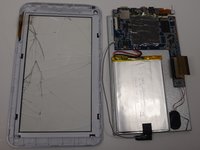
      • Lift the metal backing from the propped edge to remove it from the front casing.

      • Replace the broken front touch screen and casing with a new one.

      Demander à FixBot

      Ajouter un commentaire

Conclusion

To reassemble your device, follow these instructions in reverse order.

Annulation : je n'ai pas terminé ce tutoriel.

Une autre personne a terminé cette réparation.

Anna

Membre depuis le 03/17/15

353 Réputation

3 tutoriels rédigés

Équipe

Michigan Tech, Team 1-3, Lauer Spring 2015 Membre de l'équipe Michigan Tech, Team 1-3, Lauer Spring 2015

MTU-LAUER-S15S1G3

2 membres

5 tutoriels rédigés

0 commentaires de tutoriel

Ajouter un commentaire

Nombre de vues :

Dernières 24 heures : 2

7 derniers jours : 9

30 derniers jours : 27

Total : 3,094