Introduction
Use this guide to replace the battery in your Beats Studio3 Wireless headphones (model number: A1914).
The battery helps the Beats Studio3 Wireless headphones to power on. It's designed for long battery life of up to 22 hours for all-day. A failed battery will cause your Beats Studio3 Wireless to not turn on. You can take a look at the bottom right ear pad to check if the five lights are on. In some cases, your Beats Studio3 Wireless will have faulty charging due to a deteriorated battery.
Ce dont vous avez besoin
-
-
-
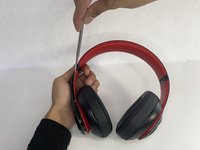
Use a pointed nylon spudger to remove the center circular panel on the right side of your device.
 Demander à FixBot
-
-
-
-
Using a pointed nylon spudger, remove the tab located on the inner part of the headband labeled "R."
-
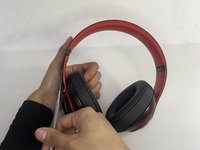
Place the nylon spudger in between the side panels and push inward going from bottom to top to separate both sides of the panel.
-
-
-
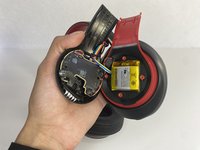
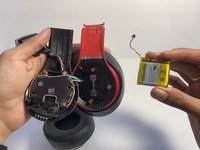
Place the nylon spudger underneath the battery, push inward and separate the battery from the inside.
-
-
-
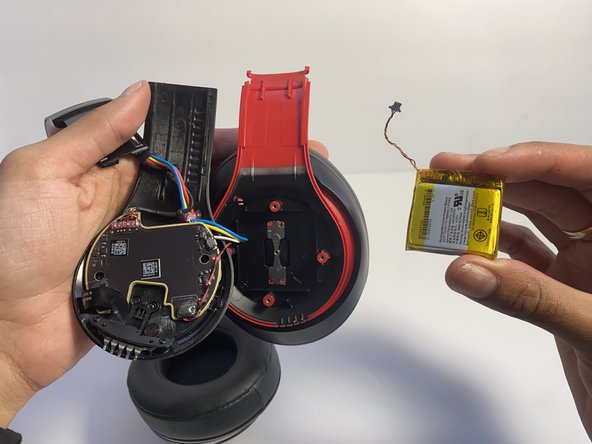
Use a nylon spudger to lift up the glue sticking the wires down.
-
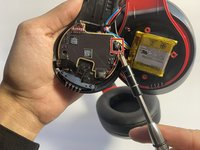
Use a nylon spudger to lift the connector to disconnect the battery.
-
-




To reassemble your device, follow these instructions in reverse order.
Annulation : je n'ai pas terminé ce tutoriel.
7 autres ont terminé cette réparation.

Équipe

UMass Dartmouth, Team 7-4, Ryckebusch Spring 2023 Membre de l'équipe UMass Dartmouth, Team 7-4, Ryckebusch Spring 2023
UMASSD-RYCKEBUSCH-S23S7G4
3 membres
13 tutoriels rédigés
4 commentaires de tutoriel
Should the glue be reapplied or is it okay to simply place back on?
Tengo una duda mis audífonos la batería esta full de voltaje pero me marca un rojo y no me prenden q podría ser o que solución podría darle
