Introduction
Your phone screen allows you to view messages and options, as well as navigate throughout the menu. Without it, you are just blindly hitting buttons. Due to its importance to the operation of your phone, it is very noticeable when your screen is not working properly. In the case of a faulty or broken screen, it will need replacing.
Ce dont vous avez besoin
-
-
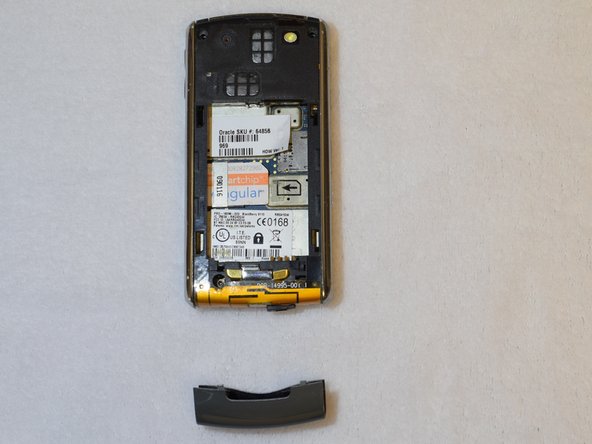
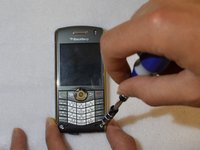
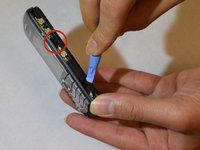
Turn the phone over so that the screen is facing the table. Locate the chrome release button and push it in to unclip the battery cover.
 Demander à FixBot
-
-
-
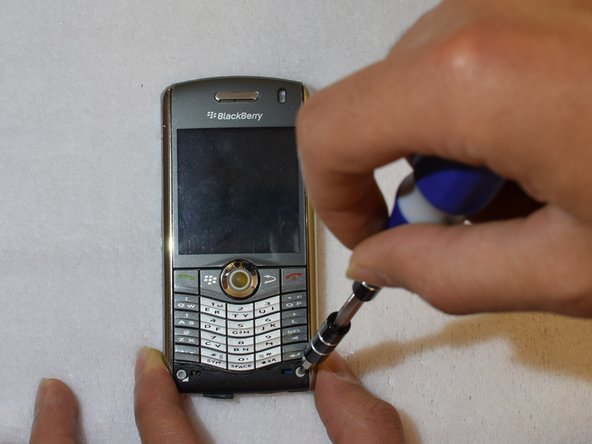
Now that the battery cover has been removed, locate the two 7.5mm Torx #T6 screws at the top of the phone. Remove these by turning counter-clockwise with your T6 screwdriver.
-
-
-
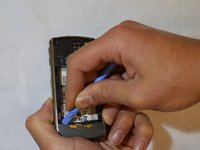
Now that the two screws at the top have been removed, take your spudger and locate the two gaps to the left and right of the button that releases the battery cover.
-
With your spudger, carefully wedge it into the gap and pry downwards to release the bottom cover.
-
-
-
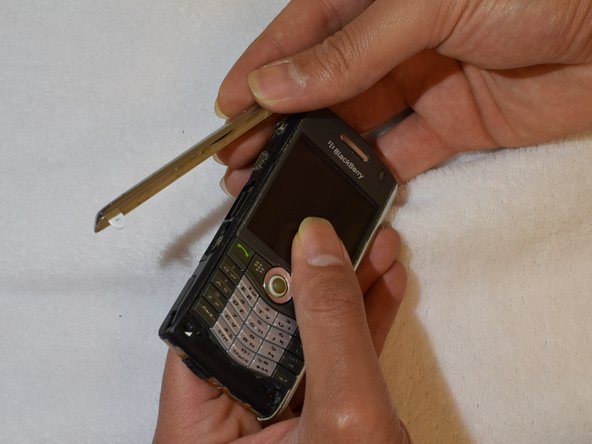
Turn the phone over so that the screen is facing up. With the bottom cover off, you will be able to locate two 7.5mm Torx #T6 screws in each corner below the keyboard. Carefully remove these.
-
-
-
-
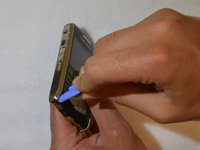
Now that the screws on the front have been removed, take your spudger and wedge it between the trim on the side of the phone, and the phone itself. Carefully pry the trim away from the phone.
-
-
-
You are now ready to remove the back panel. In order to do this, locate the two clips on each side of the phone (underneath the trim that you just removed).
-
Once you locate these clips (four in total, two on each side), you should be able to unclip them with your fingers.
-
Be gentle as to not break the clips in doing so.
-
-
-
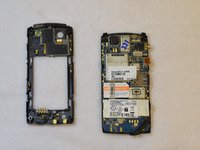
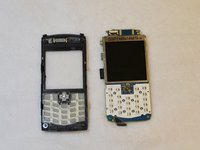
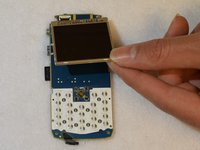
The front panel is now ready to be removed from the rest of the phone. To do this, just pry the front part (with the keyboard and screen) away from the logic board of the phone with your fingers.
-
-
-
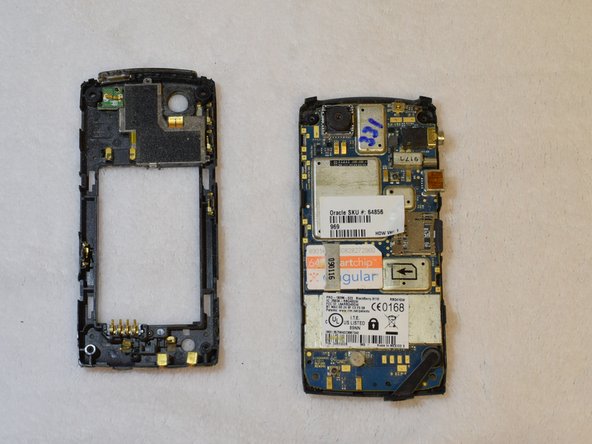
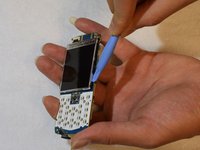
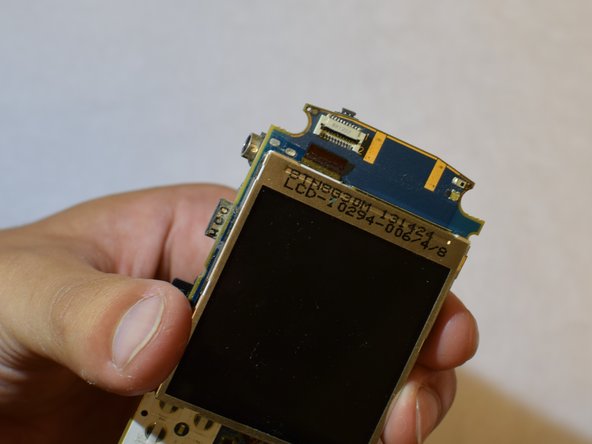
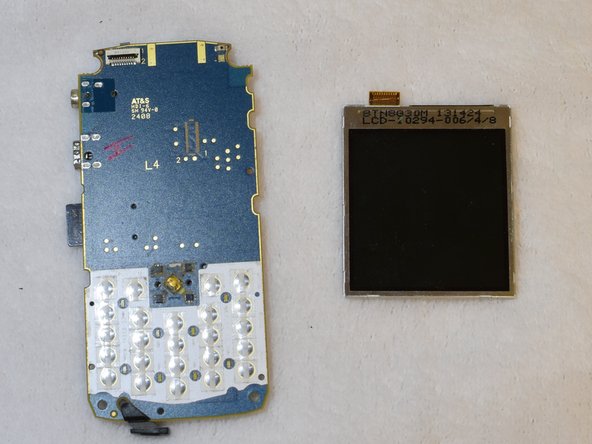
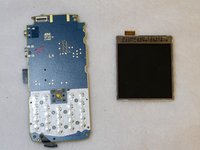
What is left after removing the panels is the logic board and screen. With the display facing up its connection to the logic board is on the top-left corner.
-
-
-
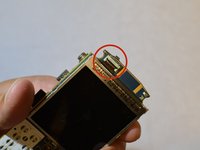
Swing the black tab securing the display cable outwards and away from the logic board to an upright position (perpendicular to the white block). The tab's pivot points are at the center-left and center-right of the white block.
-
-
-
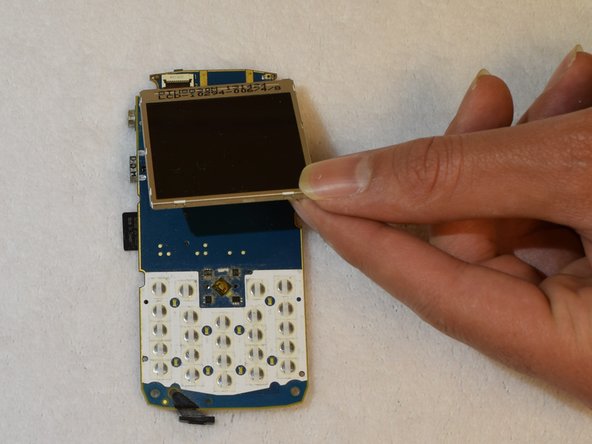
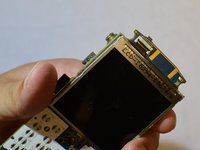
Remove the display cable down towards the center of the logic board and away from under the black tab. Use a spudger between the display and logic board along all sides to separate the display.
-


To reassemble your device, follow these instructions in reverse order.
Équipe

USF Tampa, Team 1-2, Brown Fall 2014 Membre de l'équipe USF Tampa, Team 1-2, Brown Fall 2014
USFT-BROWN-F14S1G2
3 membres
8 tutoriels rédigés