Cette traduction a été générée automatiquement et n’a pas encore fait l’objet d’une relecture humaine. Vous parlez cette langue ? Relisez-la.
Ce dont vous avez besoin
-
-
-
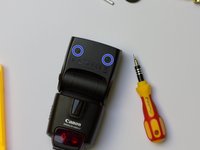
Ouvrez lentement les caches en silicone. Ils sont fixés avec du ruban adhésif double face.
-
Dans le pire des cas : vous abîmez les caches. Il est très difficile d'endommager le flash à cette étape.
-
-
-
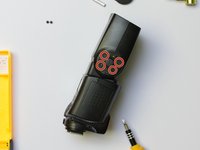
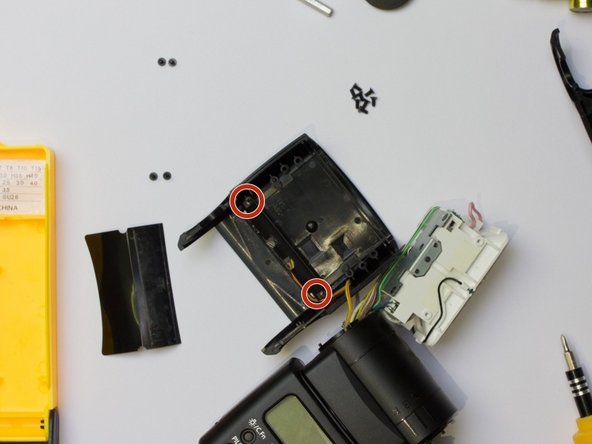
Retirez les vis situées sous la tête du flash.
-
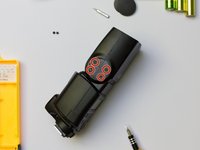
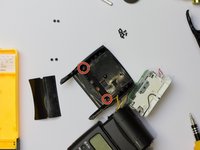
Retirez les 8 vis qui fixent le boîtier externe sur l'articulation.
-
-
-
-
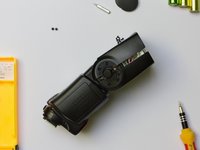
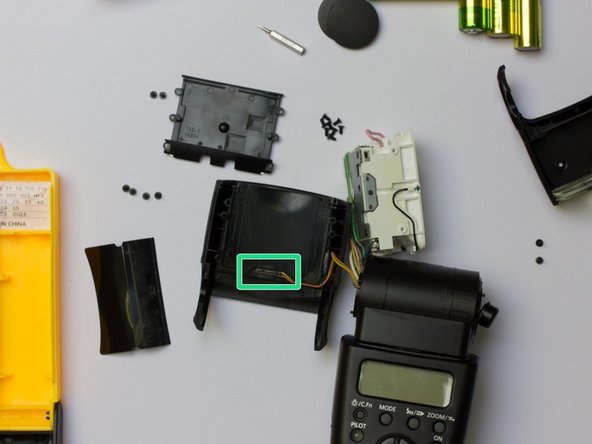
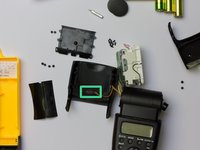
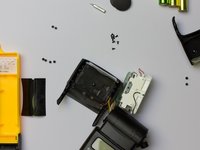
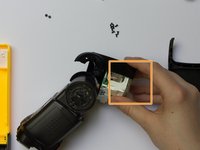
Ouvrez la tête lentement - attention aux nappes
-
Retirez le flash
-
N'oubliez pas : composants électriques !
-
-
-
Retirez les 4 vis de la plaque de maintien.
-
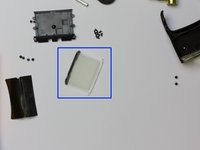
Vous devez retirer le film plastique - ne vous inquiétez pas, vous pouvez le recoller une fois prêt et il tient très bien.
-
-
-
Vous êtes maintenant prêt à installer le panneau.
-
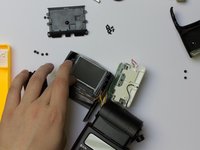
Maintenez-le en position (juste pour vérifier que tout est correct et s'insère bien dans la tête).
-
-
-
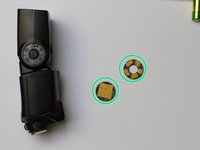
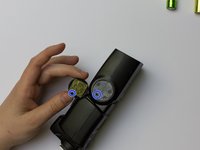
Maintenez les disques de diffusion pendant que vous assemblez les parties supérieure et inférieure
-
Collez un petit morceau d'adhésif double face sur les caches en silicone
-
Les deux caches possèdent ces petites tiges en silicone et le trou de fixation pour l'alignement
-


 Demander à FixBot









J'espère que ce tutoriel vous sera utile.
Si vous avez des questions, n'hésitez pas à me contacter.
Annulation : je n'ai pas terminé ce tutoriel.
12 autres ont terminé cette réparation.

5 commentaires de tutoriel
Great guide! Thank you so much for helping me fix my flash! I didn't need additional adhesive tape as it went back with the remainders of the original one and seems to hold up well. I would highly recommend using magnetic screwdriver as I had issues with those small screws going back into the tiny places they belong to. Otherwise, it was an easy fix!
PS watch out for that push button. It has a tendency to jump out :)
Thanks a lot. I can only agree with the comment on magnetic screwdrivers.
Also, notice that there are two types of screws: flat head and countersunk head. They also differ slightly in length.
I had a lot of trouble with wires getting stuck but a few tries and some care help.
Further, when assembling the push button and the rotating mechanisms I needed to pay attention to two tiny taps that fit into one of the two clamshells.
Finally, the tiny switch sensing the diffusing disc panel needed to be seated in two holes. I managed to assemble the flash only to discover that the sensing didn't work.
I hope these comments will help others.
Oh my gosh..I can't believe I actually did this..when I got the cover off, the 'push' button and spring popped off. I thought I just ought to quit while I was barely ahead. I did take it all apart- the instructions were fabulous-the screws I put in ordered piles...apparently they're not the same. I replaced the diffuser panel..it only really goes one way..put all screws back- replaced the batteries, and wa la- it worked. THANK YOU a million times over. Pam
Thank you. Easy to do with this instruction.
