Introduction
At some point during the use of your Casio CTK-501, you might encounter a time where the LCD screen starts to malfunction or in some cases just stop working. With this guide we will help you get to the screen, and show you how to replace it so that the screen can work like new.
For this repair you will need a total of two things, a #2 Phillips head screwdriver, and two pieces of tape. If you're not sure if you have the right tools or if you're not sure where to get them, the links to both the tape and screwdriver have been provided.
Before starting on this guide, check again to see if the screen is working or not, power it on and off a couple times, and make sure it's connected to a power source. If the problem still persists and the screen isn't working, you can continue with the guide, but check and be sure that the device is completely powered off before starting to take it apart.
Ce dont vous avez besoin
-
-
-
Flip the keyboard over so that the bottom is facing up.
-
Remove the twenty-seven 12 mm screws from the dark-grey panel using a Phillips #2 screwdriver.
 Demander à FixBot
-
-
-
Remove the bottom panel by lifting and pulling it towards yourself.
-
-
-
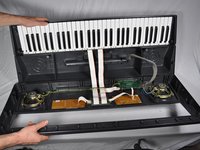
Flip open the top half of the keyboard.
-
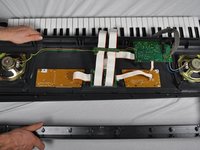
Set the keyboard onto the bottom half with the internal parts facing up.
-
-
-
-
-
-
Completely unscrew and remove all six of the screws on the central circuit board.
-
-
-
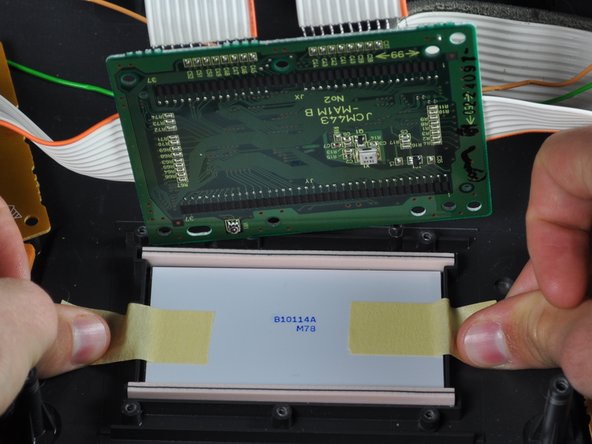
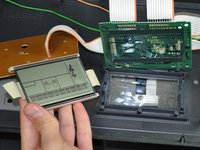
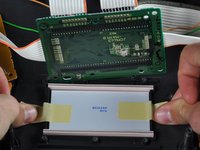
Remove tape from the LCD screen and remove the screen completely.
-
-
-
Place the circuit board back on top of the LCD screen.
-
Screw all of the screws completely in their original positions.
-
-





To reassemble your device, follow these instructions in reverse order.
Annulation : je n'ai pas terminé ce tutoriel.
2 autres ont terminé cette réparation.

Équipe

Cal Poly, Team 9-16, Amido Fall 2012 Membre de l'équipe Cal Poly, Team 9-16, Amido Fall 2012
CPSU-AMIDO-F12S9G16
4 membres
24 tutoriels rédigés
3 commentaires de tutoriel
Hi. Would this screen work for CTK 481?
hi. I have the ctk 4300. i would like to know where i can get one.Binitintimo@gmail.com
