Introduction
To see the notes you are playing, replace the screen by removing screws and opening up the keyboard to find a green panel with the display.
Ce dont vous avez besoin
-
-
-
Using JIS-1 screwdriver, remove the seven 11mm screws located on the back of the keyboard.
 Demander à FixBot
-
-
-
Once all the screws are out, flip the keyboard over and gently pull the middle panel out.
-
Flip this panel up so that the component board can be seen.
-
-
-
-
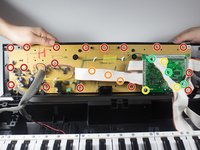
First, you must use the PH-1 bit to remove the 17 8mm screws, circled in red.
-
Second, using the same PH-1 bit, you will remove the three 8mm screws hidden under the white wire. These screws are circled in orange.
-
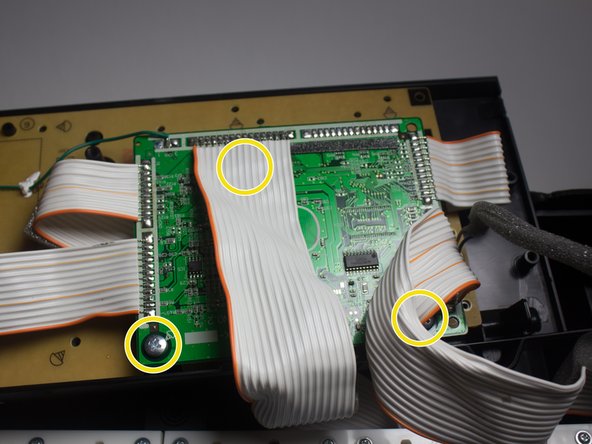
Third, using the JIS-1 bit, remove the three 7mm screws on the circuit board.
-
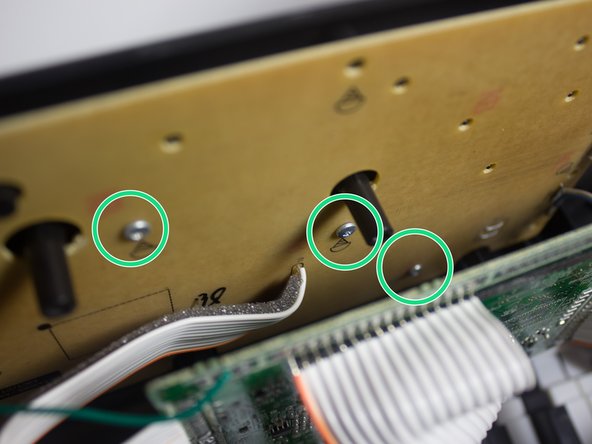
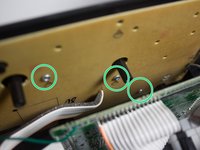
Using the PH-1 bit, remove the last three 8mm screws, circled in green.
-
-
-
Once all the screws have been removed, lift the component board and place it face down on the keys.
-
-
-
Flip over the component board to reveal the display that is currently connected to a green panel.
-
-
-
Remove the display by carefully picking it up with your fingers from the green panel.
-
-




To reassemble your device, follow these instructions in reverse order.

Équipe

Cal Poly, Team 13-2, Banghart Winter 2017 Membre de l'équipe Cal Poly, Team 13-2, Banghart Winter 2017
CPSU-BANGHART-W17S13G2
3 membres
5 tutoriels rédigés
1 commentaire de tutoriel
Hey, where do you find a replacement lcd?
