Aller au contenu principal
Pour réparer ensemble - Je crée un compte

Connect Four Electronic Handheld Screen Replacement

Ce dont vous avez besoin

  1. Connect Four Electronic Handheld Screen Replacement, Ensure the device is off.: étape 1, image 1 de 1
    • Make sure the Connect Four Electronic Handheld is off by allowing it to shut off automatically.

    Demander à FixBot

    Ajouter un commentaire

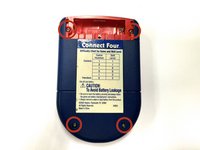
  2. Connect Four Electronic Handheld Screen Replacement, Removing the battery casing.: étape 2, image 1 de 2 Connect Four Electronic Handheld Screen Replacement, Removing the battery casing.: étape 2, image 2 de 2
    • Using a Phillips head screwdriver, remove the (9.1mm length) #2 screw in the middle of the battery casing.

    • Slide the cover off and remove the battery.

    Demander à FixBot

    Ajouter un commentaire

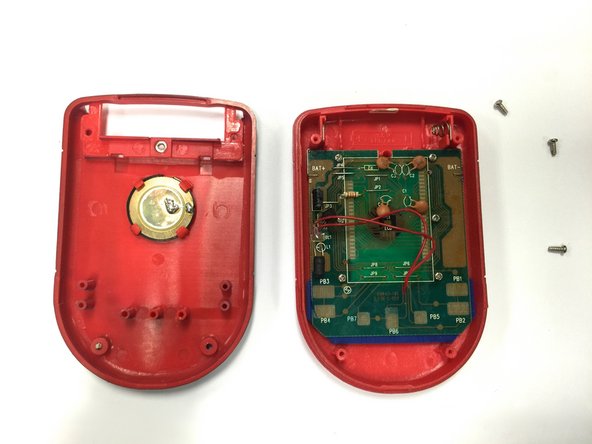
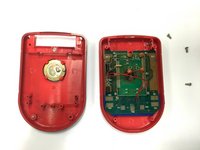
  3. Connect Four Electronic Handheld Screen Replacement, Removing/Replacing the Back Casing: étape 3, image 1 de 2 Connect Four Electronic Handheld Screen Replacement, Removing/Replacing the Back Casing: étape 3, image 2 de 2
    • Using a Phillips head screwdriver, remove the four (7.1mm- length) #3 screws that hold the back casing in place.

    • Carefully remove the back casing.

    • When removing the back casing, make sure not to rupture the wires that connect the speaker to the circuit board.

    Demander à FixBot

    Ajouter un commentaire

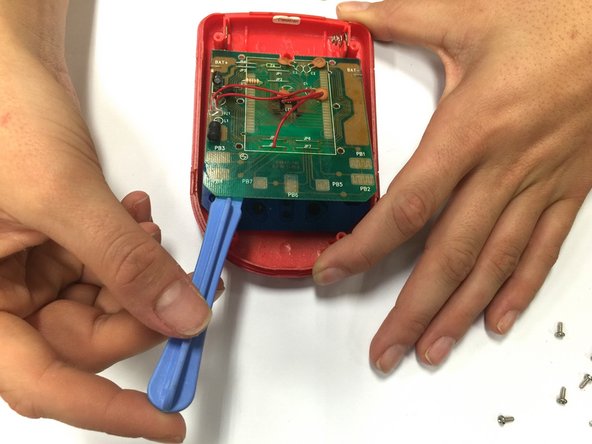
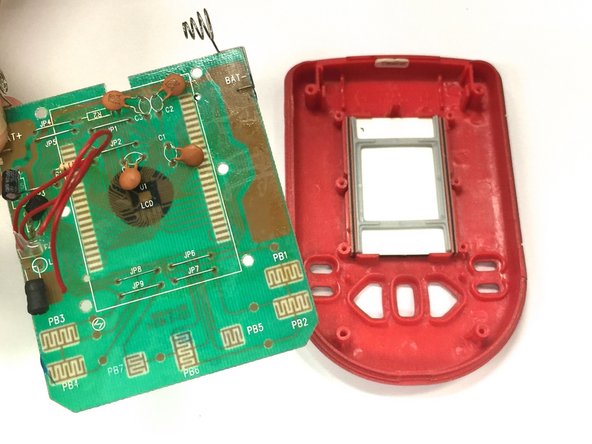
  4. Connect Four Electronic Handheld Screen Replacement, Detaching the circuit board.: étape 4, image 1 de 3 Connect Four Electronic Handheld Screen Replacement, Detaching the circuit board.: étape 4, image 2 de 3 Connect Four Electronic Handheld Screen Replacement, Detaching the circuit board.: étape 4, image 3 de 3
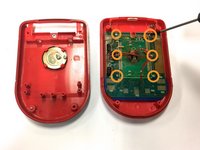
    • Using a Phillips head screwdriver, remove the six (0.25"-length) #3 screws that hold down the cpu board.

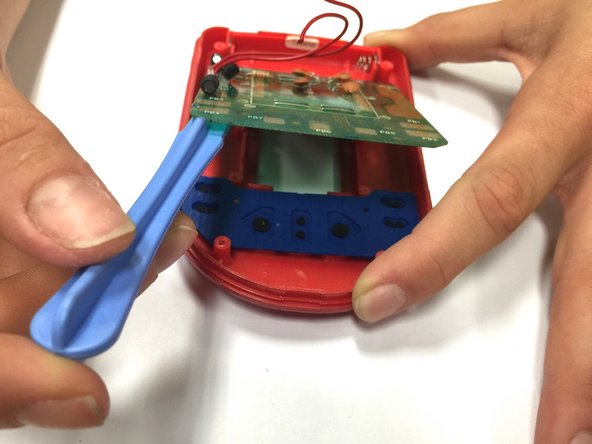
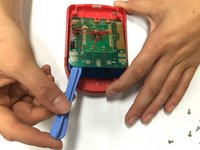
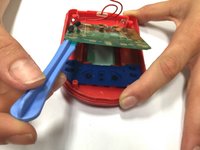
    • Using a plastic opening tool, lever the circuit board just enough to where you can easily access the button sheet.

    Demander à FixBot

    Ajouter un commentaire

  5. Connect Four Electronic Handheld Screen Replacement, Removing the Circuit Board: étape 5, image 1 de 2 Connect Four Electronic Handheld Screen Replacement, Removing the Circuit Board: étape 5, image 2 de 2
    Outil utilisé dans cette étape :
    Tweezers
    $4.99
    • Pop out the wires, connected to the battery terminals, out of their place. You can use a plastic opening tool or fine tweezers for this step.

    • The wires in this image have already been detached.

    • Check that there is no power going into the device that could pose any shock hazard.

    • Once the terminals are out of place, remove the circuit board.

    Demander à FixBot

    Ajouter un commentaire

  6. Connect Four Electronic Handheld Screen Replacement, Replacing the Screen: étape 6, image 1 de 1
    • Take the old screen out.

    • Replace the old screen with the new screen.

    • Ensure that the screen is facing right side up, where there is more yellow space under the checkered board.

    Demander à FixBot

    Ajouter un commentaire

Conclusion

To reassemble your device, follow these instructions in reverse order.

Annulation : je n'ai pas terminé ce tutoriel.

Wil

Membre depuis le 10/22/14

313 Réputation

3 tutoriels rédigés

Équipe

Baylor, Team 8-11, Williams Fall 2014 Membre de l'équipe Baylor, Team 8-11, Williams Fall 2014

BU-WILLIAMS-F14S8G11

3 membres

12 tutoriels rédigés

0 commentaires de tutoriel

Ajouter un commentaire

Nombre de vues :

Dernières 24 heures : 0

7 derniers jours : 7

30 derniers jours : 45

Total : 781