Aller au contenu principal
Pour réparer ensemble - Je crée un compte

Dell VRC100-R Daughterboard Replacement

Ce dont vous avez besoin

    1. Dell VRC100-R Daughterboard Replacement, Battery: étape 1, image 1 de 3 Dell VRC100-R Daughterboard Replacement, Battery: étape 1, image 2 de 3 Dell VRC100-R Daughterboard Replacement, Battery: étape 1, image 3 de 3
      • Orient your controller so that the black ring is on the bottom and the buttons are facing away from yourself.

      • Place your thumb on the small arrow that is on the controller's battery cover and firmly push upwards.

      • Slide the cover off and separate it from the controller.

      Demander à FixBot

      Ajouter un commentaire

    2. Dell VRC100-R Daughterboard Replacement: étape 2, image 1 de 2 Dell VRC100-R Daughterboard Replacement: étape 2, image 2 de 2
      • Remove the right battery by pushing the positive end down and pulling the battery out toward yourself.

      • Repeat the procedure for the left battery.

      Demander à FixBot

      Ajouter un commentaire

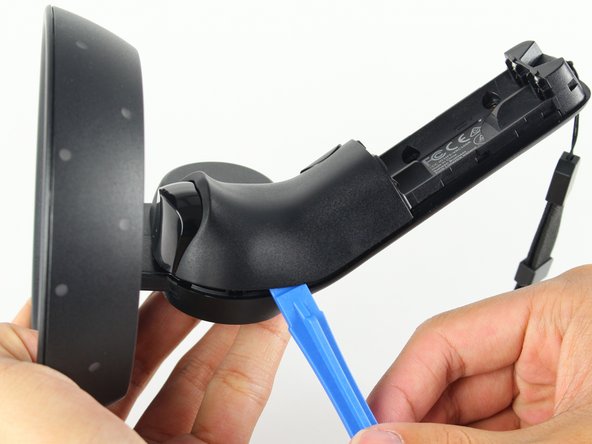
    1. Dell VRC100-R Daughterboard Replacement, Joystick: étape 3, image 1 de 3 Dell VRC100-R Daughterboard Replacement, Joystick: étape 3, image 2 de 3 Dell VRC100-R Daughterboard Replacement, Joystick: étape 3, image 3 de 3
      • Hold the joystick down with your left thumb to make space for the plastic opening tool.

      • Insert the plastic opening tool into the circle above the joystick and pry upwards to lift the front panel.

      • Slide the plastic opening tool around the perimeter until you can lift the front panel.

      • You may hear a popping noise when you pry off the front panel.

      Demander à FixBot

      Ajouter un commentaire

    2. Dell VRC100-R Daughterboard Replacement: étape 4, image 1 de 2 Dell VRC100-R Daughterboard Replacement: étape 4, image 2 de 2
      • Grab the joystick and pull away from the controller to remove it.

      Demander à FixBot

      Ajouter un commentaire

    1. Dell VRC100-R Daughterboard Replacement, Daughterboard: étape 5, image 1 de 2 Dell VRC100-R Daughterboard Replacement, Daughterboard: étape 5, image 2 de 2
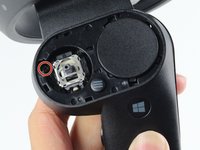
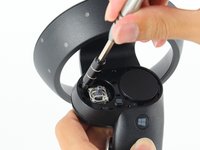
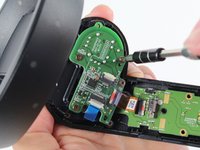
      • Remove one 6mm Phillips #0 screw.

      Demander à FixBot

      Ajouter un commentaire

    2. Dell VRC100-R Daughterboard Replacement: étape 6, image 1 de 2 Dell VRC100-R Daughterboard Replacement: étape 6, image 2 de 2
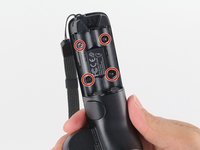
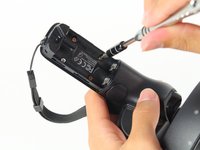
      • Turn your controller over and orient it so that the thin side is on the top.

      • Remove four 4mm Phillips #0 screws.

      Demander à FixBot

      Ajouter un commentaire

    3. Dell VRC100-R Daughterboard Replacement: étape 7, image 1 de 2 Dell VRC100-R Daughterboard Replacement: étape 7, image 2 de 2
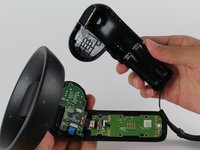
      • Turn your controller 90 degrees clockwise and insert a blue plastic opening tool into the crease of the back panel.

      • Push down on the end of the plastic opening tool closest to you to lift the panel up.

      • Slide the plastic opening tool around the perimeter of the back panel until you can remove it.

      • You may hear loud popping noises as the back panel separates from the controller.

      Demander à FixBot

      Ajouter un commentaire

    4. Dell VRC100-R Daughterboard Replacement: étape 8, image 1 de 2 Dell VRC100-R Daughterboard Replacement: étape 8, image 2 de 2
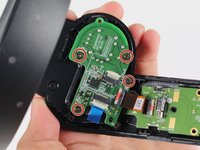
      • Remove four 4mm Phillips #0 screws.

      Demander à FixBot

      Ajouter un commentaire

    5. Dell VRC100-R Daughterboard Replacement: étape 9, image 1 de 3 Dell VRC100-R Daughterboard Replacement: étape 9, image 2 de 3 Dell VRC100-R Daughterboard Replacement: étape 9, image 3 de 3
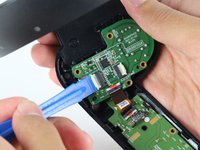
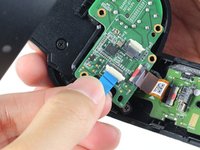
      • Use the tip of the blue plastic opening tool or your fingernail to gently flip-up the white locking flap.

      • Make sure to only lift the flap and not the connector socket because the socket easily breaks off.

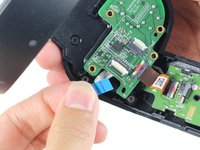
      • Grab the blue cable and pull away from the socket.

      • To reinstall, insert the blue cable into the connector and close the flap on the black line.

      Demander à FixBot

      Ajouter un commentaire

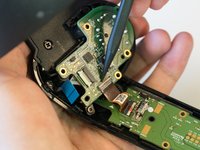
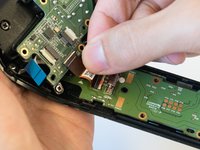
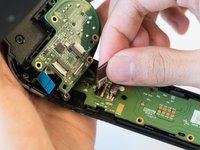
    6. Dell VRC100-R Daughterboard Replacement: étape 10, image 1 de 3 Dell VRC100-R Daughterboard Replacement: étape 10, image 2 de 3 Dell VRC100-R Daughterboard Replacement: étape 10, image 3 de 3
      • Use the tip of a spudger or your fingernail to gently flip-up the small white flap holding the orange ribbon cable.

      • Make sure to only lift the flap and not the connector socket because the socket easily breaks off.

      • Grab the orange cable and pull away from the socket.

      • To reinstall, insert the orange cable into the connector and close the flap on the white line.

      Demander à FixBot

      Ajouter un commentaire

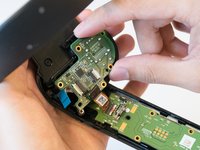
    7. Dell VRC100-R Daughterboard Replacement: étape 11, image 1 de 2 Dell VRC100-R Daughterboard Replacement: étape 11, image 2 de 2
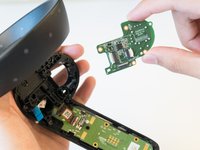
      • Place two fingers on the perimeter of the daughterboard and lift it away from the controller.

      Demander à FixBot

      Ajouter un commentaire

Conclusion

To reassemble your device, follow these instructions in reverse order.

Annulation : je n'ai pas terminé ce tutoriel.

22 autres ont terminé cette réparation.

Steven Pineda

Membre depuis le 04/16/18

1 049 Réputation

3 tutoriels rédigés

Équipe

Cal Poly, Team S18-G3, Livingston Spring 2018 Membre de l'équipe Cal Poly, Team S18-G3, Livingston Spring 2018

CPSU-LIVINGSTON-S18S18G3

4 membres

10 tutoriels rédigés

1 commentaire de tutoriel

Really instructive & easy to follow!

Daisy Chavez - Réponse Partager

Ajouter un commentaire

Nombre de vues :

Dernières 24 heures : 1

7 derniers jours : 9

30 derniers jours : 39

Total : 7,245