Aller au contenu principal
Pour réparer ensemble - Je crée un compte

Delphi MyFi XM2GO Motherboard Replacement

Ce dont vous avez besoin

  1. Delphi MyFi XM2GO Motherboard Replacement, Battery Cover: étape 1, image 1 de 3 Delphi MyFi XM2GO Motherboard Replacement, Battery Cover: étape 1, image 2 de 3 Delphi MyFi XM2GO Motherboard Replacement, Battery Cover: étape 1, image 3 de 3
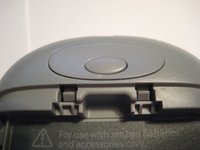
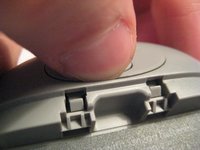
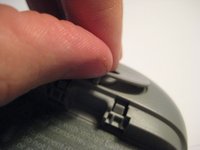
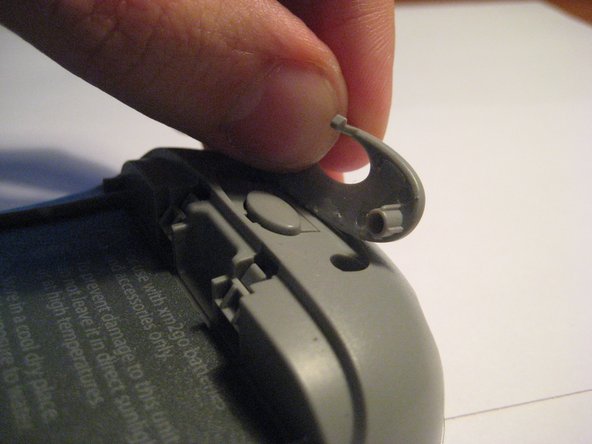
    • Locate the large button on the top of the device.

    • Push down on the button and slide the cover away from the button.

    • The battery removal tab may pop up.

    Demander à FixBot
  2. Delphi MyFi XM2GO Motherboard Replacement, Battery: étape 2, image 1 de 3 Delphi MyFi XM2GO Motherboard Replacement, Battery: étape 2, image 2 de 3 Delphi MyFi XM2GO Motherboard Replacement, Battery: étape 2, image 3 de 3
    • Grab the red pull tab and pull down to unlock the latch.

    • Pull the battery out.

    Demander à FixBot
  3. Delphi MyFi XM2GO Motherboard Replacement, Motherboard: étape 3, image 1 de 2 Delphi MyFi XM2GO Motherboard Replacement, Motherboard: étape 3, image 2 de 2
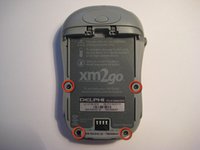
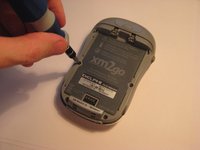
    • Remove the four screws from the bottom of the device using a T6 Torx screwdriver.

    Demander à FixBot
  4. Delphi MyFi XM2GO Motherboard Replacement: étape 4, image 1 de 3 Delphi MyFi XM2GO Motherboard Replacement: étape 4, image 2 de 3 Delphi MyFi XM2GO Motherboard Replacement: étape 4, image 3 de 3
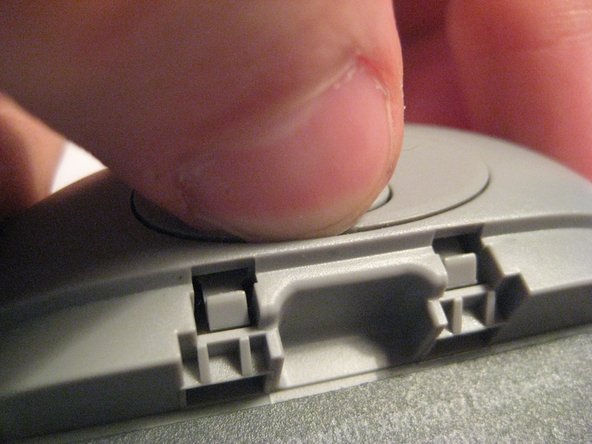
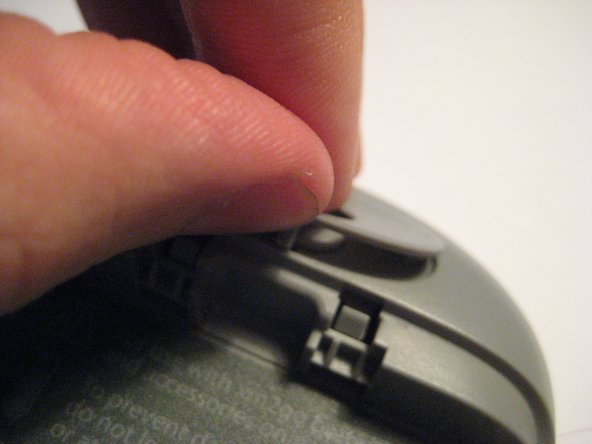
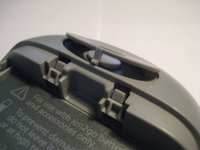
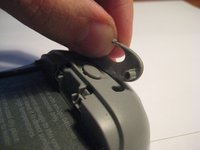
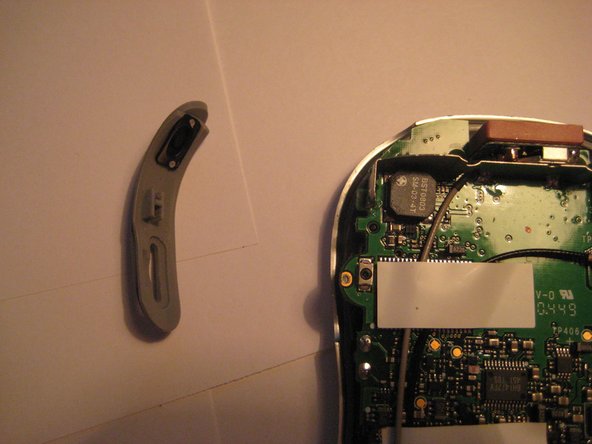
    • Remove the button cover on the back of the device by prying it up with a spudger or your thumb nail.

    Demander à FixBot
  5. Delphi MyFi XM2GO Motherboard Replacement: étape 5, image 1 de 3 Delphi MyFi XM2GO Motherboard Replacement: étape 5, image 2 de 3 Delphi MyFi XM2GO Motherboard Replacement: étape 5, image 3 de 3
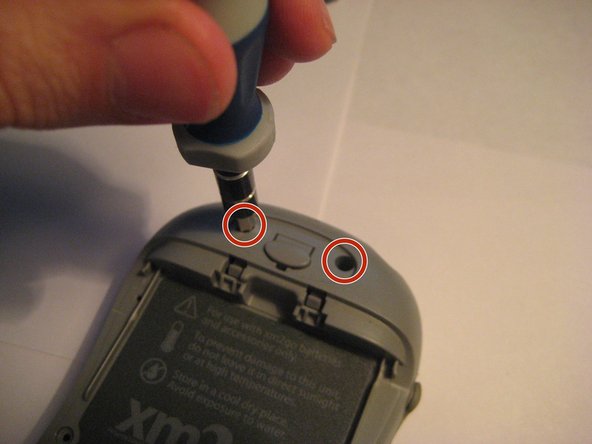
    • Remove the two screws under the button using the T6 Torx screwdriver.

    Demander à FixBot
  6. Delphi MyFi XM2GO Motherboard Replacement: étape 6, image 1 de 2 Delphi MyFi XM2GO Motherboard Replacement: étape 6, image 2 de 2
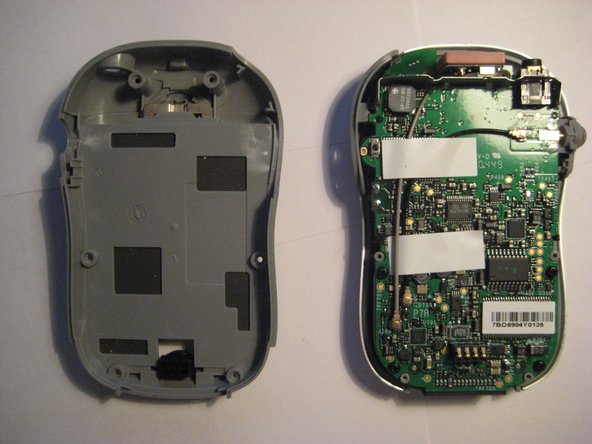
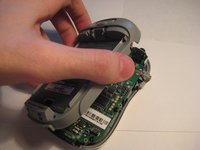
    • Remove the back cover.

    Demander à FixBot
  7. Delphi MyFi XM2GO Motherboard Replacement: étape 7, image 1 de 2 Delphi MyFi XM2GO Motherboard Replacement: étape 7, image 2 de 2
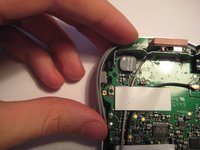
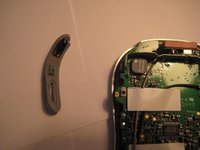
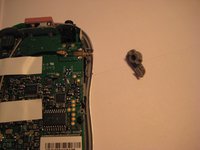
    • Remove the power button by pulling it to the left.

    Demander à FixBot
  8. Delphi MyFi XM2GO Motherboard Replacement: étape 8, image 1 de 2 Delphi MyFi XM2GO Motherboard Replacement: étape 8, image 2 de 2
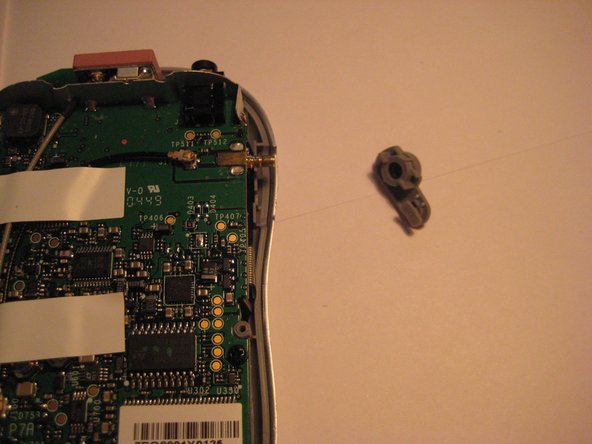
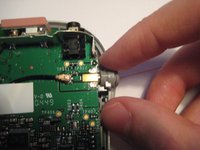
    • Remove the plastic antenna extension connector on the right side of the device.

    Demander à FixBot
  9. Delphi MyFi XM2GO Motherboard Replacement: étape 9, image 1 de 3 Delphi MyFi XM2GO Motherboard Replacement: étape 9, image 2 de 3 Delphi MyFi XM2GO Motherboard Replacement: étape 9, image 3 de 3
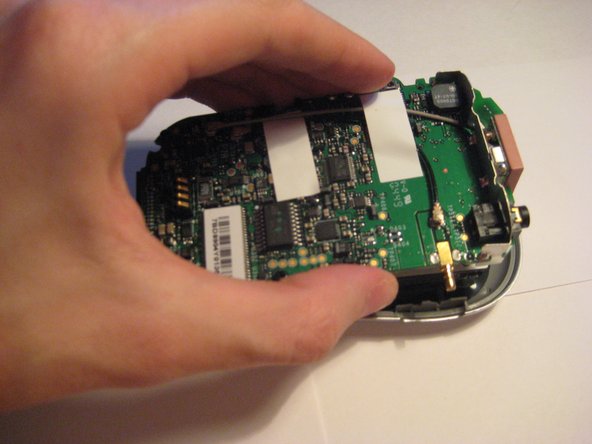
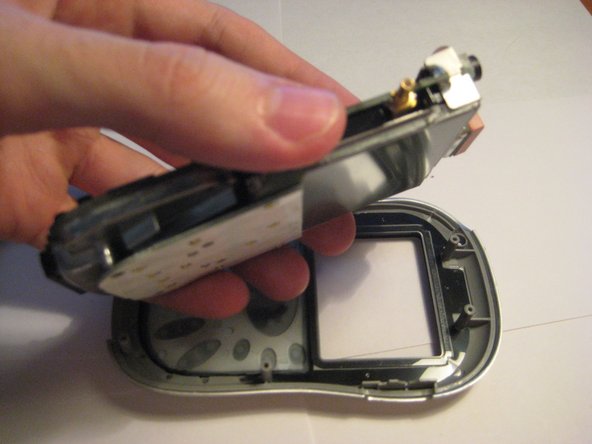
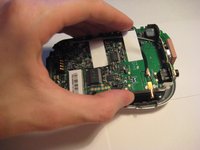
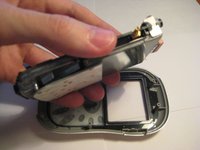
    • Pull up on the motherboard to remove it from the device.

    • The LCD screen and keypad are only connected to the motherboard with ribbon cables. They will hang down as the motherboard is removed.

    Demander à FixBot
Conclusion

To reassemble your device, follow these instructions in reverse order.

Une autre personne a terminé cette réparation.

Scott Byer

Membre depuis le 03/09/12

88 Réputation

5 tutoriels rédigés

Équipe

Clemson, Team 1-2, Benson Spring 2012 Membre de l'équipe Clemson, Team 1-2, Benson Spring 2012

CLEM-BENSON-S12S1G2

3 membres

9 tutoriels rédigés

0 commentaires de tutoriel

Ajouter un commentaire

Nombre de vues :

Dernières 24 heures : 4

7 derniers jours : 11

30 derniers jours : 67

Total : 2,834