Cette traduction a été générée automatiquement et n’a pas encore fait l’objet d’une relecture humaine. Vous parlez cette langue ? Relisez-la.
Introduction
Utilisez ce tutoriel pour démonter l'objectif de l'appareil photo. Cela vous sera utile pour nettoyer l'objectif plus en profondeur si vous rencontrez l'erreur E18.
Ce dont vous avez besoin
-
-
-
Éteignez l'appareil photo en appuyant sur le bouton de marche situé au-dessus de l'écran LCD.
 Demander à FixBot
-
-
-
Retirez les deux petites vis situées en bas de l'appareil photo avec un tournevis cruciforme #00.
-
-
-
Avec un tournevis cruciforme PH00, retirez les deux petites vis situées sur le côté droit de l'appareil photo.
-
-
-
Avec un tournevis cruciforme #00, retirez la vis située à gauche de la caméra, sous l'étiquette A/V out digital.
-
-
-
Avec un tournevis cruciforme #00, retirez la vis située sur le bas de l'appareil, près des emplacements de la batterie et de la carte mémoire.
-
-
-
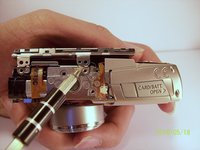
Retirez les boîtiers avant, arrière et latéraux de la caméra et mettez-les de côté.
-
-
-
-
-
Retirez les deux vis qui relient l'écran LCD et le rétroéclairage au corps principal de l'appareil photo.
-
-
-
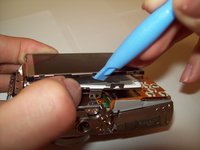
Décollez délicatement l'écran LCD et le rétroéclairage du corps principal de l'appareil photo.
-
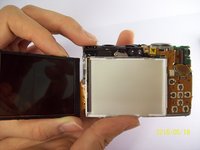
Décollez délicatement l'écran LCD du rétroéclairage.
-
La nappe fine est destinée au rétroéclairage.
-
La nappe épaisse est destinée à l'écran LCD.
-
-
-
-
Soulevez délicatement le connecteur ZIF qui recouvre la nappe épaisse.
-
Ce connecteur ZIF est fragile. Soyez prudent lorsque vous le soulevez de sa position abaissée.
-
Insérez le nouvel écran LCD et remontez l'appareil photo.
-
-
-
-
Outil utilisé dans cette étape :Tweezers$4.99
-
Débranchez la nappe du boîtier sur le circuit.
-
Prenez la nouvelle nappe et insérez-la dans le boîtier.
-
Une pincette ou un outil à pointe fine peut être utilisé.
-
-
-
-
-
Déconnectez l'écran LCD et le rétroéclairage.
-
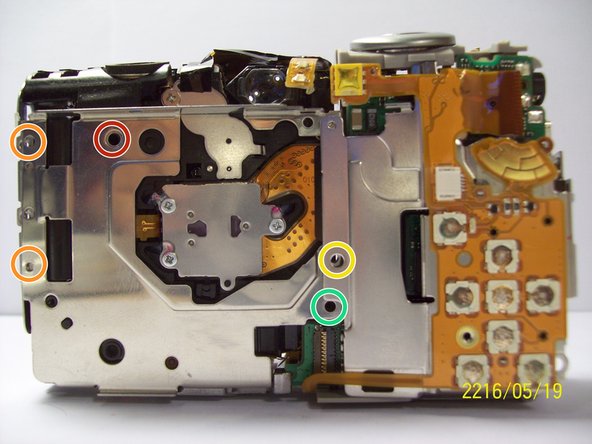
Retirez la vis la plus grande.
-
Retirez les deux vis de plus petite taille.
-
Retirez la petite vis.
-
Retirez la petite vis.
-
-
-
Retirez les deux vis près de la fixation pour trépied avec un tournevis cruciforme #00.
-
-
-
Retirez la vis située à côté de l'obturateur sur le dessus de l'appareil photo avec un tournevis cruciforme.
-
-
-
Retirez la nappe orange en soulevant le connecteur ZIF fixé à la nappe avec une spatule.
-
-
-
Soulevez délicatement l'obturateur avec la nappe qui y est connectée. Cela retirera le boîtier autour de la carte mère.
-
-
-
Une fois le boîtier de la carte mère détaché, retirez la courte nappe orange en soulevant le connecteur ZIF avec une spatule (spudger) ou un autre outil pour ouvrir en plastique, puis faites glisser la nappe pour la sortir. Le fait de détacher cette nappe déconnectera la partie de l'appareil photo contenant la carte mère du reste de l'appareil.
-
-
-
Débranchez les fils qui sont raccordés à la carte mère.
-
Retirez le film en le soulevant délicatement de la carte mère.
-
-
-
Retirez les derniers fils raccordés à la carte mère en les soulevant délicatement vers le haut.
-
-
-
Avec une spatule (spudger), soulevez délicatement le circuit imprimé.
-
-
-
Retirez la vis avec un tournevis cruciforme #00.
-
Soulevez délicatement la carte mère du boîtier.
-
-
-
Retirez la vis.
-
Une fois la vis retirée, vous pouvez retirer la carte.
-
-
-
-
-
Une fois que vous avez retiré l'objectif du châssis principal, brossez délicatement toute la saleté, le sable ou la poussière qui ont pu s'accumuler dans les interstices. L'utilisation d'une bombe d'air comprimé ou d'une brosse peut vous aider à éliminer toute la saleté.
-
-






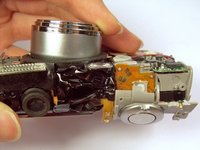
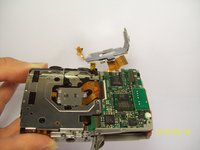


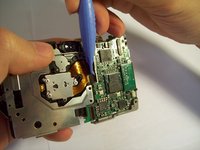
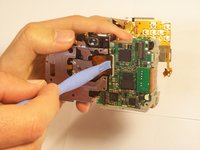
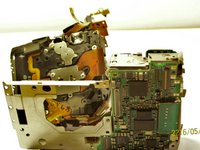


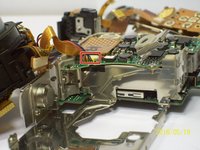
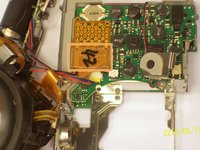


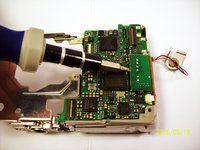
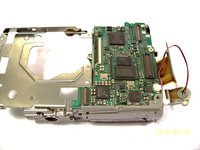


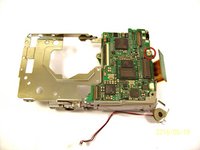
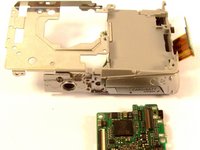


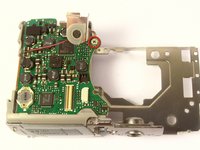
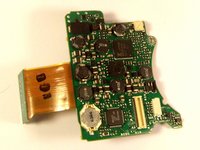

Pour remonter votre appareil, suivez ces instructions en sens inverse.
Annulation : je n'ai pas terminé ce tutoriel.
2 autres ont terminé cette réparation.

Équipe

Cal Poly, Team 9-71, Walters Spring 2011 Membre de l'équipe Cal Poly, Team 9-71, Walters Spring 2011
CPSU-WALTERS-S11S9G71
4 membres
96 tutoriels rédigés
