Aller au contenu principal
Pour réparer ensemble - Je crée un compte

Dyson DC39 Origin Replacement

Ce dont vous avez besoin

    1. Dyson DC39 Origin  Replacement, Bin: étape 1, image 1 de 3 Dyson DC39 Origin  Replacement, Bin: étape 1, image 2 de 3 Dyson DC39 Origin  Replacement, Bin: étape 1, image 3 de 3
      • Push down on the gray button located next to the power button to release the bin from the ball housing.

      • Pull the bin away, then up from the ball housing to remove it.

      • If the bin won't fit back into place during re-assembly, you may need to push the grey button again.

      Demander à FixBot

      Ajouter un commentaire

    1. Dyson DC39 Origin  Replacement, Steering Assembly: étape 2, image 1 de 3 Dyson DC39 Origin  Replacement, Steering Assembly: étape 2, image 2 de 3 Dyson DC39 Origin  Replacement, Steering Assembly: étape 2, image 3 de 3
      • Place the ball housing on its side and orient it so that the underside of the steering assembly is facing you.

      • Remove the four 18.0 mm Torx 15 screws.

      Demander à FixBot

      Ajouter un commentaire

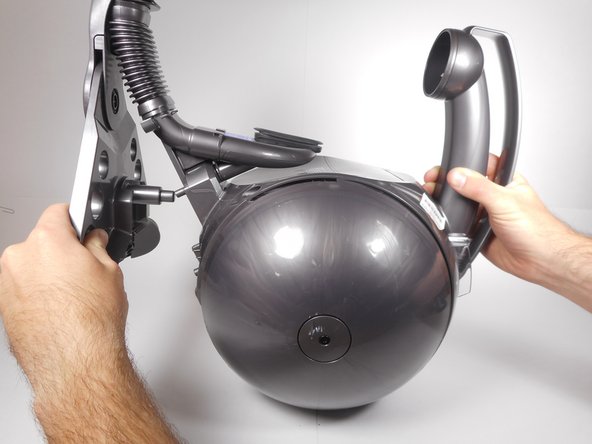
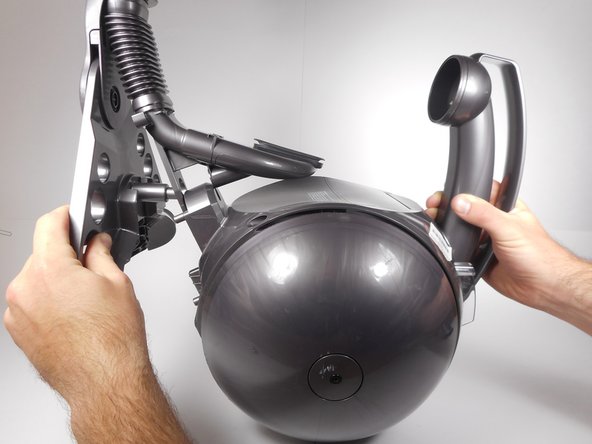
    2. Dyson DC39 Origin  Replacement: étape 3, image 1 de 3 Dyson DC39 Origin  Replacement: étape 3, image 2 de 3 Dyson DC39 Origin  Replacement: étape 3, image 3 de 3
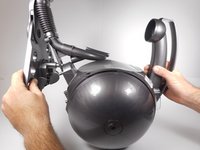
      • Using two hands, hold the ball housing with the handle in one hand and the steering assembly base in the other.

      • Hold the steering assembly base near one of the wheels.

      • Pull the steering assembly base directly away from the ball housing. You should notice a pin release.

      • Push up on the steering assembly to remove it completely from the ball housing.

      • During reassembly, slide the steering assembly in first, then push the pin back into its locking position.

      Demander à FixBot

      Ajouter un commentaire

    1. Dyson DC39 Origin  Replacement, Inlet Hose: étape 4, image 1 de 2 Dyson DC39 Origin  Replacement, Inlet Hose: étape 4, image 2 de 2
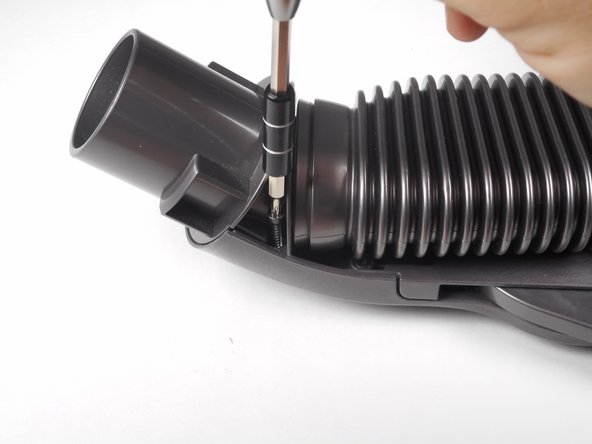
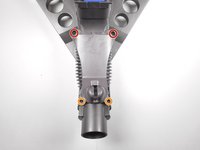
      • Remove the two 17.8 mm Phillips #2 screws located in the top of the inlet hose bracket.

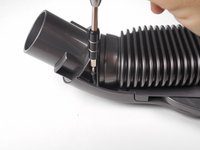
      • Remove the two 13.7 mm Torx 8 screws located at the opposite end of the inlet hose.

      • The Torx 8 screws are located at an odd angle. Be sure the screwdriver is secure to prevent stripping the screws.

      Demander à FixBot

      Ajouter un commentaire

    2. Dyson DC39 Origin  Replacement: étape 5, image 1 de 2 Dyson DC39 Origin  Replacement: étape 5, image 2 de 2
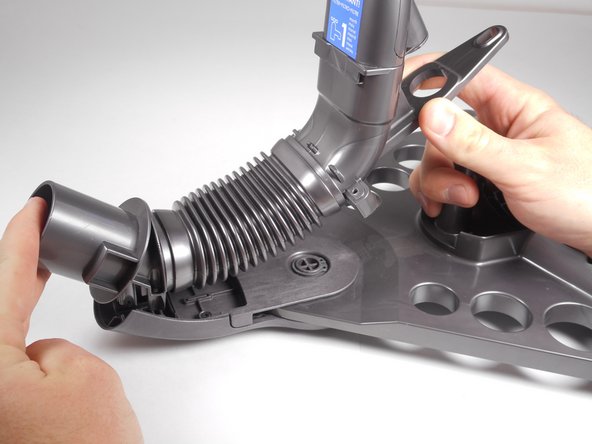
      • Pull the inlet hose straight up from the steering assembly.

      • The inlet hose 'snaps' out of its position, so you may have to apply a little extra force while pulling.

      Demander à FixBot

      Ajouter un commentaire

Conclusion

To reassemble your device, follow these instructions in reverse order.

Annulation : je n'ai pas terminé ce tutoriel.

5 autres ont terminé cette réparation.

Michael Hutcheson

Membre depuis le 04/26/17

312 Réputation

2 tutoriels rédigés

Équipe

Cal Poly, Team S23-G6, Livingston Spring 2017 Membre de l'équipe Cal Poly, Team S23-G6, Livingston Spring 2017

CPSU-LIVINGSTON-S17S23G6

3 membres

24 tutoriels rédigés

1 commentaire de tutoriel

Really clear instructions - thank you

collette - Réponse Partager

Ajouter un commentaire

Nombre de vues :

Dernières 24 heures : 0

7 derniers jours : 7

30 derniers jours : 47

Total : 4,827