Introduction
This guide will require removal of 1x5mm screws. Be careful removing the wires, be sure to release them as instructed before pulling on them.
Ce dont vous avez besoin
-
-
Flip the laptop so the base of the laptop is facing you.
-
Using the #00 screwdriver, unscrew the 13 screws.
 Demander à FixBot
-
-
-
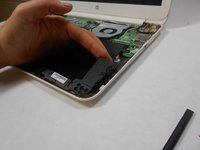
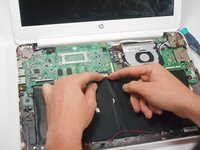
Start from the top right corner of the laptop and work clockwise with an iFixit opening tool or spudger to pry the keyboard from the frame of the laptop.
-
-
-
Gently pull the keyboard in the opposite direction of the screen, so the wires beneath are exposed.
-
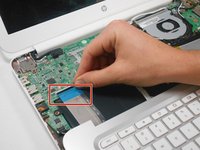
Lift the black flap and pull the blue ribbon gently towards you until it is disconnected.
-
Lift the white flap and pull the blue ribbon towards you until it is disconnected.
-
-
-
Lift keyboard slightly and remove the strip gently to prevent damaging any parts.
-
-
-
-
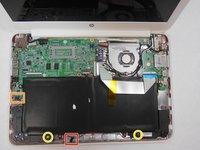
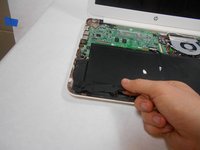
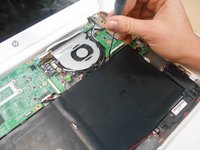
Undo the black tape located on the bottom from the frame of the laptop.
-
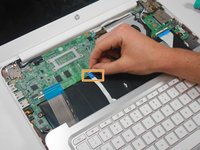
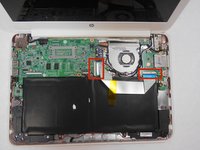
Using fingers or the spudger, slide out the black connector indicated on the left.
-
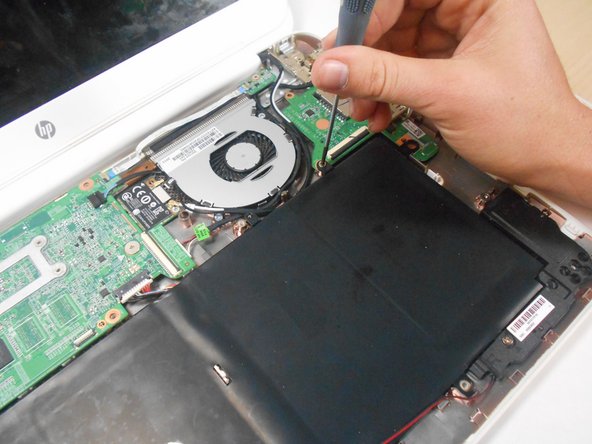
Use a #00 screwdriver to remove the two screws.
-
-
-
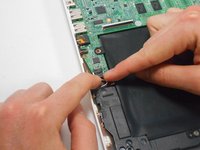
Lift the black flaps and gently pull the strip out.
-
Set the strip aside.
-
-
-
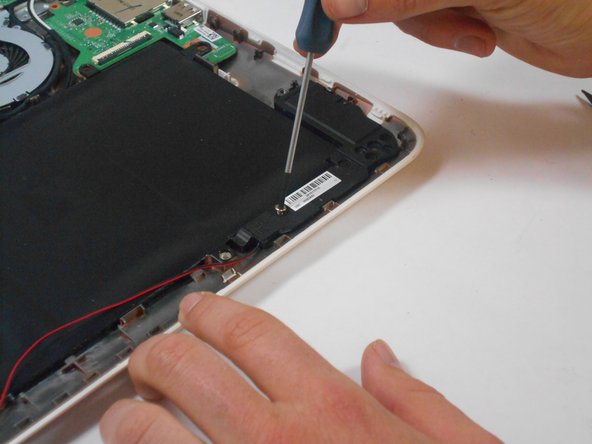
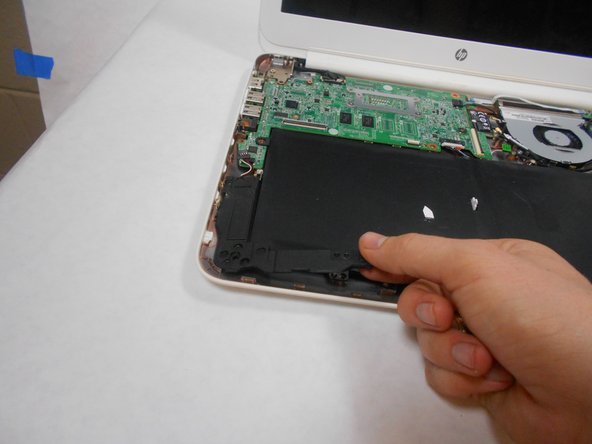
Remove the screw.
-
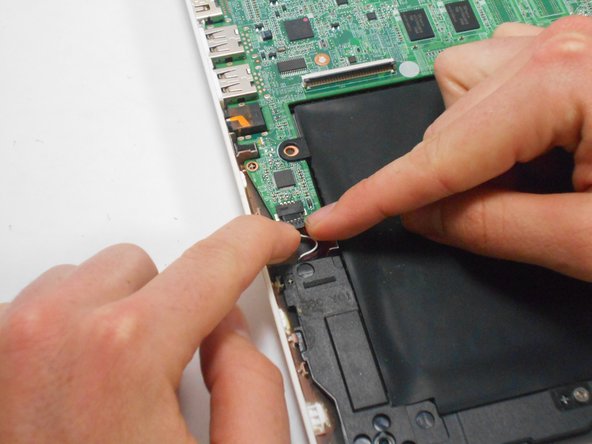
Use your fingers to pull the white tab out of the black slot above the battery.
-


To reassemble your device, follow these instructions in reverse order.
Annulation : je n'ai pas terminé ce tutoriel.
6 autres ont terminé cette réparation.
Équipe

USF Tampa, Team 17-2, Watkins Winter 2015 Membre de l'équipe USF Tampa, Team 17-2, Watkins Winter 2015
USFT-WATKINS-W15S17G2
4 membres
8 tutoriels rédigés
3 commentaires de tutoriel
Nice guide, guys!
Thanks, hope it made life a bit easier for you!
Very clear and concise. Nice going! Thank you.