Introduction
If the keys on your keyboard are unresponsive or damaged, remove the keyboard for cleaning or replacement.
Ce dont vous avez besoin
-
-
Flip the 4520s upside-down with the front toward you.
-
Push the two latches below the battery inwards at the same time.
 Demander à FixBot
-
-
-
Remove the battery by holding the latches and sliding the battery away from you.
-
-
-
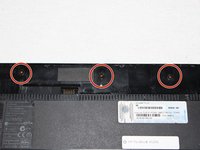
Use a Phillips #1 screwdriver to remove three 2mm screws where the battery was located.
-
-
-
-
Flip the 4520s over and rotate it so the back is facing you.
-
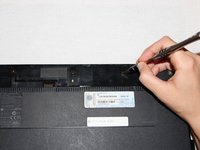
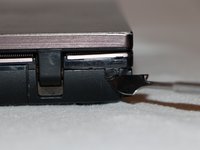
Use a metal spudger to peel off two rubber caps located on either side of the battery port.
-
-
-
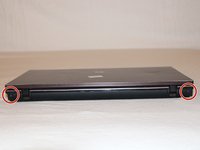
Use a Phillips #1 screwdriver to remove the 3mm screws behind the caps.
-
-
-
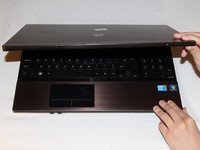
Rotate the 4520s and then open it with the screen facing you.
-
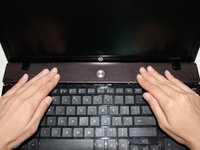
The switch cover is located above the keyboard. Push the switch cover away from you until it comes loose from the 4520s.
-
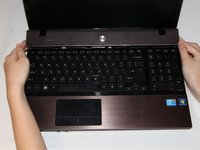
Lift the switch cover away from the 4520s and set it aside.
-
-
-
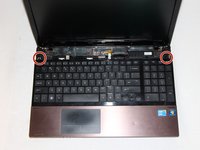
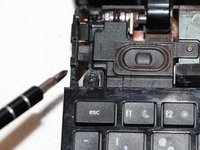
Use a Phillips #1 screwdriver to remove the two 7mm screws located on either side of the keyboard panel.
-
-
-
Slide the keyboard panel away from you to free it from the 4520s.
-
-
-
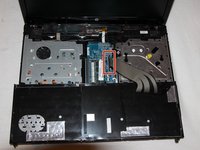
Gently raise up the keyboard and flip it over to reveal a ribbon cable.
-
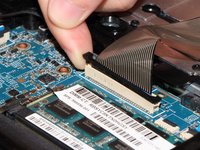
Release the ribbon cable by carefully lifting the black tab upwards, one side at a time.
-
Remove the cable and lift the keyboard panel up. Set it aside.
-










To reassemble your device, follow these steps in reverse order.
Annulation : je n'ai pas terminé ce tutoriel.
7 autres ont terminé cette réparation.

Équipe

UC Davis, Team 1-3, Oliver Fall 2016 Membre de l'équipe UC Davis, Team 1-3, Oliver Fall 2016
UCD-OLIVER-F16S1G3
5 membres
8 tutoriels rédigés
1 commentaire de tutoriel
hp probook 4520s disassembly
