Aller au contenu principal

Hamilton Beach Power Cord Replacement

Ce dont vous avez besoin

  1. Hamilton Beach  Power Cord Replacement, Motor: étape 1, image 1 de 3 Hamilton Beach  Power Cord Replacement, Motor: étape 1, image 2 de 3 Hamilton Beach  Power Cord Replacement, Motor: étape 1, image 3 de 3
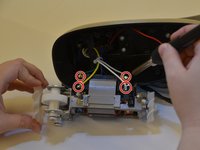
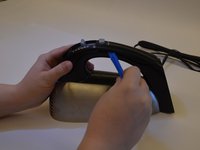
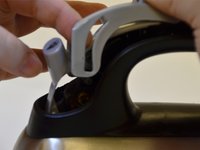
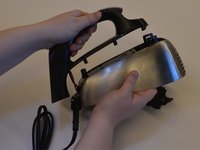
    • Flip the handle on its side. Remove five 3.8 mm Philips #2 screws shown and set aside them aside.

  2. Hamilton Beach  Power Cord Replacement: étape 2, image 1 de 3 Hamilton Beach  Power Cord Replacement: étape 2, image 2 de 3 Hamilton Beach  Power Cord Replacement: étape 2, image 3 de 3
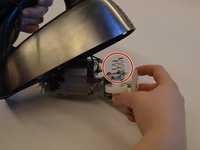
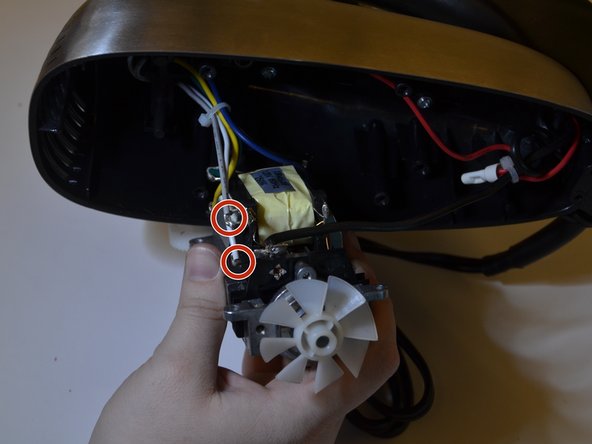
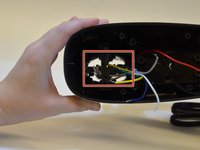
    • Remove the four 8.6 mm Philips #2 screws securing the motor mount and place them aside.

  3. Hamilton Beach  Power Cord Replacement: étape 3, image 1 de 3 Hamilton Beach  Power Cord Replacement: étape 3, image 2 de 3 Hamilton Beach  Power Cord Replacement: étape 3, image 3 de 3
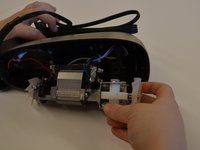
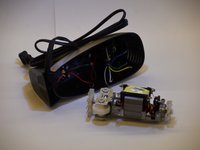
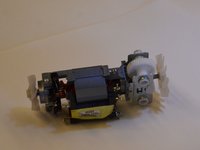
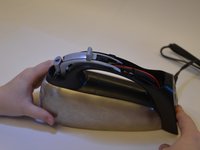
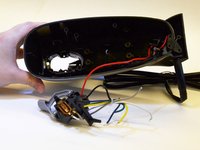
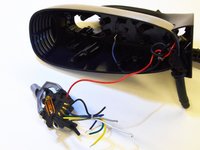
    • Carefully pull the motor block out of the case.

    • Collect the two spring located on top of the white beater gears. The springs are held in place with compression, and may fall into the case when the motor is moved.

    • Handle the wires with care to ensure you do not break any of them.

  4. Hamilton Beach  Power Cord Replacement: étape 4, image 1 de 3 Hamilton Beach  Power Cord Replacement: étape 4, image 2 de 3 Hamilton Beach  Power Cord Replacement: étape 4, image 3 de 3
    • Desolder the six wires connected to the motor using this guide.

    • Make sure to note colors when you disconnect them and remember where to reconnect them later.

  5. Hamilton Beach  Power Cord Replacement: étape 5, image 1 de 2 Hamilton Beach  Power Cord Replacement: étape 5, image 2 de 2
    • Once disconnected, the motor will slide out easily.

  6. Hamilton Beach  Power Cord Replacement, Speed Level: étape 6, image 1 de 3 Hamilton Beach  Power Cord Replacement, Speed Level: étape 6, image 2 de 3 Hamilton Beach  Power Cord Replacement, Speed Level: étape 6, image 3 de 3
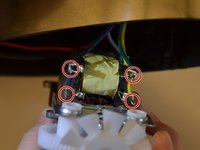
    • Remove the seven 5.6 mm Philips #2 screws that attach the motor casing to the mixer handle and set them aside.

  7. Hamilton Beach  Power Cord Replacement: étape 7, image 1 de 3 Hamilton Beach  Power Cord Replacement: étape 7, image 2 de 3 Hamilton Beach  Power Cord Replacement: étape 7, image 3 de 3
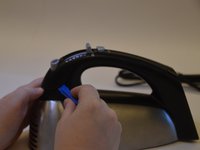
    • Use a plastic opening tool to take off the handle's cap by loosening both ends and then sliding the tool to the middle of the handle.

  8. Hamilton Beach  Power Cord Replacement: étape 8, image 1 de 2 Hamilton Beach  Power Cord Replacement: étape 8, image 2 de 2
    • Remove the handle's cap carefully.

    • Watch out for the quick burst button, it likes to run away.

  9. Hamilton Beach  Power Cord Replacement: étape 9, image 1 de 3 Hamilton Beach  Power Cord Replacement: étape 9, image 2 de 3 Hamilton Beach  Power Cord Replacement: étape 9, image 3 de 3
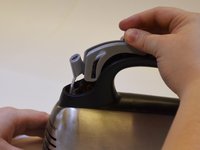
    • Slide the speed switch forward and lift upward off of the handle.

  10. Hamilton Beach  Power Cord Replacement: étape 10, image 1 de 2 Hamilton Beach  Power Cord Replacement: étape 10, image 2 de 2
    • Remove speed level from the inside of the case by applying light pressure toward you.

    • Do not pull on the wires to remove the speed level.

  11. Hamilton Beach  Power Cord Replacement: étape 11, image 1 de 3 Hamilton Beach  Power Cord Replacement: étape 11, image 2 de 3 Hamilton Beach  Power Cord Replacement: étape 11, image 3 de 3
    • Remove the beater release button from speed level by removing the two 1.3 mm Philips #2 screws.

    • Replace the speed level assembly.

  12. Hamilton Beach  Power Cord Replacement, Power Cord: étape 12, image 1 de 3 Hamilton Beach  Power Cord Replacement, Power Cord: étape 12, image 2 de 3 Hamilton Beach  Power Cord Replacement, Power Cord: étape 12, image 3 de 3
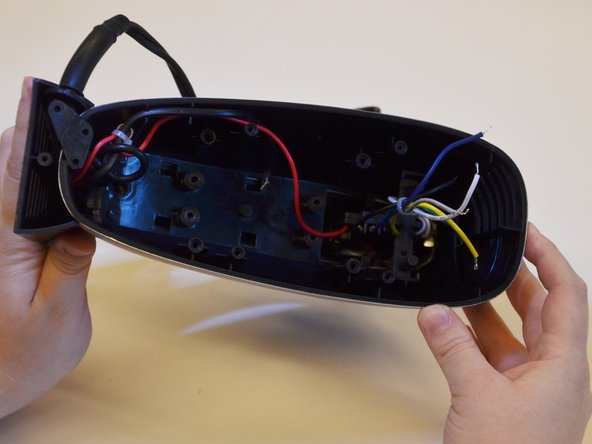
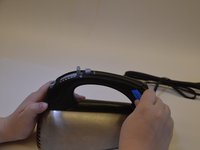
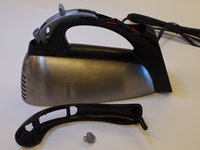
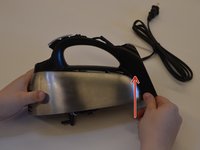
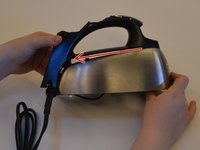
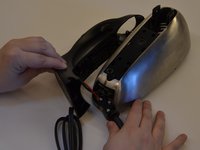
    • Liftback end of the handle up from motor casing.

    • Pull back to detach fully from the stainless steel.

  13. Hamilton Beach  Power Cord Replacement: étape 13, image 1 de 3 Hamilton Beach  Power Cord Replacement: étape 13, image 2 de 3 Hamilton Beach  Power Cord Replacement: étape 13, image 3 de 3
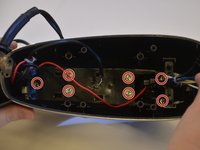
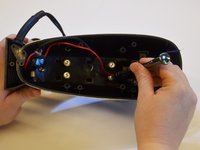
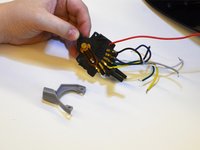
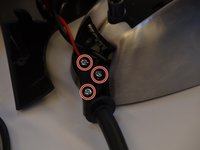
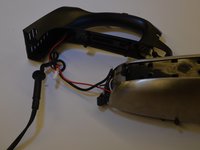
    • Remove the three 7.8 mm Philips #2 screws holding the power cord in place.

  14. Hamilton Beach  Power Cord Replacement: étape 14, image 1 de 3 Hamilton Beach  Power Cord Replacement: étape 14, image 2 de 3 Hamilton Beach  Power Cord Replacement: étape 14, image 3 de 3
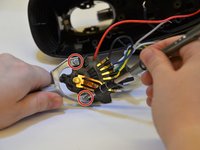
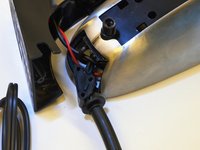
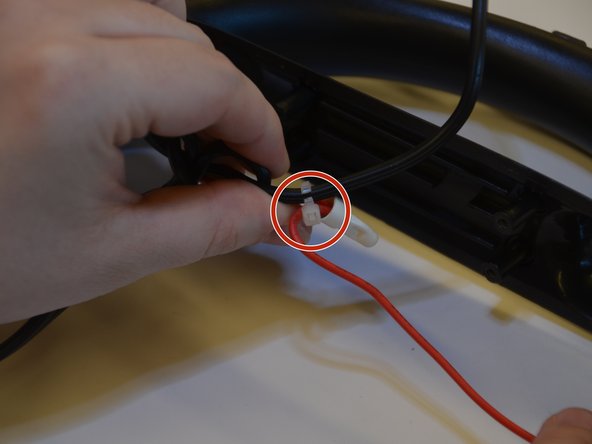
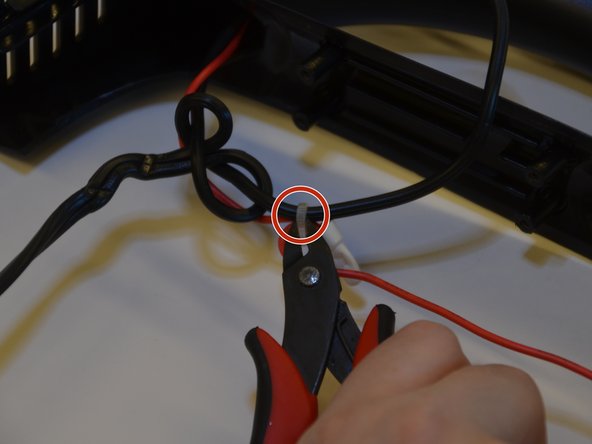
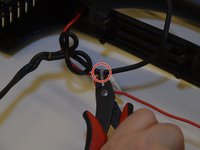
    • Cut zip tie holding the power cable together using handheld wire cutters.

  15. Hamilton Beach  Power Cord Replacement: étape 15, image 1 de 3 Hamilton Beach  Power Cord Replacement: étape 15, image 2 de 3 Hamilton Beach  Power Cord Replacement: étape 15, image 3 de 3
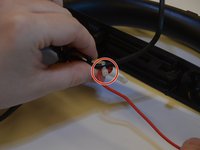
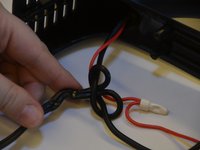
    • Untie the black lead's knot.

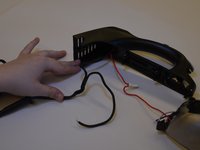
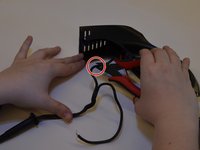
    • Cut both wires with handheld wire cutters.

    • Follow this guide to solder new power cord wires in.

Conclusion

To reassemble your device, follow these instructions in reverse order.

Gwen Davis

Membre depuis le 03/24/16

519 Réputation

5 tutoriels rédigés

Équipe

UMass Dartmouth, Team 7-3, Catania Spring 2016 Membre de l'équipe UMass Dartmouth, Team 7-3, Catania Spring 2016

UMASSD-CATANIA-S16S7G3

3 membres

5 tutoriels rédigés

0 commentaires

Ajouter un commentaire

Nombre de vues :

Dernières 24 heures : 2

7 derniers jours : 6

30 derniers jours : 15

Total : 1,482