Introduction
This a replacement that requires good soldering skills and confidence working with tiny, delicate, wiring.
If you are unfamiliar with soldering and de-soldering, make sure to check out iFixit's Soldering Skills page before attempting this replacement!
Ce dont vous avez besoin
-
-
-
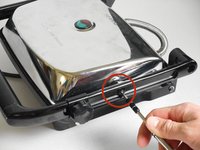
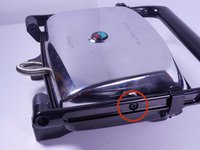
On the back of the press, remove the locking washer by prying upwards with the nylon or metal spudger tool.
-
Repeat for the other washer across from the first one.
 Demander à FixBot
-
-
-
Using any long, thin object, push the 43mm bolt from the inside towards the outside to expose the end of the bolt.
-
Pull the end of the bolt out to completely remove it.
-
Repeat for the second bolt.
-
-
-
Using the 4.0mm Allen Wrench, unscrew the two 26mm bolts connecting the handle to the upper heating element housing on both sides.
-
-
-
-
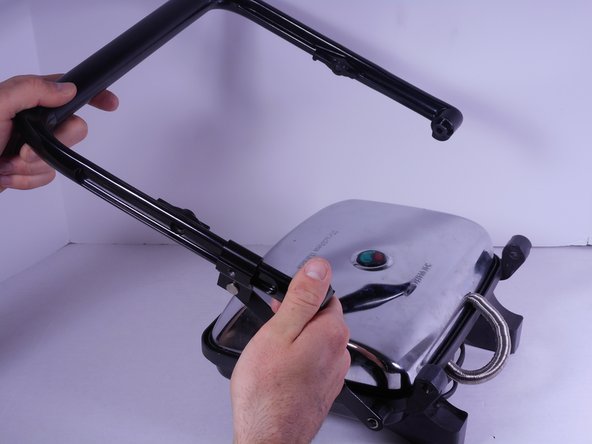
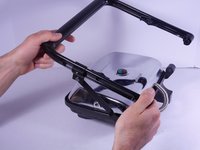
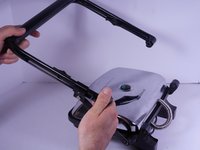
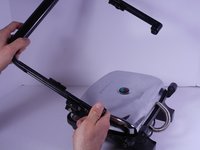
Slide the locking knob couple down to the base of the handle, then pull up on the free end of the handle. It will easily pop off.
-
-
-
-
-
Gently separate the heating element housing from the cooking surface by pulling up on the housing and pushing down on the surface.
-
-
-
On the underside of the housing, use the PH2 Screwdriver to remove the single 12mm screw to disconnect the LED tray.
-
The housing can now be completely removed.
-
Place on the side for reassembly.
-
-
-
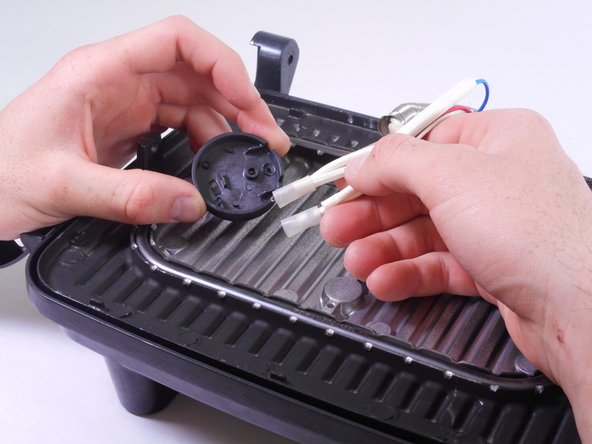
Using the PH2 screwdriver, remove the single 10mm screw on the circular plastic LED tray.
-
Now remove the small plastic T-shaped piece and the plastic tray completely
-
-
-
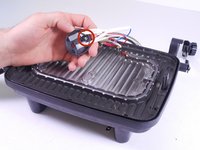
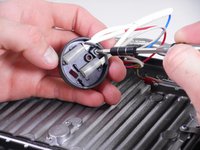
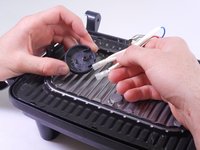
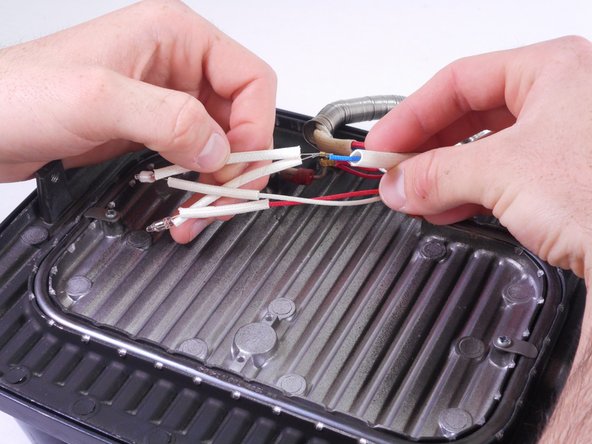
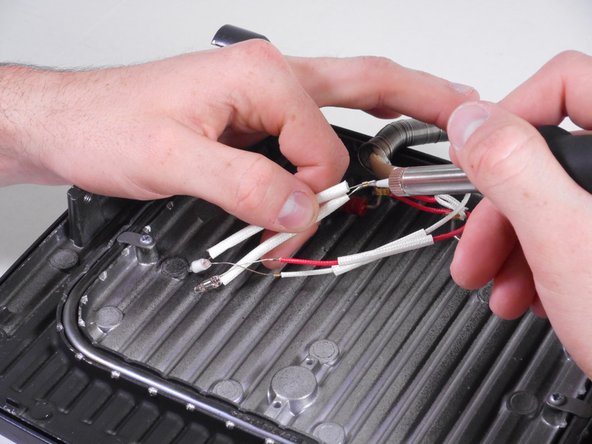
The LED can now be removed by desoldering the connector at each wiring junction.
-
The red LED connects to the red wire (positive) and the blue wire (negative, marked in yellow.)
-
The green LED connects to the white wire (Positive) and the blue wire (negative, marked in yellow.)
-
-









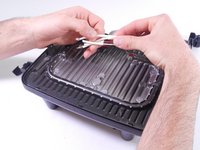
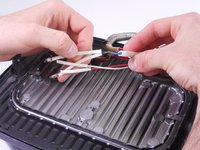
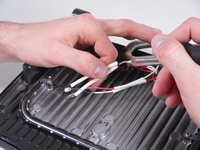

To reassemble your device, follow these instructions in reverse order.

Équipe

Cal Poly, Team 6-27, Amido Winter 2015 Membre de l'équipe Cal Poly, Team 6-27, Amido Winter 2015
CPSU-AMIDO-W15S6G27
4 membres
30 tutoriels rédigés
