Aller au contenu principal
Pour réparer ensemble - Je crée un compte

How to Apply New Outer Screen Adhesive in Your Google Pixel Fold

Ce dont vous avez besoin

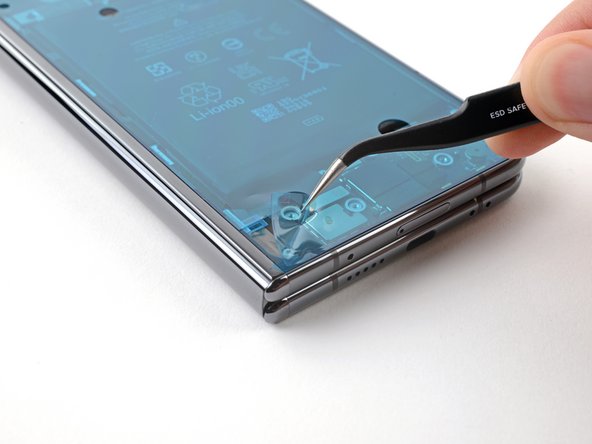
  1. How to Apply New Outer Screen Adhesive in Your Google Pixel Fold, Apply the top right adhesive: étape 1, image 1 de 3 How to Apply New Outer Screen Adhesive in Your Google Pixel Fold, Apply the top right adhesive: étape 1, image 2 de 3 How to Apply New Outer Screen Adhesive in Your Google Pixel Fold, Apply the top right adhesive: étape 1, image 3 de 3
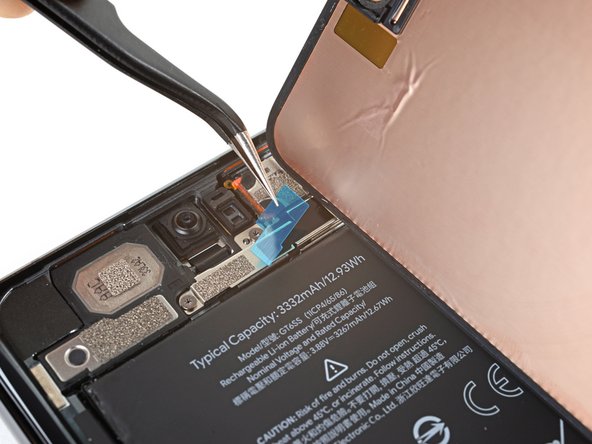
    • If you're reusing the small top right adhesive, skip the steps including it.

    • Peel off the new small top right adhesive strip from its clear liner.

    • Place the new adhesive on the top right bracket of the frame.

    • Use a spudger, or your fingers, to press down the adhesive to adhere it.

    Demander à FixBot

    Ajouter un commentaire

  2. How to Apply New Outer Screen Adhesive in Your Google Pixel Fold, Align the adhesive: étape 2, image 1 de 3 How to Apply New Outer Screen Adhesive in Your Google Pixel Fold, Align the adhesive: étape 2, image 2 de 3 How to Apply New Outer Screen Adhesive in Your Google Pixel Fold, Align the adhesive: étape 2, image 3 de 3
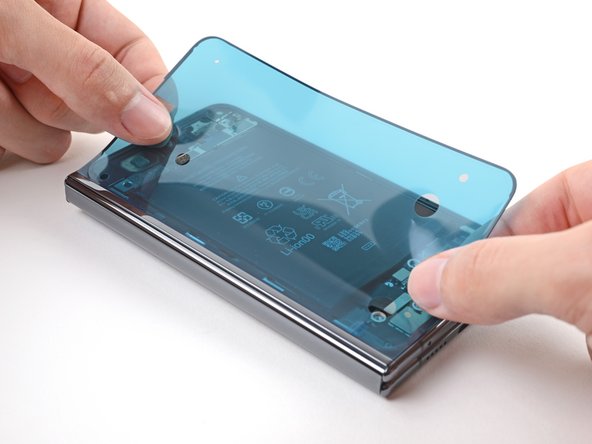
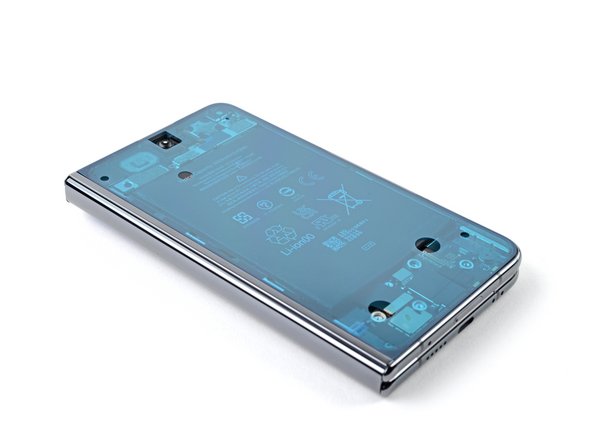
    • Before removing any liners, check if the large perimeter adhesive matches the frame.

    • The clear liner should face the frame.

    • Look for cutouts in the liner to help orient the adhesive.

    Demander à FixBot

    Ajouter un commentaire

  3. How to Apply New Outer Screen Adhesive in Your Google Pixel Fold, Apply the adhesive: étape 3, image 1 de 3 How to Apply New Outer Screen Adhesive in Your Google Pixel Fold, Apply the adhesive: étape 3, image 2 de 3 How to Apply New Outer Screen Adhesive in Your Google Pixel Fold, Apply the adhesive: étape 3, image 3 de 3
    • Be careful during this step, as it's easy to stick the adhesive in the wrong spot. Take your time and work slowly.

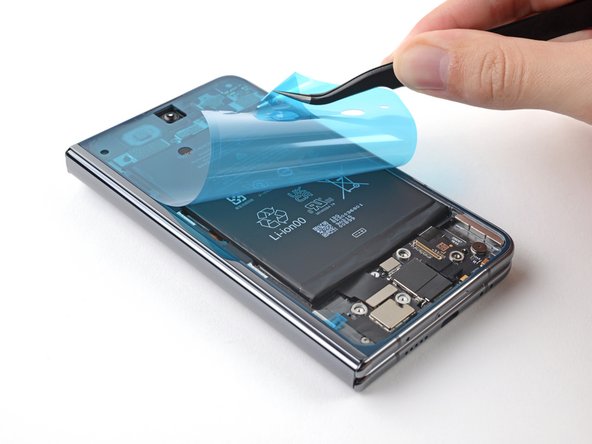
    • Peel off the new adhesive strip from its clear liner.

    • Align the adhesive over the frame, starting with the top left and bottom left edges.

    • Place the adhesive over the perimeter of the frame.

    Demander à FixBot

    Ajouter un commentaire

  4. How to Apply New Outer Screen Adhesive in Your Google Pixel Fold: étape 4, image 1 de 3 How to Apply New Outer Screen Adhesive in Your Google Pixel Fold: étape 4, image 2 de 3 How to Apply New Outer Screen Adhesive in Your Google Pixel Fold: étape 4, image 3 de 3
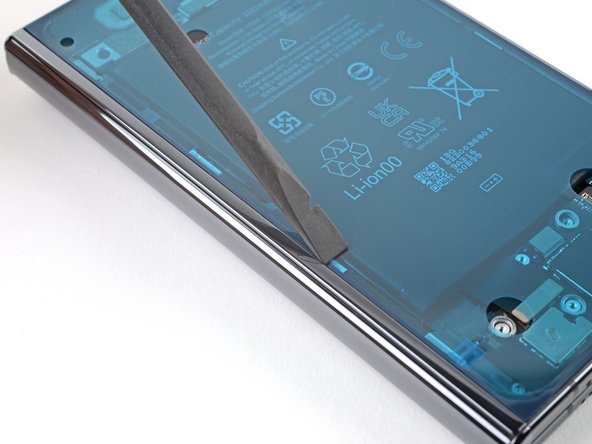
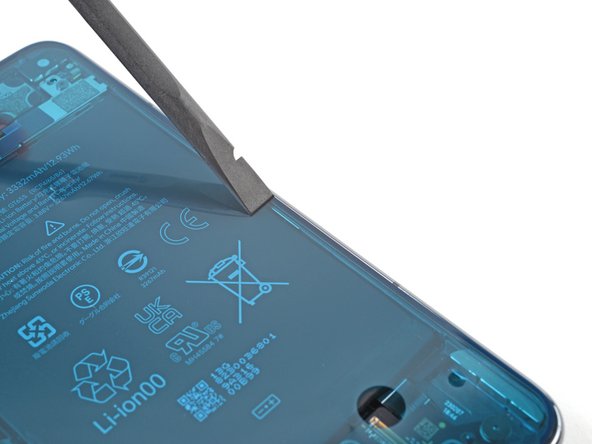
    • Use flat end of a spudger, or your fingers, to press down the adhesive and adhere it to the frame.

    Demander à FixBot

    Ajouter un commentaire

  5. How to Apply New Outer Screen Adhesive in Your Google Pixel Fold, Peel the large liner: étape 5, image 1 de 2 How to Apply New Outer Screen Adhesive in Your Google Pixel Fold, Peel the large liner: étape 5, image 2 de 2
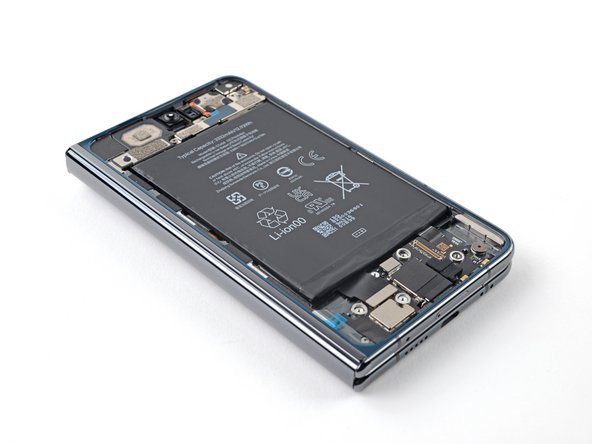
    • Peel up the segmented tab at the bottom left corner of the large blue liner.

    Demander à FixBot

    Ajouter un commentaire

  6. How to Apply New Outer Screen Adhesive in Your Google Pixel Fold, Reconnect the back glass: étape 6, image 1 de 3 How to Apply New Outer Screen Adhesive in Your Google Pixel Fold, Reconnect the back glass: étape 6, image 2 de 3 How to Apply New Outer Screen Adhesive in Your Google Pixel Fold, Reconnect the back glass: étape 6, image 3 de 3
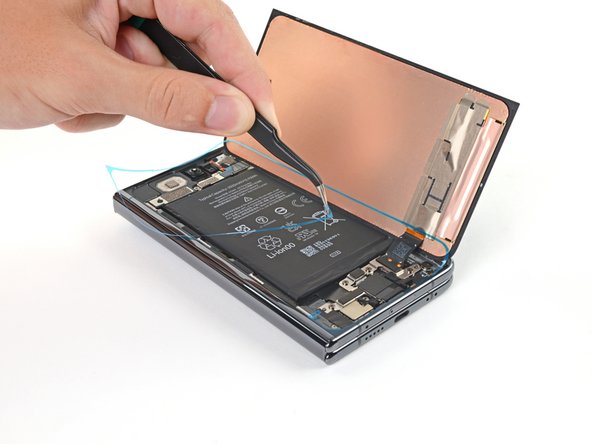
    • Lift the tab and peel off the large blue liner to expose the secondary liner.

    Demander à FixBot

    Ajouter un commentaire

  7. How to Apply New Outer Screen Adhesive in Your Google Pixel Fold, Reconnect the screen: étape 7, image 1 de 3 How to Apply New Outer Screen Adhesive in Your Google Pixel Fold, Reconnect the screen: étape 7, image 2 de 3 How to Apply New Outer Screen Adhesive in Your Google Pixel Fold, Reconnect the screen: étape 7, image 3 de 3
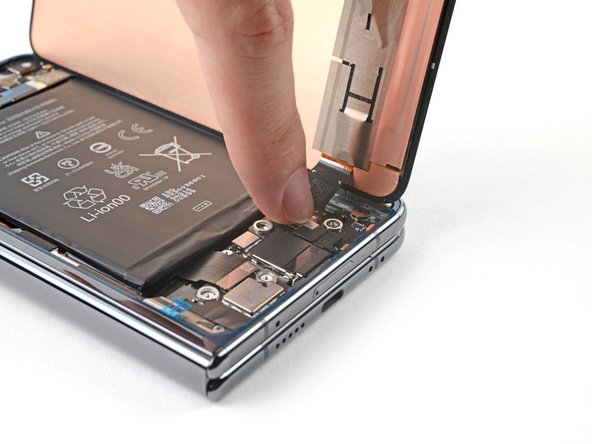
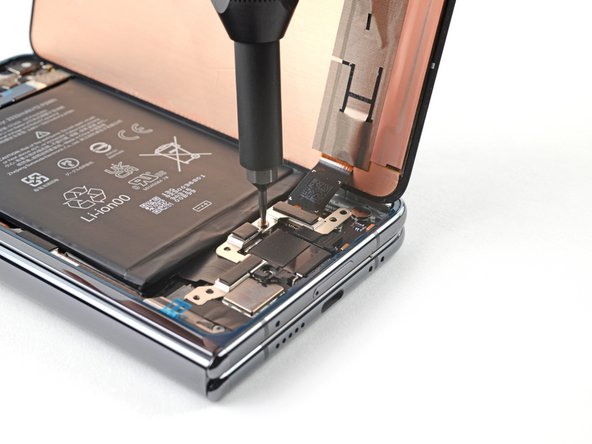
    • Support the screen with your hand or prop it up on something sturdy.

    • Reconnect the screen cable.

    • Reconnect the flip battery cable.

    • Use a Torx Plus 3IP driver to refasten the bottom bracket.

    Demander à FixBot

    Ajouter un commentaire

  8. How to Apply New Outer Screen Adhesive in Your Google Pixel Fold, Peel the secondary liner: étape 8, image 1 de 2 How to Apply New Outer Screen Adhesive in Your Google Pixel Fold, Peel the secondary liner: étape 8, image 2 de 2
    Outil utilisé dans cette étape :
    Tweezers
    $4.99
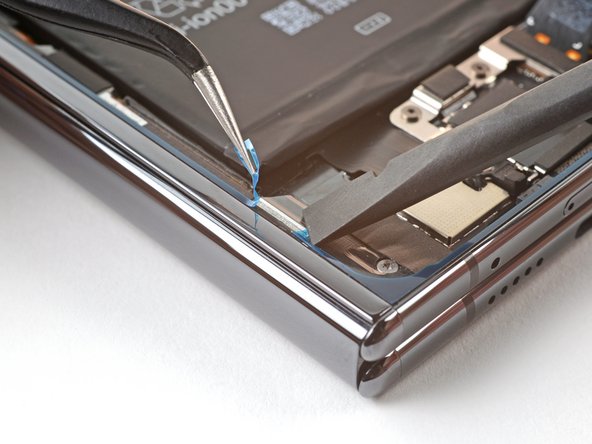
    • Use tweezers, or your fingers, to peel up either one of the tabs at the top right corner of the secondary liner.

    • If the adhesive starts separating, use a spudger to hold it down while peeling.

    Demander à FixBot

    Ajouter un commentaire

  9. How to Apply New Outer Screen Adhesive in Your Google Pixel Fold, Apply the back glass: étape 9, image 1 de 3 How to Apply New Outer Screen Adhesive in Your Google Pixel Fold, Apply the back glass: étape 9, image 2 de 3 How to Apply New Outer Screen Adhesive in Your Google Pixel Fold, Apply the back glass: étape 9, image 3 de 3
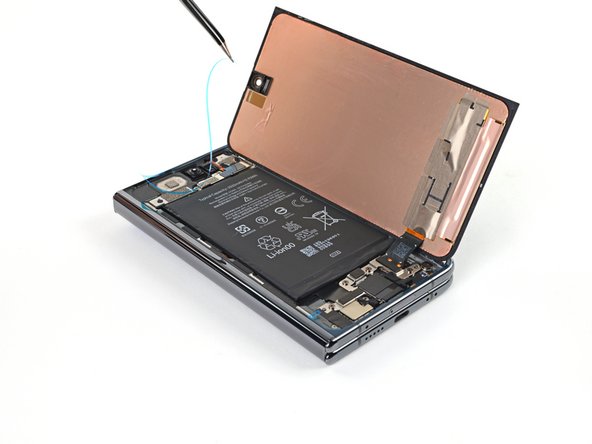
    • Lift the tab and peel off the secondary liner to expose the top adhesive.

    Demander à FixBot

    Ajouter un commentaire

  10. How to Apply New Outer Screen Adhesive in Your Google Pixel Fold, Expose the top right adhesive: étape 10, image 1 de 2 How to Apply New Outer Screen Adhesive in Your Google Pixel Fold, Expose the top right adhesive: étape 10, image 2 de 2
    • Remove the blue liner from the top right adhesive strip.

    Demander à FixBot

    Ajouter un commentaire

  11. How to Apply New Outer Screen Adhesive in Your Google Pixel Fold, Apply the screen: étape 11, image 1 de 2 How to Apply New Outer Screen Adhesive in Your Google Pixel Fold, Apply the screen: étape 11, image 2 de 2
    • Align the screen over its cutout in the frame.

    • Place a right edge of the screen on the frame, making sure there are no gaps or jutting adhesive.

    • Place the left edge of the screen on the frame.

    Demander à FixBot

    Ajouter un commentaire

  12. How to Apply New Outer Screen Adhesive in Your Google Pixel Fold: étape 12, image 1 de 3 How to Apply New Outer Screen Adhesive in Your Google Pixel Fold: étape 12, image 2 de 3 How to Apply New Outer Screen Adhesive in Your Google Pixel Fold: étape 12, image 3 de 3
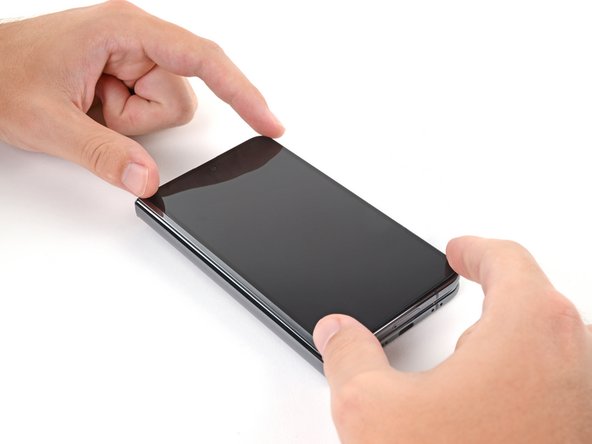
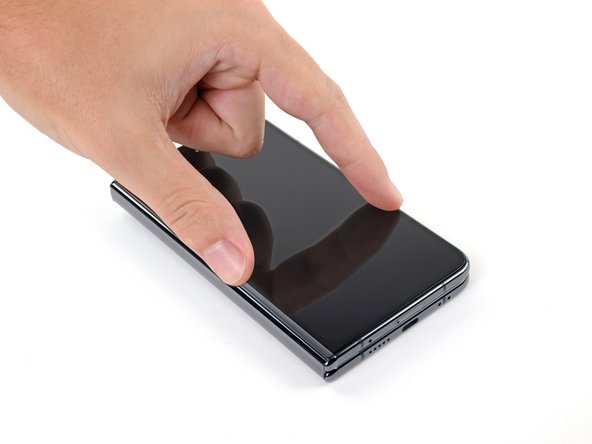
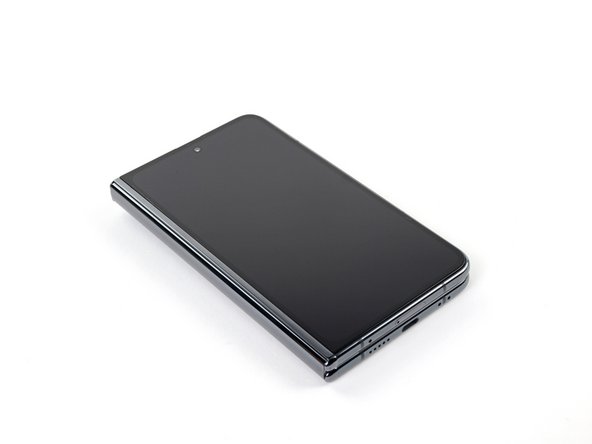
    • Press down along the perimeter of the screen to adhere it to the frame.

    • Let the phone sit a few hours for the adhesive to cure.

    Demander à FixBot

    Ajouter un commentaire

Conclusion

Repair didn’t go as planned? Try some basic troubleshooting, or ask our Google Pixel Fold Answers Community for help.

Annulation : je n'ai pas terminé ce tutoriel.

2 autres ont terminé cette réparation.

Alex Diaz-Kokaisl

Membre depuis le 01/16/22

244 784 Réputation

1 203 tutoriels rédigés

Équipe

iFixit Membre de l'équipe iFixit

Staff

123 membres

28 233 tutoriels rédigés

4 commentaires de tutoriel

Thanks for the write-up!

It was a simple enough process, but having clear and consise step-by-step instructions like this really takes most of the intimidation factor out of DIY repairs for many.

Cheers man,

Lots of appreciation from VA.

velocity211 - Réponse Partager

Is the center screen above just the touch screen for $800.000

If not where can I buy one? No LCD NEEDED. Just inner screen

Annacando - Réponse Partager

Can you buy just the adhesive sheets shown in the replacement steps?

Victor V - Réponse Partager

I can’t imagine google sells the adhesive for the screen. A big well known online retailer sells rolls of 2mm double sided tape for phones specifically. They look like thin red rolls. You’d just have to cut it yourself to fit the frame.

velocity211 - Réponse Partager

Ajouter un commentaire

Nombre de vues :

Dernières 24 heures : 2

7 derniers jours : 6

30 derniers jours : 44

Total : 1,103