Introduction
The LED light display is located on the inside of the JBL Pulse 3, under the outside casing. It LED light display is lined with LED light strips along the circular base.
Ce dont vous avez besoin
-
-
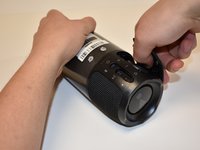
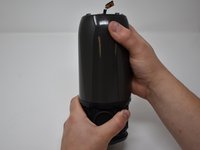
Lay the JBL Pulse 3 on its side as shown in the picture.
-
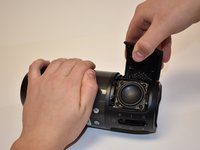
Use a plastic opening tool to lift the top right corner of the speaker grill. A small amount of force is necessary to remove the grill.
-
-
-
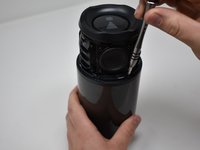
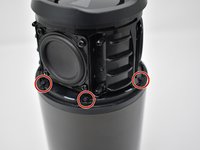
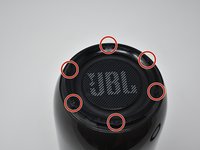
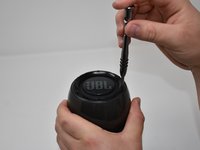
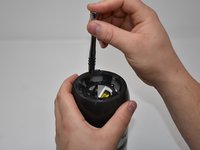
Use a Phillips #00 screwdriver to remove the six black 6mm screws on the inside of the top of the bottom section.
-
-
-
-
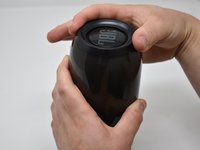
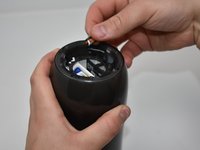
Turn the JBL Pulse 3 right-side up and unscrew the top ring of the device. A small amount of force and/or a cotton cloth may be necessary to remove this piece.
Ca I Specifically buy the top ring
Opening is not as simple as demonstrated in Step 6. I have followed everything through, am I missing something?
-
-
-
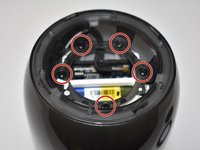
Remove the five 7mm screws on the inside of the JBL Pulse 3 with a Phillips #1 screwdriver.
This phase could be difficult. Try to “twist” the speaker to have a little gap between both parts and insert gently a screwdriver or opening toile to spread the gap.
-
-
-
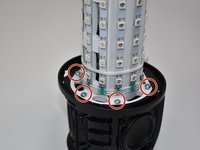
Use a Phillips #2 screwdriver to remove the six 11 mm screws that circle the bottom of the LED light display.
-
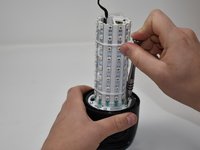
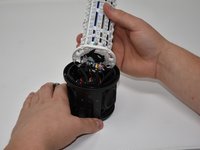
Pull the LED light display off of the JBL Pulse 3 base.
-
-
Outil utilisé dans cette étape :Tweezers$4.99
-
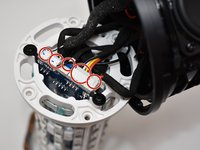
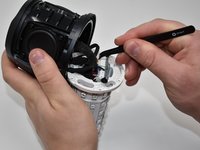
Use tweezers to pull the five connections off of the LED light display.
up to step 13, the battery replacement steps are the same.
From step 14 the steps change.
Very good instructions for changing the battery in the jbl pulse 3 can be found here:
https://www.youtube.com/watch?v=MpznDgxg... -
To reassemble your device, follow these instructions in reverse order.
To reassemble your device, follow these instructions in reverse order.
Annulation : je n'ai pas terminé ce tutoriel.
3 autres ont terminé cette réparation.
4Commentaires sur le guide
Hello,I really need some code to show me how to initialize and LED display and how to output data from it.Any help is much appreciated.
Where to buy the leds?


