Aller au contenu principal
Pour réparer ensemble - Je crée un compte

Kano Computer Kit Complete Raspberry Pi Replacement

    1. Kano Computer Kit Complete Raspberry Pi Replacement, Raspberry Pi: étape 1, image 1 de 2 Kano Computer Kit Complete Raspberry Pi Replacement, Raspberry Pi: étape 1, image 2 de 2
      • Take off the clear backing of the computer and set it aside.

      • The Raspberry Pi is located in the top right corner of the case.

      Demander à FixBot

      Ajouter un commentaire

    2. Kano Computer Kit Complete Raspberry Pi Replacement: étape 2, image 1 de 3 Kano Computer Kit Complete Raspberry Pi Replacement: étape 2, image 2 de 3 Kano Computer Kit Complete Raspberry Pi Replacement: étape 2, image 3 de 3
      • Unplug the battery from the power button.

      Demander à FixBot

      Ajouter un commentaire

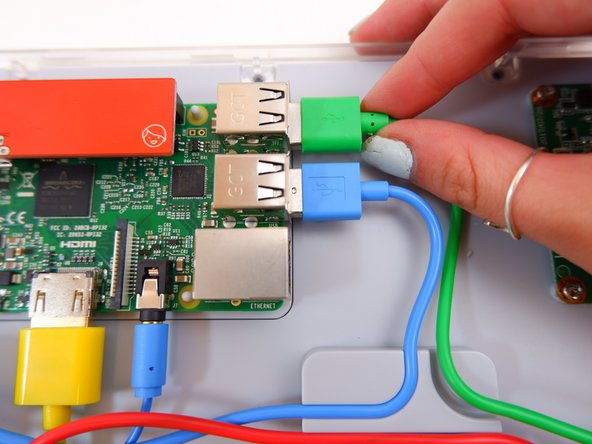
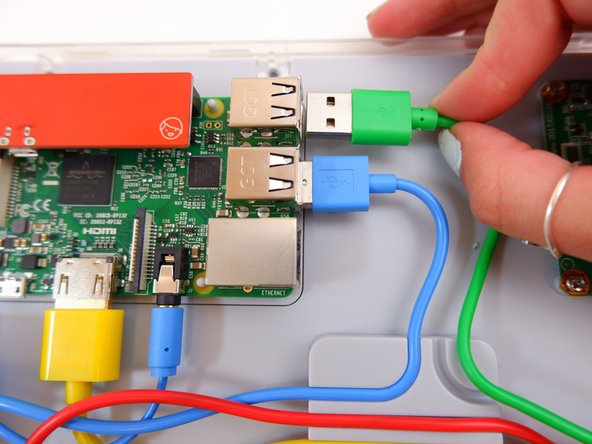
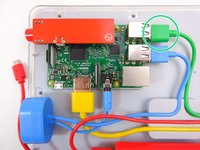
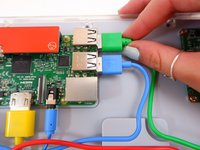
    3. Kano Computer Kit Complete Raspberry Pi Replacement: étape 3, image 1 de 3 Kano Computer Kit Complete Raspberry Pi Replacement: étape 3, image 2 de 3 Kano Computer Kit Complete Raspberry Pi Replacement: étape 3, image 3 de 3
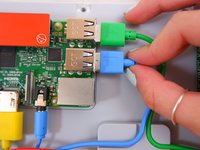
      • Unplug the green cable

      Demander à FixBot

      Ajouter un commentaire

    4. Kano Computer Kit Complete Raspberry Pi Replacement: étape 4, image 1 de 3 Kano Computer Kit Complete Raspberry Pi Replacement: étape 4, image 2 de 3 Kano Computer Kit Complete Raspberry Pi Replacement: étape 4, image 3 de 3
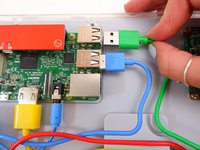
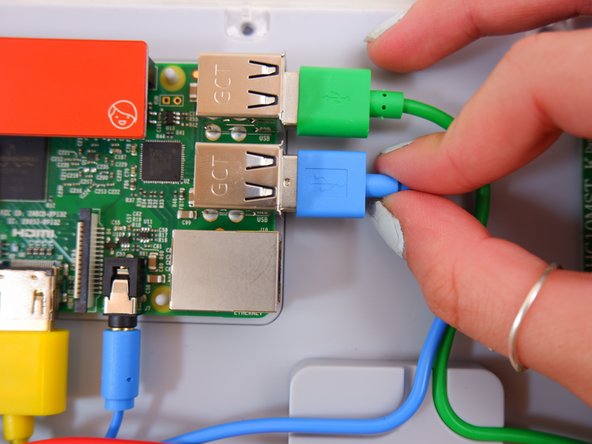
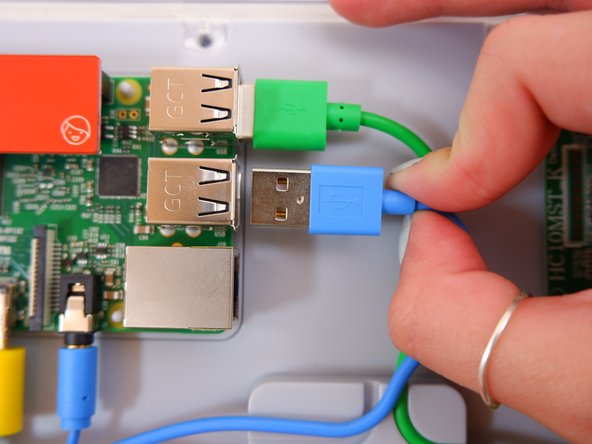
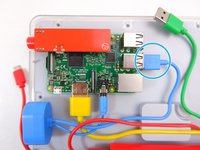
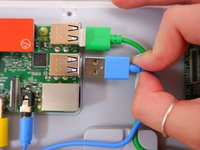
      • Unplug the blue USB cable.

      Demander à FixBot

      Ajouter un commentaire

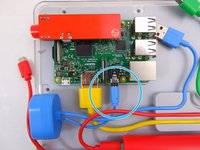
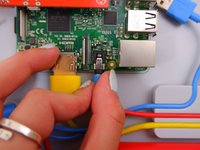
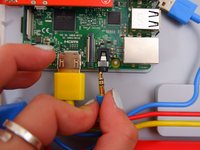
    5. Kano Computer Kit Complete Raspberry Pi Replacement: étape 5, image 1 de 3 Kano Computer Kit Complete Raspberry Pi Replacement: étape 5, image 2 de 3 Kano Computer Kit Complete Raspberry Pi Replacement: étape 5, image 3 de 3
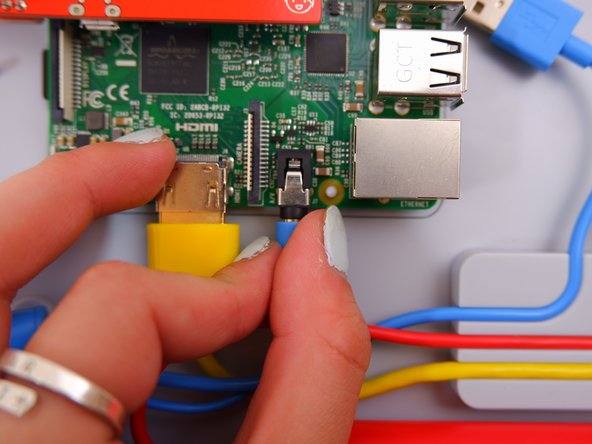
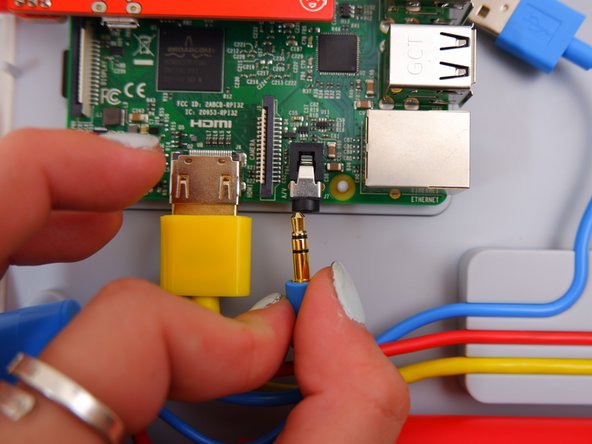
      • Unplug the blue audio jack.

      Demander à FixBot

      Ajouter un commentaire

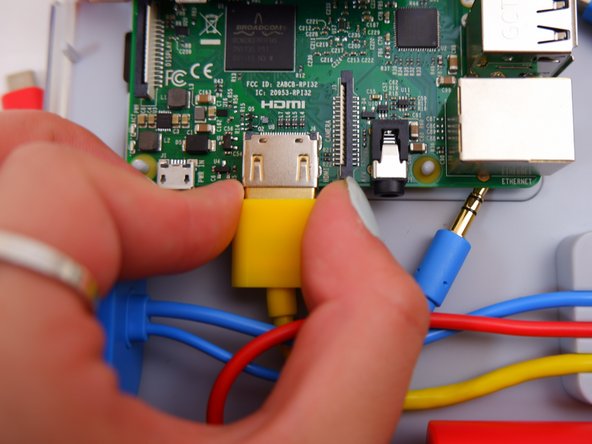
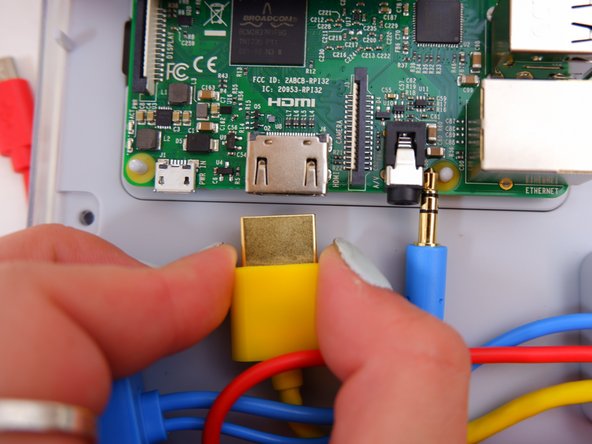
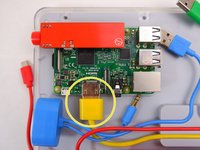
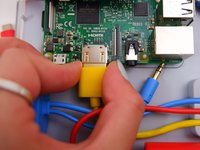
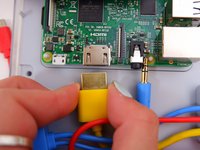
    6. Kano Computer Kit Complete Raspberry Pi Replacement: étape 6, image 1 de 3 Kano Computer Kit Complete Raspberry Pi Replacement: étape 6, image 2 de 3 Kano Computer Kit Complete Raspberry Pi Replacement: étape 6, image 3 de 3
      • Unplug the yellow cable.

      Demander à FixBot

      Ajouter un commentaire

    7. Kano Computer Kit Complete Raspberry Pi Replacement: étape 7, image 1 de 2 Kano Computer Kit Complete Raspberry Pi Replacement: étape 7, image 2 de 2
      • Pop off the entire board from of the back of the screen.

      Demander à FixBot

      Ajouter un commentaire

    8. Kano Computer Kit Complete Raspberry Pi Replacement: étape 8, image 1 de 1
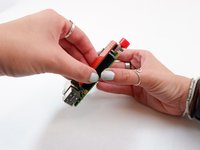
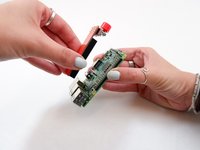
      • Remove the backing off the Raspberry Pi.

      Demander à FixBot

      Ajouter un commentaire

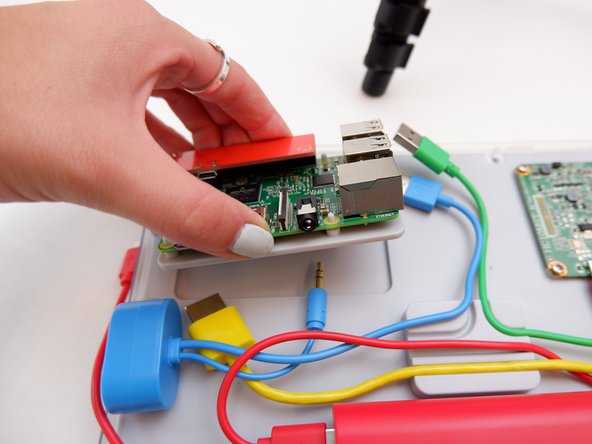
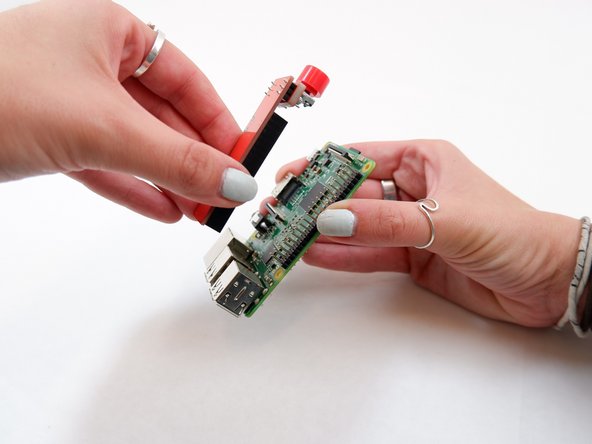
    9. Kano Computer Kit Complete Raspberry Pi Replacement: étape 9, image 1 de 2 Kano Computer Kit Complete Raspberry Pi Replacement: étape 9, image 2 de 2
      • Remove the power button from the Raspberry Pi.

      Demander à FixBot

      Ajouter un commentaire

Conclusion

To reassemble your device, follow these instructions in reverse order with the new Raspberry Pi.

Annulation : je n'ai pas terminé ce tutoriel.

Une autre personne a terminé cette réparation.

0 commentaires de tutoriel

Ajouter un commentaire

Nombre de vues :

Dernières 24 heures : 0

7 derniers jours : 9

30 derniers jours : 45

Total : 1,944