Aller au contenu principal
Pour réparer ensemble - Je crée un compte

LG Front Load Washing Machine Pump Hose Replacement

Ce dont vous avez besoin

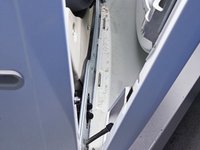
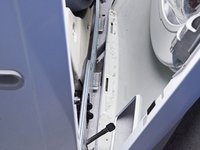
  1. LG Front Load Washing Machine Pump Hose Replacement, Safety Precautions: étape 1, image 1 de 2 LG Front Load Washing Machine Pump Hose Replacement, Safety Precautions: étape 1, image 2 de 2
    • Before you begin your repair, perform the following:

    • Turn off the main water supply

    • Unplug your washer

    • Disconnect all water connections at the rear of your washer

    Demander à FixBot

    Ajouter un commentaire

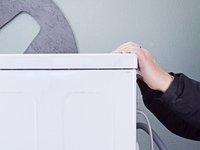
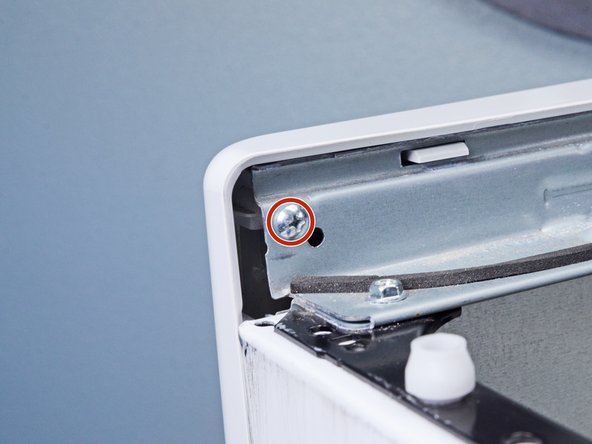
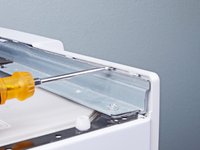
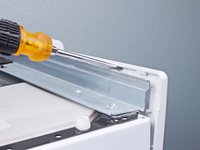
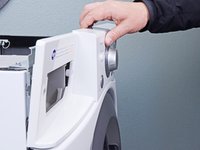
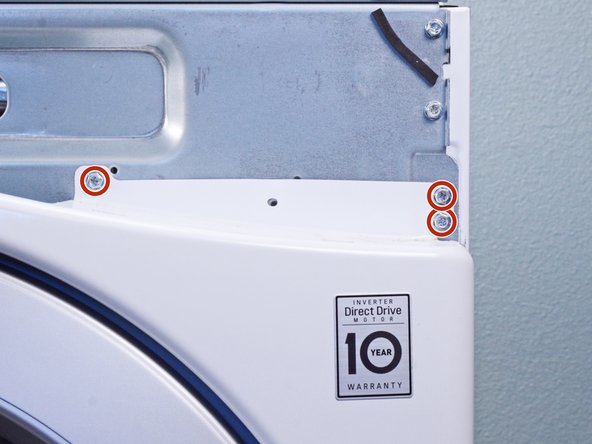
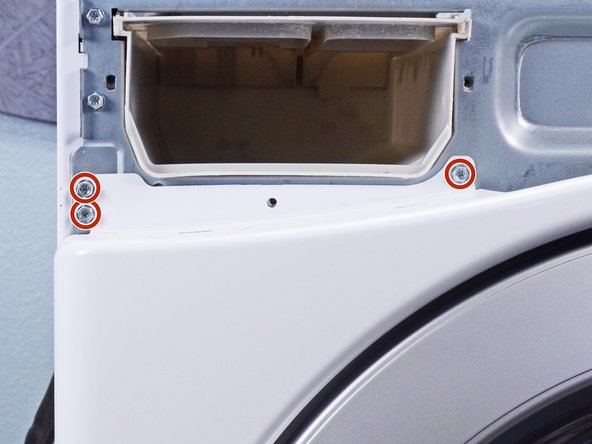
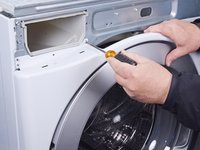
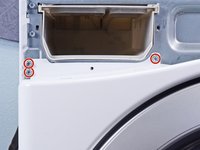
  2. LG Front Load Washing Machine Pump Hose Replacement, Unfasten the top panel: étape 2, image 1 de 3 LG Front Load Washing Machine Pump Hose Replacement, Unfasten the top panel: étape 2, image 2 de 3 LG Front Load Washing Machine Pump Hose Replacement, Unfasten the top panel: étape 2, image 3 de 3
    • Remove the screw(s) securing the top panel brackets to the back panel.

    • You don't need to remove the screws securing the brackets to the top panel.

    Demander à FixBot

    Ajouter un commentaire

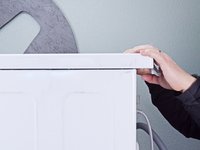
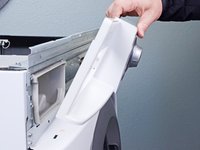
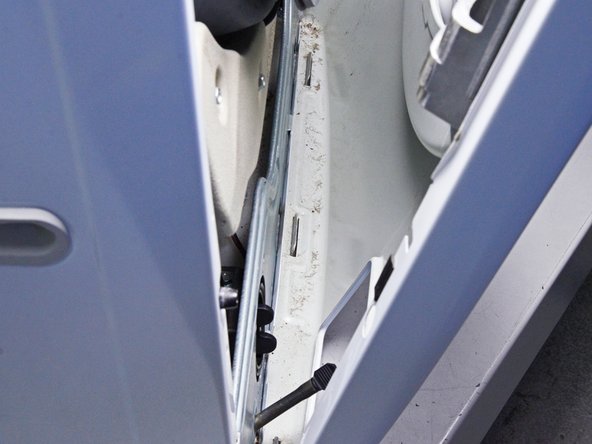
  3. LG Front Load Washing Machine Pump Hose Replacement, Remove the top panel: étape 3, image 1 de 2 LG Front Load Washing Machine Pump Hose Replacement, Remove the top panel: étape 3, image 2 de 2
    • Slide the top panel towards the rear of the device to disconnect its clips.

    Demander à FixBot

    Ajouter un commentaire

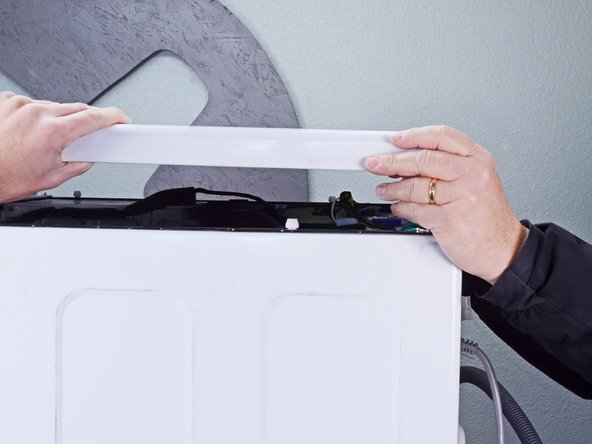
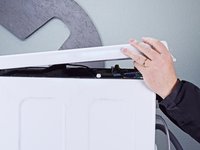
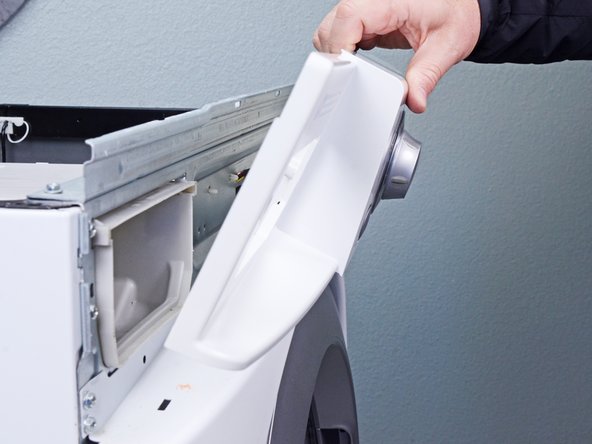
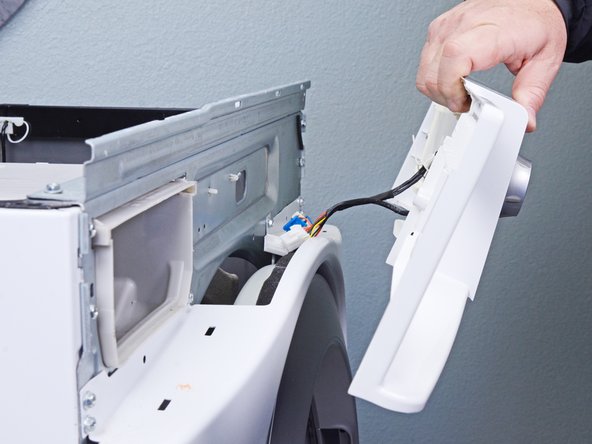
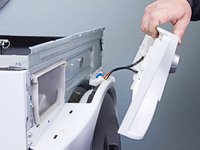
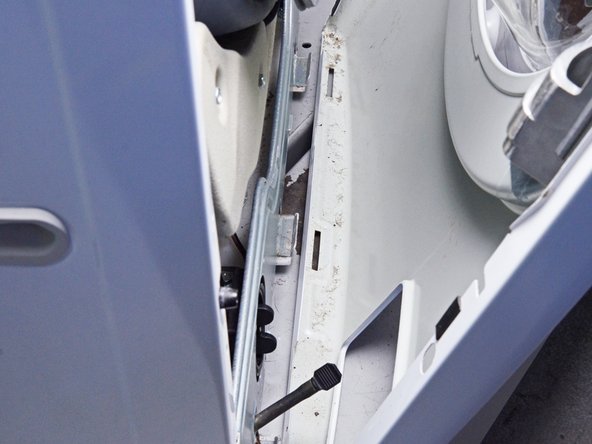
  4. LG Front Load Washing Machine Pump Hose Replacement: étape 4, image 1 de 2 LG Front Load Washing Machine Pump Hose Replacement: étape 4, image 2 de 2
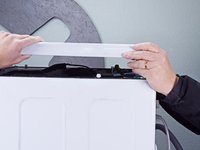
    • Tilt the top panel upward to completely disconnect it from the chassis.

    • Remove the top panel.

    Demander à FixBot

    Ajouter un commentaire

  5. LG Front Load Washing Machine Pump Hose Replacement, Remove the detergent drawer: étape 5, image 1 de 2 LG Front Load Washing Machine Pump Hose Replacement, Remove the detergent drawer: étape 5, image 2 de 2
    • Pull the detergent drawer away from the chassis as far as it will go.

    Demander à FixBot

    Ajouter un commentaire

  6. LG Front Load Washing Machine Pump Hose Replacement: étape 6, image 1 de 3 LG Front Load Washing Machine Pump Hose Replacement: étape 6, image 2 de 3 LG Front Load Washing Machine Pump Hose Replacement: étape 6, image 3 de 3
    • Press down on the "Push" button to disengage the clips securing the detergent drawer.

    • Pull the drawer out of its slot on the chassis and remove it.

    Demander à FixBot

    Ajouter un commentaire

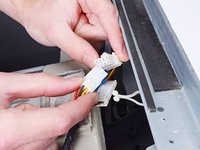
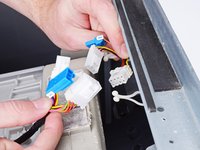
  7. LG Front Load Washing Machine Pump Hose Replacement, Disconnect the control panel: étape 7, image 1 de 3 LG Front Load Washing Machine Pump Hose Replacement, Disconnect the control panel: étape 7, image 2 de 3 LG Front Load Washing Machine Pump Hose Replacement, Disconnect the control panel: étape 7, image 3 de 3
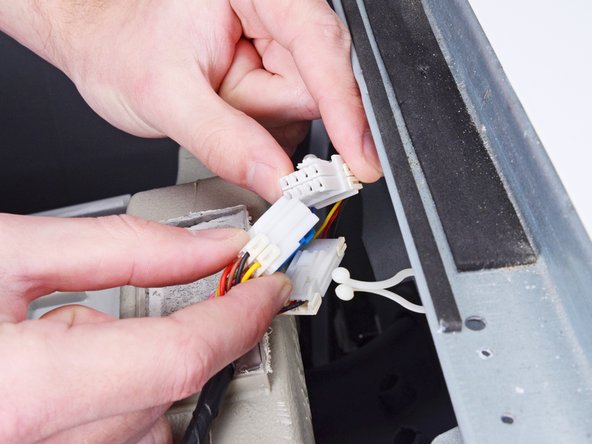
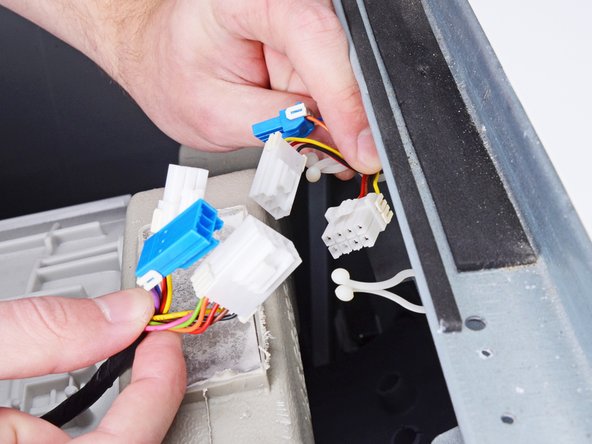
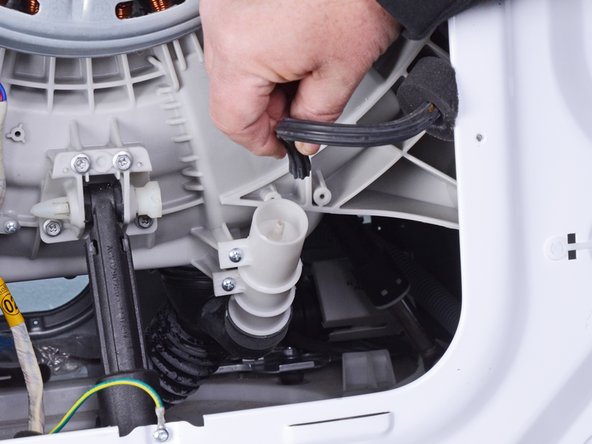
    • Disconnect the connectors attached to the control panel.

    • Always grip cables by their connectors and not the wires themselves.

    Demander à FixBot

    Ajouter un commentaire

  8. LG Front Load Washing Machine Pump Hose Replacement, Unfasten the control panel: étape 8, image 1 de 2 LG Front Load Washing Machine Pump Hose Replacement, Unfasten the control panel: étape 8, image 2 de 2
    • Remove the screw(s) securing the control panel to the top edge of the chassis.

    Demander à FixBot

    Ajouter un commentaire

  9. LG Front Load Washing Machine Pump Hose Replacement, Unfasten the detergent dispenser: étape 9, image 1 de 1
    • Remove the screw(s) securing the detergent dispenser.

    Demander à FixBot

    Ajouter un commentaire

  10. LG Front Load Washing Machine Pump Hose Replacement, Unclip the control panel: étape 10, image 1 de 3 LG Front Load Washing Machine Pump Hose Replacement, Unclip the control panel: étape 10, image 2 de 3 LG Front Load Washing Machine Pump Hose Replacement, Unclip the control panel: étape 10, image 3 de 3
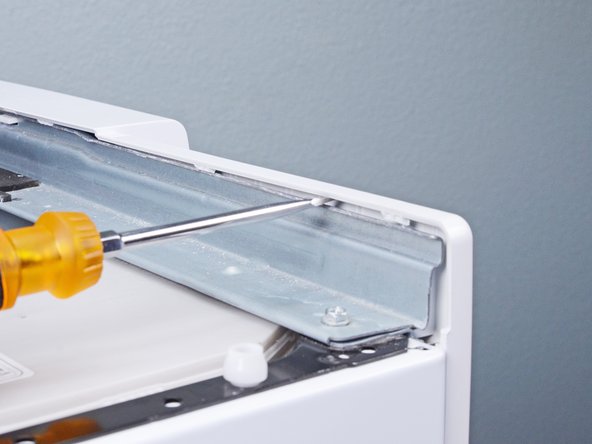
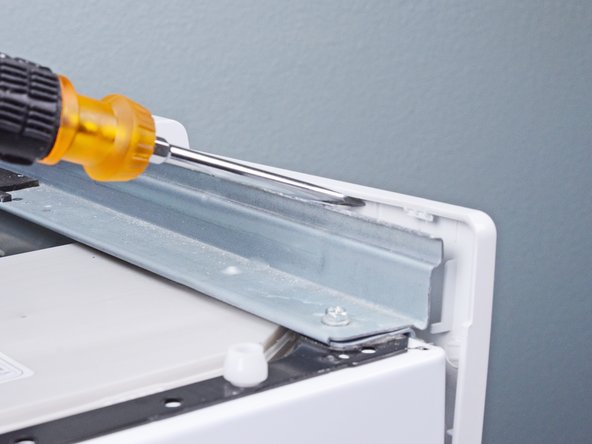
    • Use a flathead screwdriver, or a pry tool, to unclip the control panel from the chassis.

    Demander à FixBot

    Ajouter un commentaire

  11. LG Front Load Washing Machine Pump Hose Replacement, Remove the control panel: étape 11, image 1 de 3 LG Front Load Washing Machine Pump Hose Replacement, Remove the control panel: étape 11, image 2 de 3 LG Front Load Washing Machine Pump Hose Replacement, Remove the control panel: étape 11, image 3 de 3
    • Remove the control panel, making sure to thread any cables through the chassis.

    Demander à FixBot

    Ajouter un commentaire

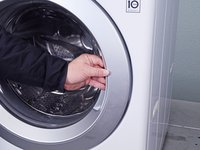
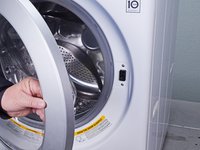
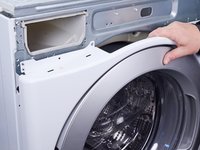
  12. LG Front Load Washing Machine Pump Hose Replacement, Open the door: étape 12, image 1 de 2 LG Front Load Washing Machine Pump Hose Replacement, Open the door: étape 12, image 2 de 2
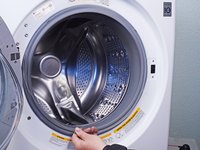
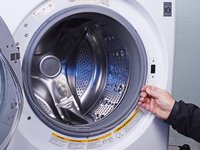
    • Open the front door completely.

    Demander à FixBot

    Ajouter un commentaire

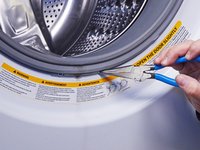
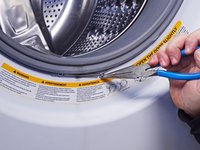
  13. LG Front Load Washing Machine Pump Hose Replacement, Remove the boot ring: étape 13, image 1 de 3 LG Front Load Washing Machine Pump Hose Replacement, Remove the boot ring: étape 13, image 2 de 3 LG Front Load Washing Machine Pump Hose Replacement, Remove the boot ring: étape 13, image 3 de 3
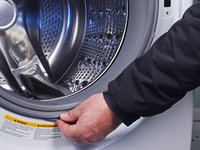
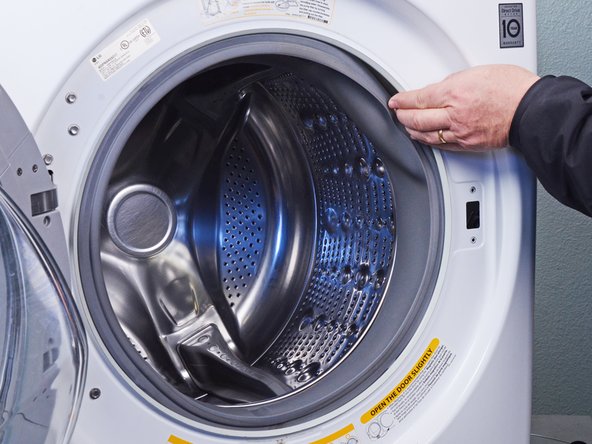
    • Use needle nose pliers to grip the spring end of the metal ring at the bottom of the rubber boot.

    • Pull the ring away from the chassis to separate it from the boot.

    Demander à FixBot

    Ajouter un commentaire

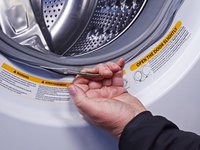
  14. LG Front Load Washing Machine Pump Hose Replacement: étape 14, image 1 de 3 LG Front Load Washing Machine Pump Hose Replacement: étape 14, image 2 de 3 LG Front Load Washing Machine Pump Hose Replacement: étape 14, image 3 de 3
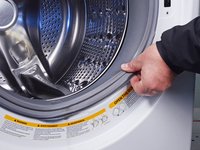
    • Use your hand to completely pull the ring off the boot.

    • During reassembly, perform the following:

    • Insert one end of the ring into its groove along the boot's perimeter.

    • Use pliers to slowly stretch the ring around the boot's perimeter until it's completely nested in its groove.

    • Be sure the spring is centered at the bottom of the boot when you reinstall it.

    • This procedure will take significant force.

    Demander à FixBot

    Ajouter un commentaire

  15. LG Front Load Washing Machine Pump Hose Replacement, Disconnect the boot: étape 15, image 1 de 3 LG Front Load Washing Machine Pump Hose Replacement, Disconnect the boot: étape 15, image 2 de 3 LG Front Load Washing Machine Pump Hose Replacement, Disconnect the boot: étape 15, image 3 de 3
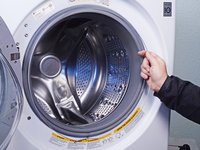
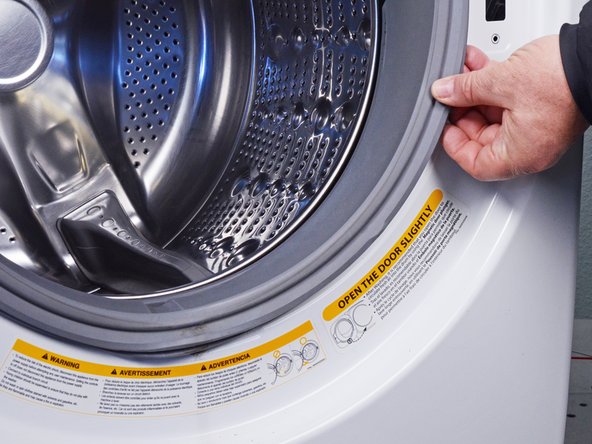
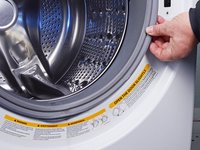
    • Use your fingers to pull the boot off its lip on the front panel.

    Demander à FixBot

    Ajouter un commentaire

  16. LG Front Load Washing Machine Pump Hose Replacement: étape 16, image 1 de 3 LG Front Load Washing Machine Pump Hose Replacement: étape 16, image 2 de 3 LG Front Load Washing Machine Pump Hose Replacement: étape 16, image 3 de 3
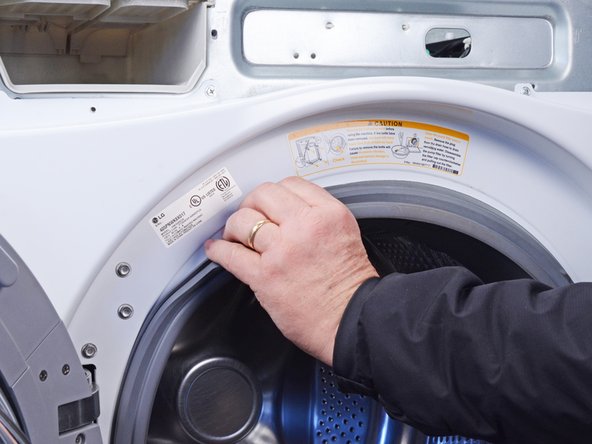
    • Slide your fingers around the lip of the boot until it's completely separated from the panel.

    Demander à FixBot

    Ajouter un commentaire

  17. LG Front Load Washing Machine Pump Hose Replacement, Remove the filter panel: étape 17, image 1 de 3 LG Front Load Washing Machine Pump Hose Replacement, Remove the filter panel: étape 17, image 2 de 3 LG Front Load Washing Machine Pump Hose Replacement, Remove the filter panel: étape 17, image 3 de 3
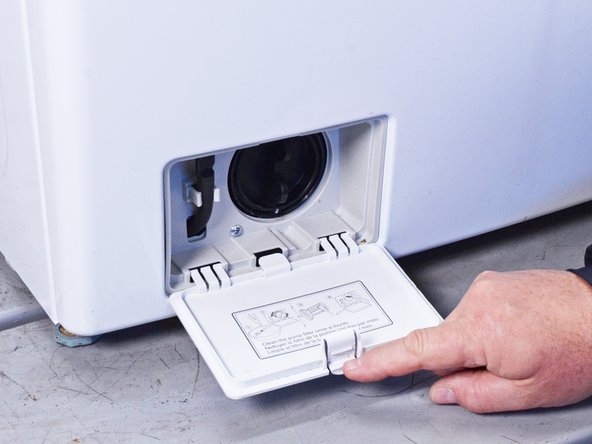
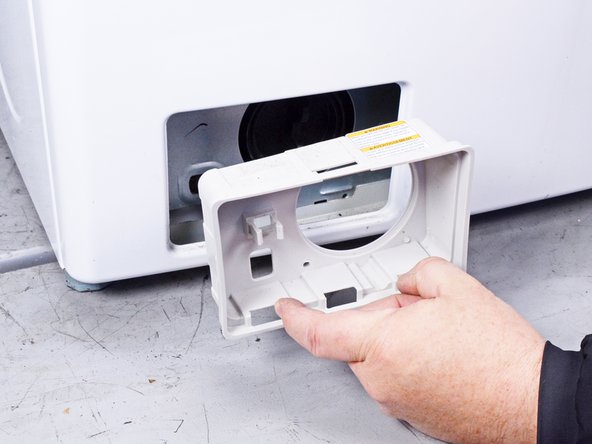
    • Open the filter panel at the bottom of the front panel.

    • Unclip the filter panel.

    Demander à FixBot

    Ajouter un commentaire

  18. LG Front Load Washing Machine Pump Hose Replacement, Drain the machine: étape 18, image 1 de 3 LG Front Load Washing Machine Pump Hose Replacement, Drain the machine: étape 18, image 2 de 3 LG Front Load Washing Machine Pump Hose Replacement, Drain the machine: étape 18, image 3 de 3
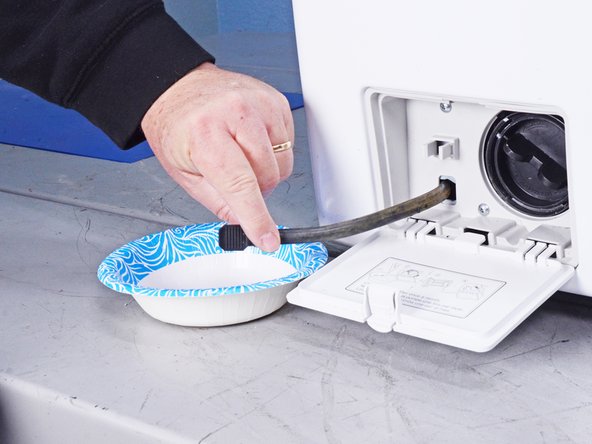
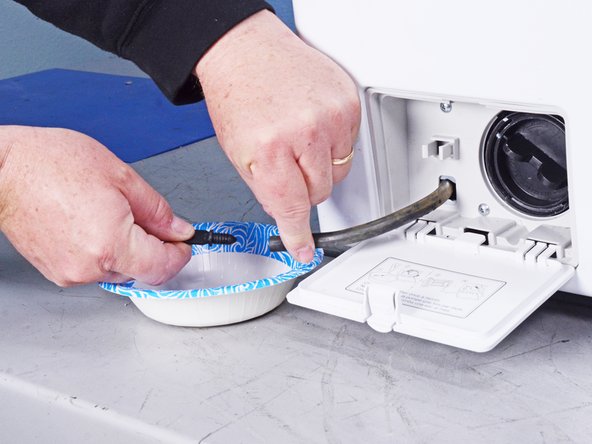
    • Generally, you should drain your machine when you are repairing the pumps or any hoses leading to or from them.

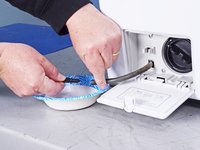
    • Place a bowl next to the machine.

    • Pull the drain filter hose out of its slot in the chassis enough to lay over the bowl.

    • Remove the plug at the end of the drain filter hose to release excess water into the bowl.

    • During reassembly, re-plug the drain filter hose and thread it back through its slot in the chassis.

    Demander à FixBot

    Ajouter un commentaire

  19. LG Front Load Washing Machine Pump Hose Replacement, Unfasten the filter trim: étape 19, image 1 de 1
    • Remove the screw(s) securing the filter trim.

    Demander à FixBot

    Ajouter un commentaire

  20. LG Front Load Washing Machine Pump Hose Replacement, Remove the filter trim: étape 20, image 1 de 2 LG Front Load Washing Machine Pump Hose Replacement, Remove the filter trim: étape 20, image 2 de 2
    • Pull the filter trim straight off the front panel to remove it.

    Demander à FixBot

    Ajouter un commentaire

  21. LG Front Load Washing Machine Pump Hose Replacement, Unfasten the lower front panel: étape 21, image 1 de 1
    • Remove the screw(s) securing the lower front panel.

    Demander à FixBot

    Ajouter un commentaire

  22. LG Front Load Washing Machine Pump Hose Replacement, Unfasten the door latch: étape 22, image 1 de 1
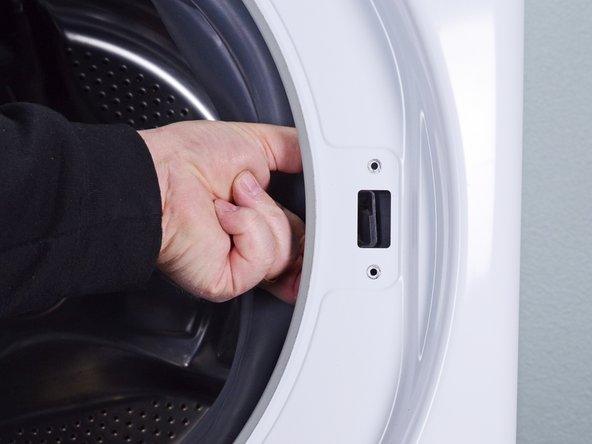
    • Remove the screw(s) securing the door latch.

    Demander à FixBot

    Ajouter un commentaire

  23. LG Front Load Washing Machine Pump Hose Replacement, Remove the door latch: étape 23, image 1 de 3 LG Front Load Washing Machine Pump Hose Replacement, Remove the door latch: étape 23, image 2 de 3 LG Front Load Washing Machine Pump Hose Replacement, Remove the door latch: étape 23, image 3 de 3
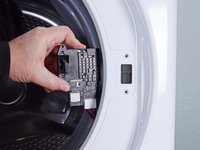
    • Pull the door latch through its slot in the chassis and let it hang on its wire.

    Demander à FixBot

    Ajouter un commentaire

  24. LG Front Load Washing Machine Pump Hose Replacement, Unfasten the front panel: étape 24, image 1 de 3 LG Front Load Washing Machine Pump Hose Replacement, Unfasten the front panel: étape 24, image 2 de 3 LG Front Load Washing Machine Pump Hose Replacement, Unfasten the front panel: étape 24, image 3 de 3
    • Hold the front panel against the chassis while performing this step to prevent it from falling.

    • Remove the screw(s) securing the front panel.

    Demander à FixBot

    Ajouter un commentaire

  25. LG Front Load Washing Machine Pump Hose Replacement, Remove the front panel: étape 25, image 1 de 3 LG Front Load Washing Machine Pump Hose Replacement, Remove the front panel: étape 25, image 2 de 3 LG Front Load Washing Machine Pump Hose Replacement, Remove the front panel: étape 25, image 3 de 3
    • Lift the front panel upward to separate it from its clips on the bottom of the chassis.

    • Pull the front panel away from the chassis to completely separate the front panel.

    Demander à FixBot

    Ajouter un commentaire

  26. LG Front Load Washing Machine Pump Hose Replacement: étape 26, image 1 de 1
    • Remove the front panel.

    Demander à FixBot

    Ajouter un commentaire

  27. LG Front Load Washing Machine Pump Hose Replacement, Disconnect the tub to pump hose: étape 27, image 1 de 3 LG Front Load Washing Machine Pump Hose Replacement, Disconnect the tub to pump hose: étape 27, image 2 de 3 LG Front Load Washing Machine Pump Hose Replacement, Disconnect the tub to pump hose: étape 27, image 3 de 3
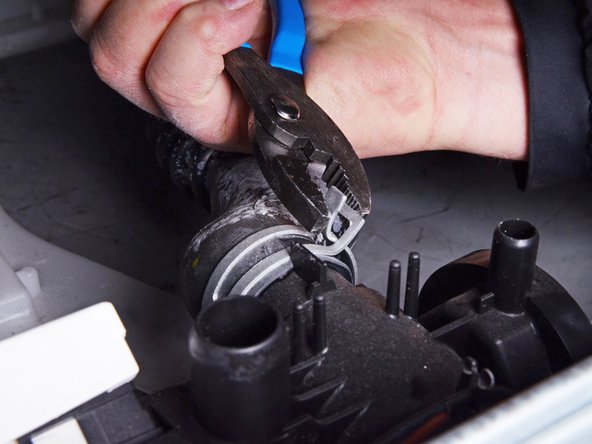
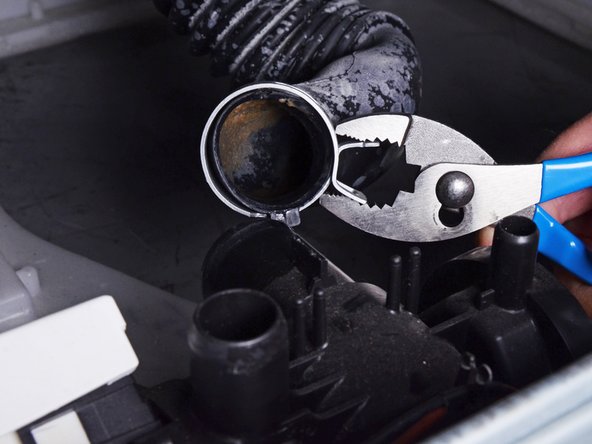
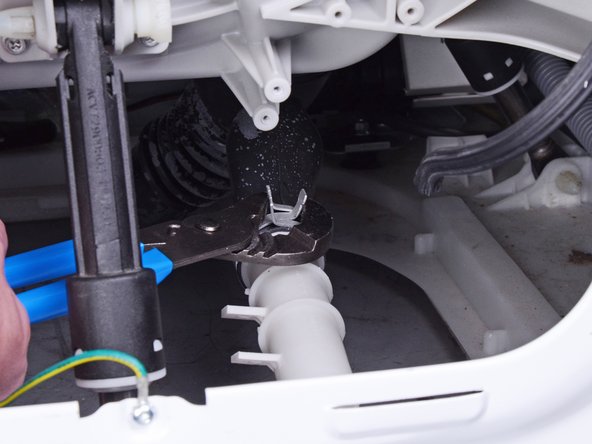
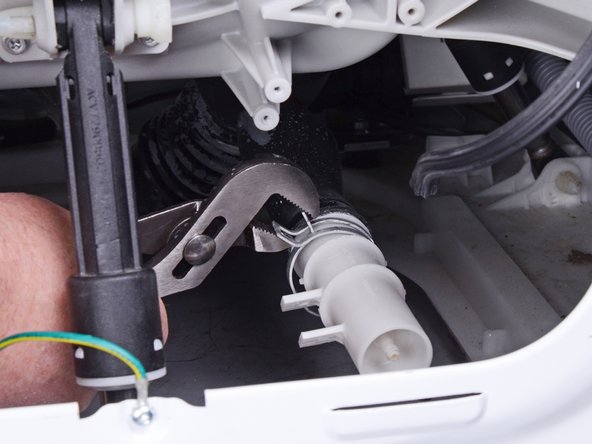
    • Use slip joint pliers to pinch the tub to pump hose clamp and pull it away from the assembly.

    • Pull the hose straight off the assembly to disconnect it.

    Demander à FixBot

    Ajouter un commentaire

  28. LG Front Load Washing Machine Pump Hose Replacement, Unfasten the rear panel: étape 28, image 1 de 3 LG Front Load Washing Machine Pump Hose Replacement, Unfasten the rear panel: étape 28, image 2 de 3 LG Front Load Washing Machine Pump Hose Replacement, Unfasten the rear panel: étape 28, image 3 de 3
    • Remove the screw(s) securing the rear panel.

    Demander à FixBot

    Ajouter un commentaire

  29. LG Front Load Washing Machine Pump Hose Replacement, Remove the rear panel: étape 29, image 1 de 3 LG Front Load Washing Machine Pump Hose Replacement, Remove the rear panel: étape 29, image 2 de 3 LG Front Load Washing Machine Pump Hose Replacement, Remove the rear panel: étape 29, image 3 de 3
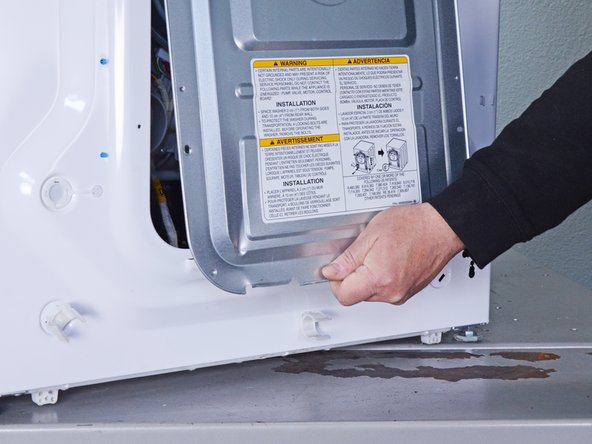
    • Unclip the rear panel from the chassis.

    Demander à FixBot

    Ajouter un commentaire

  30. LG Front Load Washing Machine Pump Hose Replacement: étape 30, image 1 de 1
    • Remove the rear panel.

    Demander à FixBot

    Ajouter un commentaire

  31. LG Front Load Washing Machine Pump Hose Replacement, Disconnect the air dome: étape 31, image 1 de 2 LG Front Load Washing Machine Pump Hose Replacement, Disconnect the air dome: étape 31, image 2 de 2
    • Pull the hose straight off the air dome hose to disconnect it.

    Demander à FixBot

    Ajouter un commentaire

  32. LG Front Load Washing Machine Pump Hose Replacement, Unfasten the air dome: étape 32, image 1 de 1
    • Remove the screw(s) securing the air dome.

    Demander à FixBot

    Ajouter un commentaire

  33. LG Front Load Washing Machine Pump Hose Replacement: étape 33, image 1 de 3 LG Front Load Washing Machine Pump Hose Replacement: étape 33, image 2 de 3 LG Front Load Washing Machine Pump Hose Replacement: étape 33, image 3 de 3
    • Use slip joint pliers to pinch the air dome hose clamp and pull it over the dome itself.

    Demander à FixBot

    Ajouter un commentaire

  34. LG Front Load Washing Machine Pump Hose Replacement, Remove the air dome: étape 34, image 1 de 2 LG Front Load Washing Machine Pump Hose Replacement, Remove the air dome: étape 34, image 2 de 2
    • Pull the air dome straight off its hose to remove it.

    Demander à FixBot

    Ajouter un commentaire

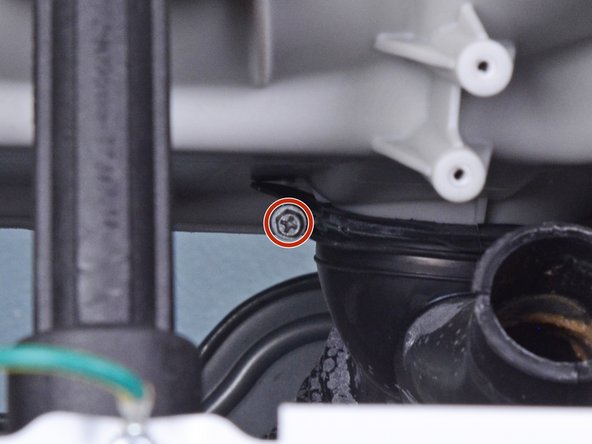
  35. LG Front Load Washing Machine Pump Hose Replacement, Loosen the pump hose: étape 35, image 1 de 2 LG Front Load Washing Machine Pump Hose Replacement, Loosen the pump hose: étape 35, image 2 de 2
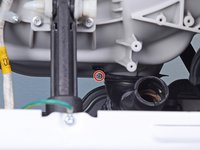
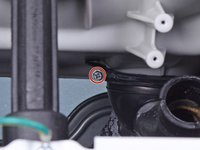
    • Use a Phillips driver to loosen the pump hose from the drum enough to disconnect it.

    Demander à FixBot

    Ajouter un commentaire

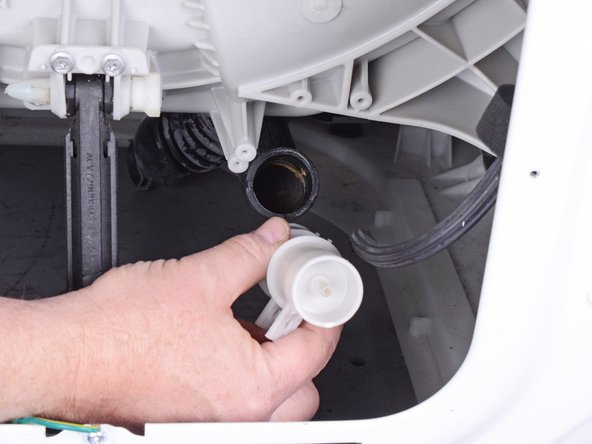
  36. LG Front Load Washing Machine Pump Hose Replacement, Disconnect the pump hose: étape 36, image 1 de 2 LG Front Load Washing Machine Pump Hose Replacement, Disconnect the pump hose: étape 36, image 2 de 2
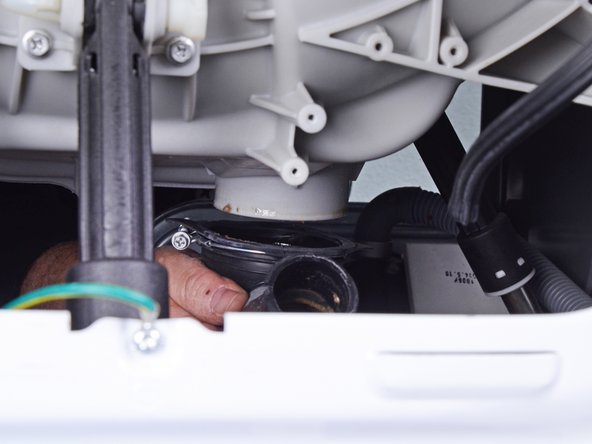
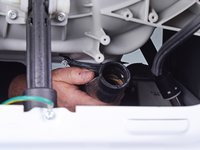
    • Pull the pump hose straight off the drum to disconnect it.

    Demander à FixBot

    Ajouter un commentaire

  37. LG Front Load Washing Machine Pump Hose Replacement, Remove the pump hose: étape 37, image 1 de 1
    • Remove the pump hose.

    • During reassembly, use liquid laundry detergent to lubricate the hose around its tub connection.

    Demander à FixBot

    Ajouter un commentaire

Conclusion

To reassemble your device, follow these instructions in reverse order.

Annulation : je n'ai pas terminé ce tutoriel.

Bill Gilbert

Membre depuis le 06/30/22

40 137 Réputation

261 tutoriels rédigés

Équipe

iFixit Membre de l'équipe iFixit

Staff

123 membres

28 236 tutoriels rédigés

0 commentaires de tutoriel

Ajouter un commentaire

Nombre de vues :

Dernières 24 heures : 5

7 derniers jours : 14

30 derniers jours : 103

Total : 2,518