Aller au contenu principal

Lenovo ThinkPad T480s Coin Cell Battery Replacement

Ce dont vous avez besoin

  1. Lenovo ThinkPad T480s Coin Cell Battery Replacement, Bottom Cover: étape 1, image 1 de 2 Lenovo ThinkPad T480s Coin Cell Battery Replacement, Bottom Cover: étape 1, image 2 de 2
    • Disable the battery, power down the device, and unplug the power adapter from your device before proceeding/beginning the guide.

    • Loosen the six captive screws with a Phillips #1 screwdriver.

  2. Lenovo ThinkPad T480s Coin Cell Battery Replacement: étape 2, image 1 de 3 Lenovo ThinkPad T480s Coin Cell Battery Replacement: étape 2, image 2 de 3 Lenovo ThinkPad T480s Coin Cell Battery Replacement: étape 2, image 3 de 3
    • Remove the bottom cover with an opening tool.

    • Start from the top edge near the hinge and work your way along the edge until all of the clips are unsnapped.

  3. Lenovo ThinkPad T480s Coin Cell Battery Replacement: étape 3, image 1 de 2 Lenovo ThinkPad T480s Coin Cell Battery Replacement: étape 3, image 2 de 2
    • Lift the bottom cover off.

  4. Lenovo ThinkPad T480s Coin Cell Battery Replacement, Battery: étape 4, image 1 de 2 Lenovo ThinkPad T480s Coin Cell Battery Replacement, Battery: étape 4, image 2 de 2
    • Use the Phillips #1 screwdriver to remove four 4.5mm screws that hold the battery down to the mid frame.

  5. Lenovo ThinkPad T480s Coin Cell Battery Replacement: étape 5, image 1 de 3 Lenovo ThinkPad T480s Coin Cell Battery Replacement: étape 5, image 2 de 3 Lenovo ThinkPad T480s Coin Cell Battery Replacement: étape 5, image 3 de 3
    • Lift the battery near the connector and remove it from the system.

  6. Lenovo ThinkPad T480s Coin Cell Battery Replacement, Speaker: étape 6, image 1 de 3 Lenovo ThinkPad T480s Coin Cell Battery Replacement, Speaker: étape 6, image 2 de 3 Lenovo ThinkPad T480s Coin Cell Battery Replacement, Speaker: étape 6, image 3 de 3
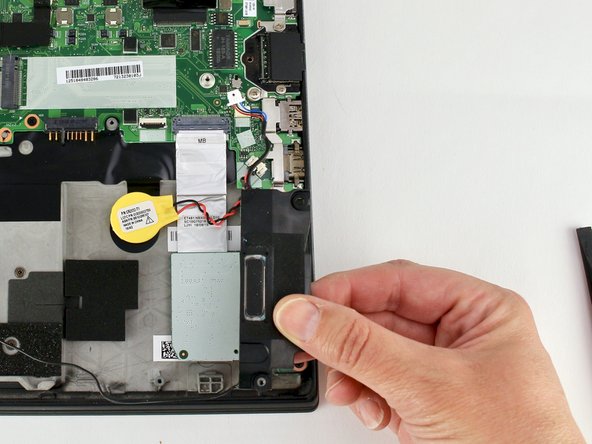
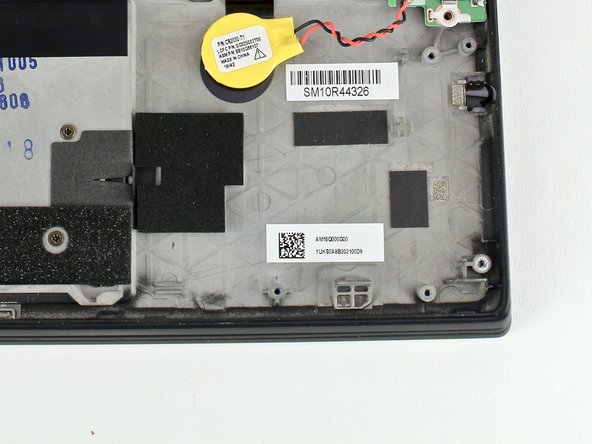
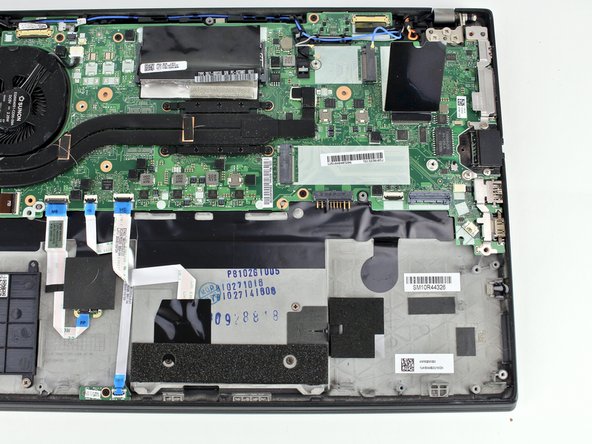
    • Disconnect the speaker cable from the motherboard using a connector puller or spudger.

  7. Lenovo ThinkPad T480s Coin Cell Battery Replacement: étape 7, image 1 de 2 Lenovo ThinkPad T480s Coin Cell Battery Replacement: étape 7, image 2 de 2
    • Using a Phillips #1 screwdriver, remove two 4.8 mm screws from the speaker on the right side.

  8. Lenovo ThinkPad T480s Coin Cell Battery Replacement: étape 8, image 1 de 3 Lenovo ThinkPad T480s Coin Cell Battery Replacement: étape 8, image 2 de 3 Lenovo ThinkPad T480s Coin Cell Battery Replacement: étape 8, image 3 de 3
    • Using a Phillips #1 screwdriver, remove two 4.8 mm screws from the speaker on the left side.

  9. Lenovo ThinkPad T480s Coin Cell Battery Replacement: étape 9, image 1 de 3 Lenovo ThinkPad T480s Coin Cell Battery Replacement: étape 9, image 2 de 3 Lenovo ThinkPad T480s Coin Cell Battery Replacement: étape 9, image 3 de 3
    • Use the spudger to disconnect the hall sensor connector.

  10. Lenovo ThinkPad T480s Coin Cell Battery Replacement: étape 10, image 1 de 3 Lenovo ThinkPad T480s Coin Cell Battery Replacement: étape 10, image 2 de 3 Lenovo ThinkPad T480s Coin Cell Battery Replacement: étape 10, image 3 de 3
    • Lift the speakers up.

    • Disconnect the cable speakers from the routing.

    • Remove the speakers from the system.

  11. Lenovo ThinkPad T480s Coin Cell Battery Replacement, SD Card Reader/Audio Card: étape 11, image 1 de 3 Lenovo ThinkPad T480s Coin Cell Battery Replacement, SD Card Reader/Audio Card: étape 11, image 2 de 3 Lenovo ThinkPad T480s Coin Cell Battery Replacement, SD Card Reader/Audio Card: étape 11, image 3 de 3
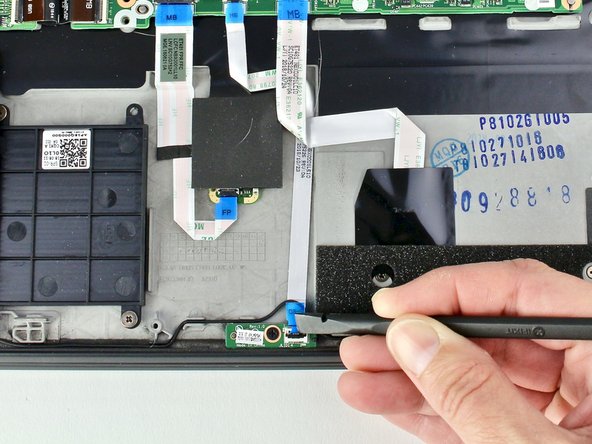
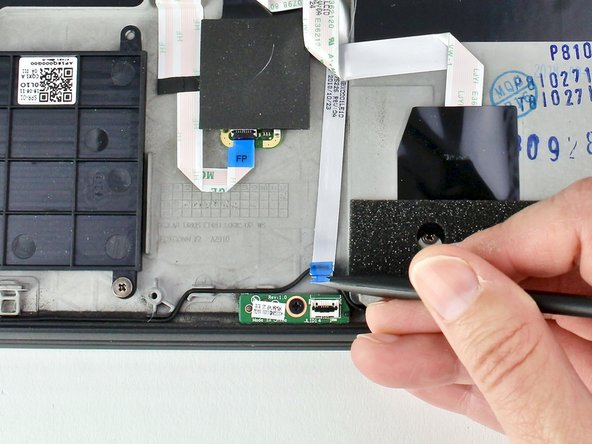
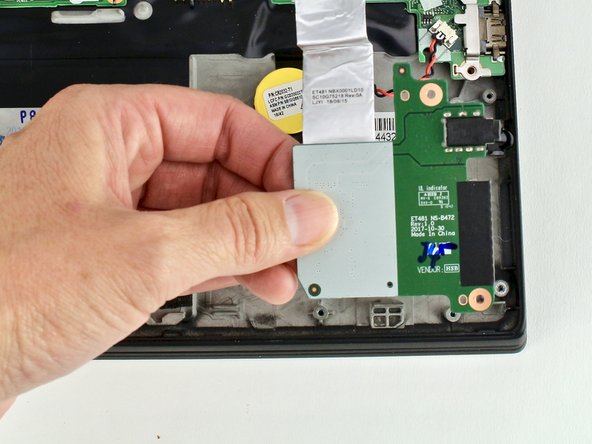
    • Use a spudger to lift up the retaining flap on the SD card reader/audio card connector.

  12. Lenovo ThinkPad T480s Coin Cell Battery Replacement: étape 12, image 1 de 2 Lenovo ThinkPad T480s Coin Cell Battery Replacement: étape 12, image 2 de 2
    • Use the spudger to remove the cable from the connector.

    • The cable is attached to the board with adhesive so you will need to peel the cable up.

  13. Lenovo ThinkPad T480s Coin Cell Battery Replacement: étape 13, image 1 de 2 Lenovo ThinkPad T480s Coin Cell Battery Replacement: étape 13, image 2 de 2
    • Use the Phillips #1 screwdriver to remove two 3.1 mm screws from the card.

  14. Lenovo ThinkPad T480s Coin Cell Battery Replacement: étape 14, image 1 de 3 Lenovo ThinkPad T480s Coin Cell Battery Replacement: étape 14, image 2 de 3 Lenovo ThinkPad T480s Coin Cell Battery Replacement: étape 14, image 3 de 3
    • Lift the SD card reader/audio card from the system by sliding it out from the socket.

    • You will need to slide the audio card ribbon cable under the coin cell battery cable to remove the SD card reader from the system.

  15. Lenovo ThinkPad T480s Coin Cell Battery Replacement, Coin Cell Battery: étape 15, image 1 de 3 Lenovo ThinkPad T480s Coin Cell Battery Replacement, Coin Cell Battery: étape 15, image 2 de 3 Lenovo ThinkPad T480s Coin Cell Battery Replacement, Coin Cell Battery: étape 15, image 3 de 3
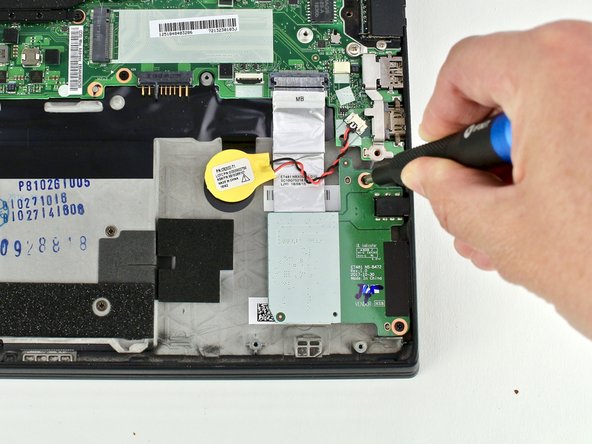
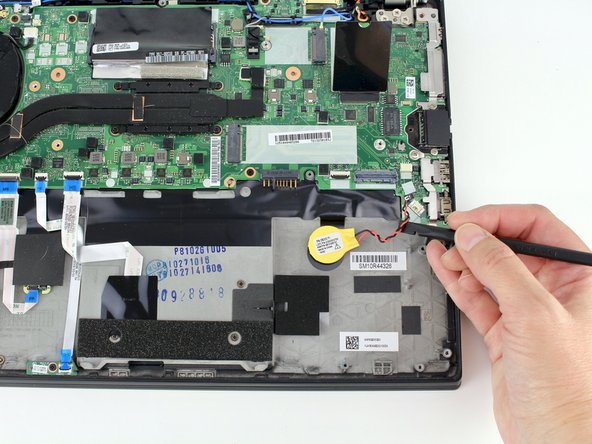
    • Use a connector puller or spudger to disconnect the coin cell cable from the system board.

  16. Lenovo ThinkPad T480s Coin Cell Battery Replacement: étape 16, image 1 de 3 Lenovo ThinkPad T480s Coin Cell Battery Replacement: étape 16, image 2 de 3 Lenovo ThinkPad T480s Coin Cell Battery Replacement: étape 16, image 3 de 3
    • Use the spudger to pry the coin cell battery up from the frame.

    • When reassembling, you may need to apply adhesive to the battery so it sticks to the motherboard.

Conclusion

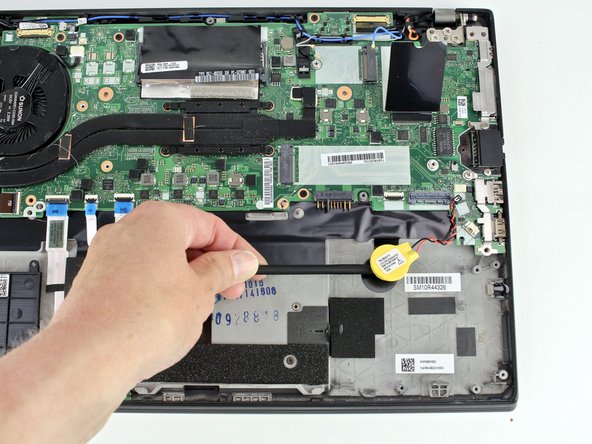
To reassemble your device, follow these instructions in reverse order.

Take your e-waste to an R2 or e-Stewards certified recycler.

Repair didn’t go as planned? Try some basic troubleshooting, or ask our Answers community for help.

Sarah Westberg

Membre depuis le 03/11/19

23 194 Réputation

70 tutoriels rédigés

Équipe

iFixit Membre de l'équipe iFixit

Staff

135 membres

17 146 tutoriels rédigés

0 commentaires

Ajouter un commentaire

Nombre de vues :

Dernières 24 heures : 2

7 derniers jours : 17

30 derniers jours : 97

Total : 2,147