Aller au contenu principal
Pour réparer ensemble - Je crée un compte

Linsay Model F-7HD2CORE Screen Replacement

Ce dont vous avez besoin

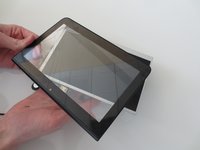
    1. Linsay Model F-7HD2CORE Screen Replacement, Screen: étape 1, image 1 de 3 Linsay Model F-7HD2CORE Screen Replacement, Screen: étape 1, image 2 de 3 Linsay Model F-7HD2CORE Screen Replacement, Screen: étape 1, image 3 de 3
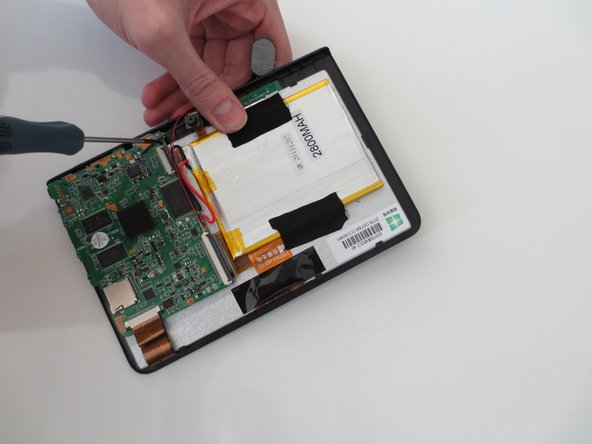
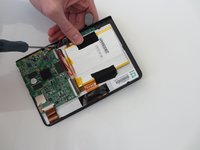
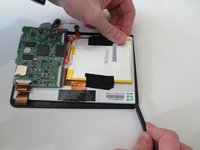
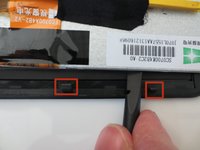
      • Insert your plastic opening tool in between the black and white portions of your device.

      • Gently pry the top screen from the base of the tablet.

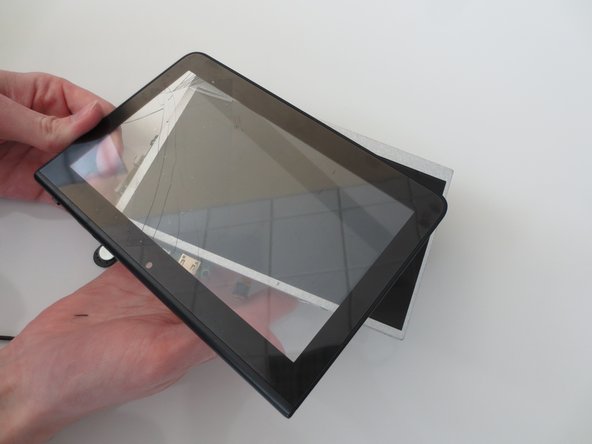
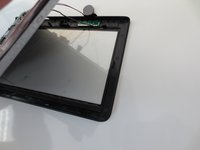
      • Your tablet should now look like the third photo.

      Demander à FixBot

      Ajouter un commentaire

    2. Linsay Model F-7HD2CORE Screen Replacement: étape 2, image 1 de 2 Linsay Model F-7HD2CORE Screen Replacement: étape 2, image 2 de 2
      • Peel the microphone from the back of the device.

      Demander à FixBot

      Ajouter un commentaire

    3. Linsay Model F-7HD2CORE Screen Replacement: étape 3, image 1 de 1
      • Remove the tape from the indicated copper strip.

      Demander à FixBot

      Ajouter un commentaire

    4. Linsay Model F-7HD2CORE Screen Replacement: étape 4, image 1 de 2 Linsay Model F-7HD2CORE Screen Replacement: étape 4, image 2 de 2
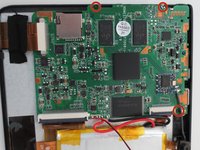
      • Use your 00 phillips head screwdriver to remove the three 4mm phillips screws circled in red.

      Demander à FixBot

      Ajouter un commentaire

    5. Linsay Model F-7HD2CORE Screen Replacement: étape 5, image 1 de 1
      • Remove the soldered portion of the circuit board on the screen.

      • You will need a soldering kit to reattach this part.

      Demander à FixBot

      Ajouter un commentaire

    6. Linsay Model F-7HD2CORE Screen Replacement: étape 6, image 1 de 2 Linsay Model F-7HD2CORE Screen Replacement: étape 6, image 2 de 2
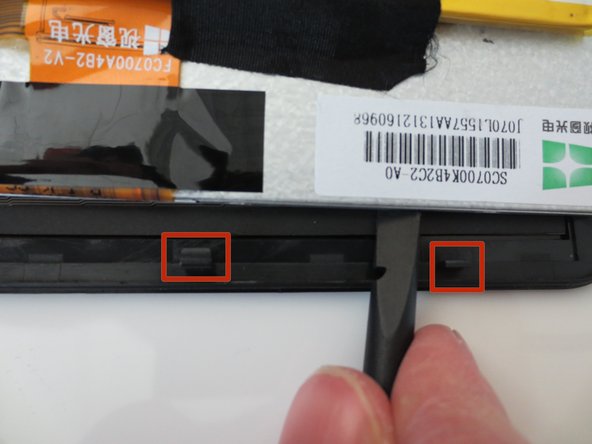
      • Use the blunt end of the spudger to remove the circuit panel and battery from the glass screen portion of the device.

      • There will be several small hooks holding the screen onto the back panel.

      Demander à FixBot

      Ajouter un commentaire

    7. Linsay Model F-7HD2CORE Screen Replacement: étape 7, image 1 de 2 Linsay Model F-7HD2CORE Screen Replacement: étape 7, image 2 de 2
      • Gently pull the two pieces of the tablet apart.

      • Your tablet should now look like image two.

      • You are now ready to attach your new screen!

      Demander à FixBot

      Ajouter un commentaire

Conclusion

To reassemble your device, follow these instructions in reverse order.

Annulation : je n'ai pas terminé ce tutoriel.

3 autres ont terminé cette réparation.

Lindsay Byrnes

Membre depuis le 01/28/15

495 Réputation

2 tutoriels rédigés

Équipe

Penn State, Team 1-5, Kaschak Winter 2015 Membre de l'équipe Penn State, Team 1-5, Kaschak Winter 2015

PSU-KASCHAK-W15S1G5

3 membres

2 tutoriels rédigés

1 commentaire de tutoriel

Excellent work!

Glen Lind - Réponse Partager

Ajouter un commentaire

Nombre de vues :

Dernières 24 heures : 2

7 derniers jours : 8

30 derniers jours : 41

Total : 1,673