Cette traduction a été générée automatiquement et n’a pas encore fait l’objet d’une relecture humaine. Vous parlez cette langue ? Relisez-la.
Introduction
Accéder à la RAM nécessite le retrait du châssis interne.
Ce dont vous avez besoin
-
-
-
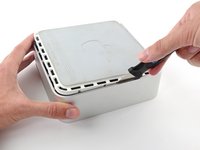
Éteignez votre Mac mini, déconnectez tous les câbles et retournez-le.
-
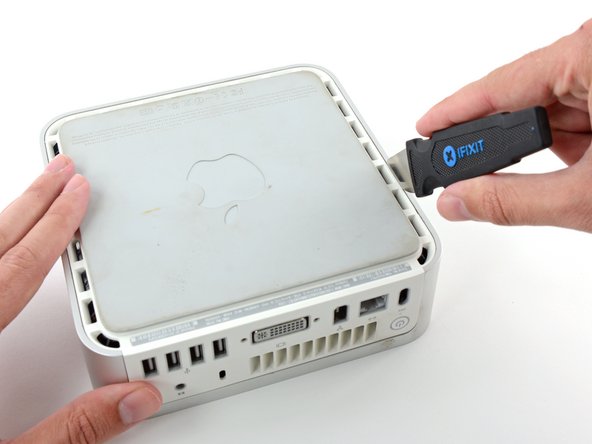
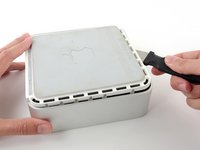
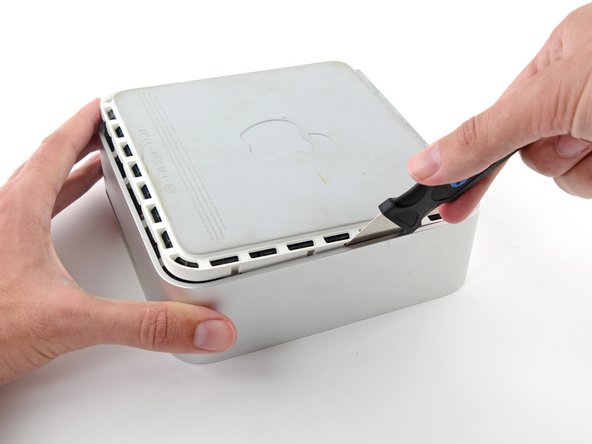
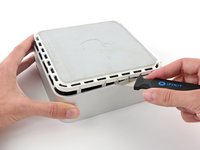
Insérez la spatule Jimmy dans la jointure entre l'aluminium du couvercle supérieur e de la partie inférieure en plastique.
-
La spatule doit s'enfoncer d'environ 9 mm.
 Demander à FixBot
-
-
-
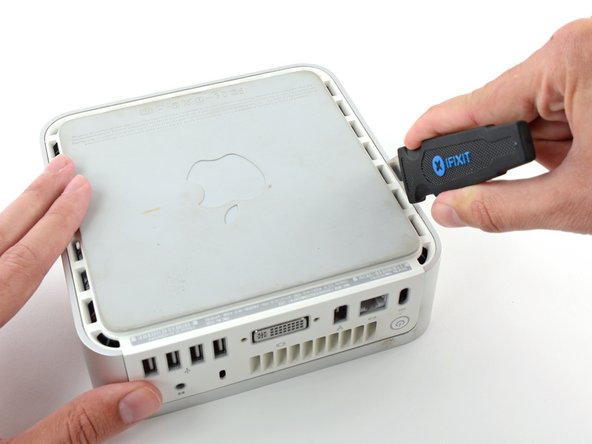
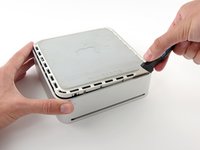
Penchez légèrement la spatule vers l'extérieur pour faire levier et élargir la fente et soulevez légèrement le boîtier inférieur.
-
-
-
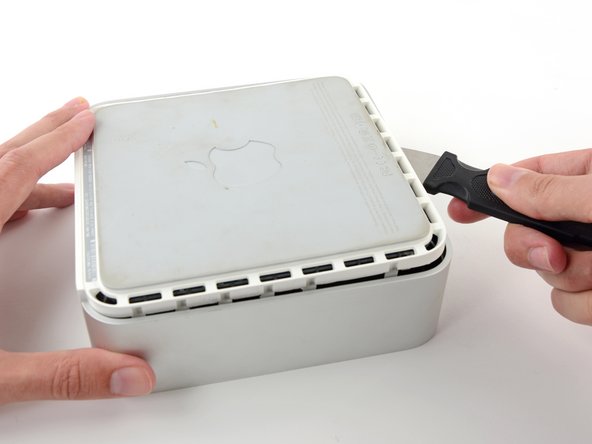
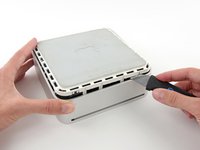
Une fois que vous avez libéré le premier côté, faites pivoter le Mac mini et commencez à faire levier sur le bord avant.
-
Utilisez le même mouvement de levier pour replier les clips vers l’intérieur et soulever le boîtier inférieur afin de le sortir du boîtier supérieur.
-
-
-
Vous devrez peut-être déplacer la spatule le long du bord pour ouvrir tous les clips. Soyez prudent et progressez petit à petit.
-
-
-
Continuez à travailler autour du périmètre, en détachant les clips le long du dernier bord.
-
-
-
-
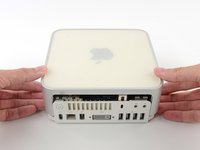
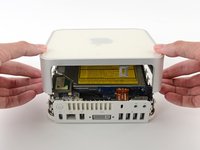
Retournez le Mac mini et soulevez le boîtier supérieur du boîtier inférieur.
-
-
-
-
-
Nous allons d'abord retirer l'antenne AirPort, située dans le coin inférieur gauche de cette image.
-
-
-
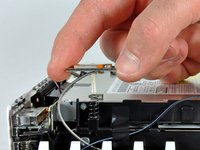
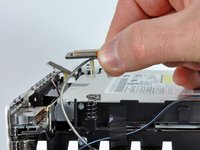
Pressez légèrement les deux onglets de retenue l'un vers l'autre et soulevez l'antenne AirPort de son emplacement.
-
-
-
Saisissez l'antenne Bluetooth le plus près du côté des ports de l'ordinateur, par les bords de la carte et soulevez-la tout droit vers le haut pour la retirer du cadre interne.
-
-
-
Retirez la carte d'antenne près de l'avant du Mini en la soulevant vers le haut pour la retirer du cadre interne.
-
Si nécessaire, retirez le morceau de ruban adhésif fixant les fils d'antenne au cadre interne.
-
-
-
Utilisez l'extrémité plate d'un spudger pour retirer le connecteur de la nappe audio de la carte audio.
-
-
-
Retirez les quatre vis suivantes, fixant le cadre interne au boîtier inférieur :
-
Trois vis cruciformes #00 de 6,7 mm
-
Une vis cruciforme #00 de 9,5 mm
-
-
-
Soulevez le cadre interne du boîtier inférieur, en commençant par le bord arrière, jusqu'à ce que vous sentiez que le connecteur caché dans le rebord de la carte mère se déconnecte. Ensuite, soulevez tout droit, en faisant attention aux câbles d'antenne Bluetooth et 802.11.
-
-
-
-
-
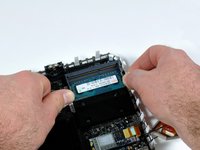
Écartez simultanément les languettes de verrouillage situées de chaque côté de la puce RAM. Ces languettes maintiennent la puce en place ; en les libérant, la puce se soulèvera toute seule.
-
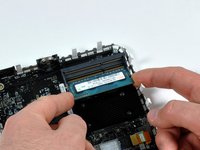
Tirez la puce RAM directement hors de son connecteur.
-
-











Pour remonter votre appareil, suivez ces instructions en sens inverse.
Annulation : je n'ai pas terminé ce tutoriel.
400 autres ont terminé cette réparation.

8 commentaires de tutoriel
Well done! Easy to follow and thorough! Took me 10 minutes start to finish!
You probably need to install Mac Mini EFI firmware update 1.2:
Wife has the Late 2009 Macmini (MM) originally with 2GB. We upgraded to 4GB a couple of years ago, and it has been running very slow with Yosemite (10.10.5) for far too long.
Ordered the 8GB upgrade kit and set for 2 day delivery. Bummer it came in 1 day via UPS. Thanks for the surprise iFixit. The tools were unnecessary for me (as I have most), but they are totally outstanding and the real deal. So I decided to use them all. ;)
The upgrade took about 15 min (even for this experienced Mac repair guy). Fired it up and the MM recognized all 8GB. It doesn’t scream, however, it is probably 2-3 times faster and can handle the amazing multi-takser that is my wife; 16 Safari pages, Mac Mail, Calendar, and 7 other apps open at all the same dang time. Thanks iFixit for the absolute best in repair universe parts, service, tech commitment, and guides.
It worked!!! Love it!!! The websites installation guide was very easy to understand. However, the small screwdriver that was shipped with the kit didn’t fit the screws for step-12, almost stripping the screws. luckily, I had another small screwdriver (for glasses) that worked.
Thank you ifixit!!! Totally worth it.
