Aller au contenu principal
Pour réparer ensemble - Je crée un compte

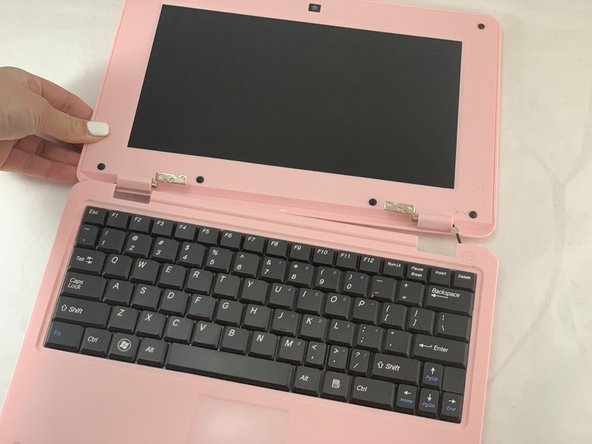
Maylong MN-1000P Screen Replacement

Ce dont vous avez besoin

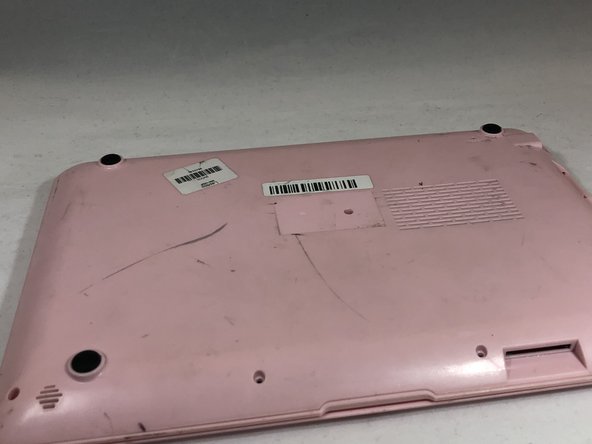
    1. Maylong MN-1000P Screen Replacement, Bottom Cover: étape 1, image 1 de 1
      • Place the netbook top down, with the opening of the netbook facing you.

      Demander à FixBot

      Ajouter un commentaire

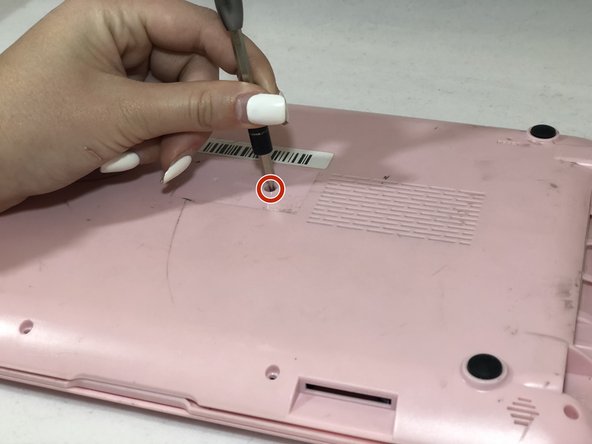
    2. Maylong MN-1000P Screen Replacement: étape 2, image 1 de 1
      • Remove the six 6mm Phillips #00 screws from the netbook.

      Demander à FixBot

      Ajouter un commentaire

    3. Maylong MN-1000P Screen Replacement: étape 3, image 1 de 3 Maylong MN-1000P Screen Replacement: étape 3, image 2 de 3 Maylong MN-1000P Screen Replacement: étape 3, image 3 de 3
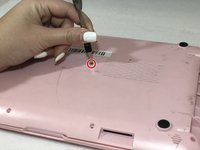
      • Remove the sticker in the middle of the netbook.

      • Remove the middle 6mm Phillips #00 screw.

      Demander à FixBot

      Ajouter un commentaire

    4. Maylong MN-1000P Screen Replacement: étape 4, image 1 de 1
      • Using two plastic opening tools, pry off the bottom of the netbook by going around the edges.

      Demander à FixBot

      Ajouter un commentaire

    5. Maylong MN-1000P Screen Replacement: étape 5, image 1 de 1
      • Remove the bottom of the netbook by lifting the corners.

      Demander à FixBot

      Ajouter un commentaire

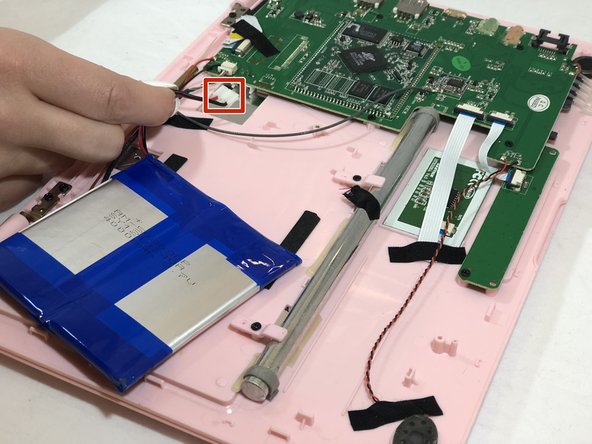
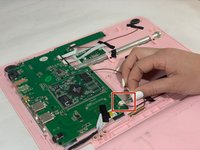
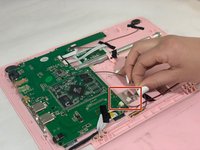
    1. Maylong MN-1000P Screen Replacement, Battery: étape 6, image 1 de 2 Maylong MN-1000P Screen Replacement, Battery: étape 6, image 2 de 2
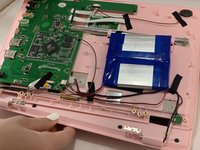
      • Pinch the red and black wires connected to the section closest to the small white connector, and pull to remove them from the motherboard.

      Demander à FixBot

      Ajouter un commentaire

    1. Maylong MN-1000P Screen Replacement, Screen: étape 7, image 1 de 1
      • Remove the six 6mm Phillips #00 screws from both sides of the netbook.

      Demander à FixBot

      Ajouter un commentaire

    2. Maylong MN-1000P Screen Replacement: étape 8, image 1 de 2 Maylong MN-1000P Screen Replacement: étape 8, image 2 de 2
      • Pull the top of the computer and the back side of the computer away from each other until they are detached.

      • Flip the entire computer over so you can see both the screen and keyboard.

      Demander à FixBot

      Ajouter un commentaire

    3. Maylong MN-1000P Screen Replacement: étape 9, image 1 de 2 Maylong MN-1000P Screen Replacement: étape 9, image 2 de 2
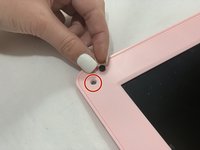
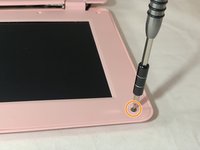
      • Remove all the black circular pads from around the screen.

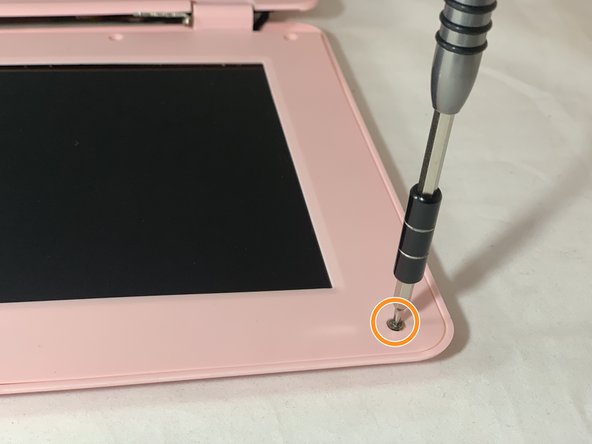
      • Remove all 6mm Phillips #00 screws from around the screen bezel.

      Demander à FixBot

      Ajouter un commentaire

    4. Maylong MN-1000P Screen Replacement: étape 10, image 1 de 1
      • Using a plastic opening tool, pry off the screen bezel.

      • After detaching the screen bezel, pull up on the bezel near the hinge area.

      Demander à FixBot

      Ajouter un commentaire

    5. Maylong MN-1000P Screen Replacement: étape 11, image 1 de 1
      Outil utilisé dans cette étape :
      Tweezers
      $4.99
      • Use tweezers to gently pull on the black and white wires at the top of the netbook until the white connector detaches.

      Demander à FixBot

      Ajouter un commentaire

    6. Maylong MN-1000P Screen Replacement: étape 12, image 1 de 1
      • Use your fingers to pull on the green, red, black, and white intertwined wires at the bottom of the netbook until the white connector detaches.

      Demander à FixBot

      Ajouter un commentaire

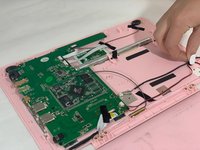
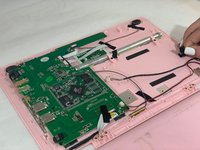
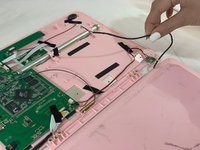
    7. Maylong MN-1000P Screen Replacement: étape 13, image 1 de 3 Maylong MN-1000P Screen Replacement: étape 13, image 2 de 3 Maylong MN-1000P Screen Replacement: étape 13, image 3 de 3
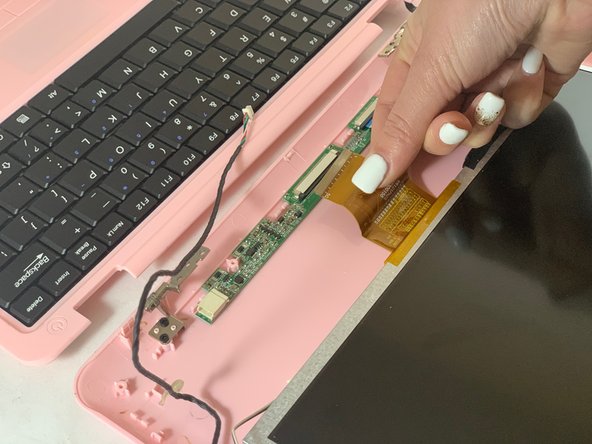
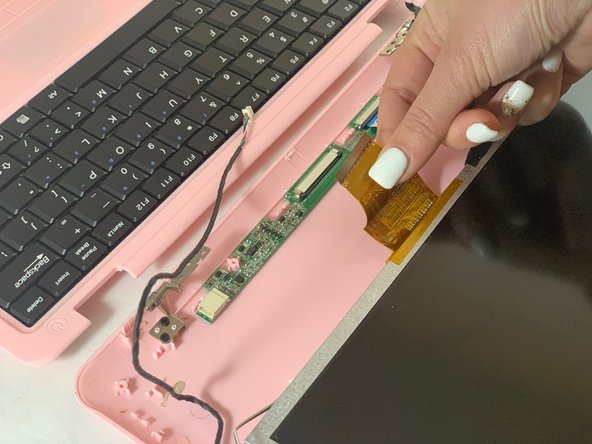
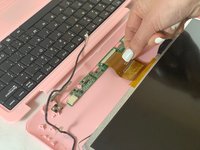
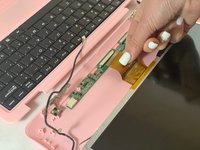
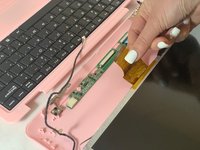
      • Detach the wide yellow ribbon cable connected to the screen from the computer.

      Demander à FixBot

      Ajouter un commentaire

    8. Maylong MN-1000P Screen Replacement: étape 14, image 1 de 2 Maylong MN-1000P Screen Replacement: étape 14, image 2 de 2
      • Flip the computer over.

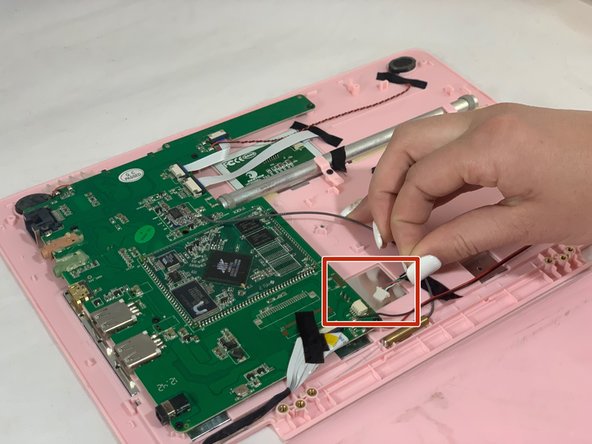
      • Disconnect the red, green, black, and white intertwined wires from the connector to the motherboard.

      Demander à FixBot

      Ajouter un commentaire

    9. Maylong MN-1000P Screen Replacement: étape 15, image 1 de 3 Maylong MN-1000P Screen Replacement: étape 15, image 2 de 3 Maylong MN-1000P Screen Replacement: étape 15, image 3 de 3
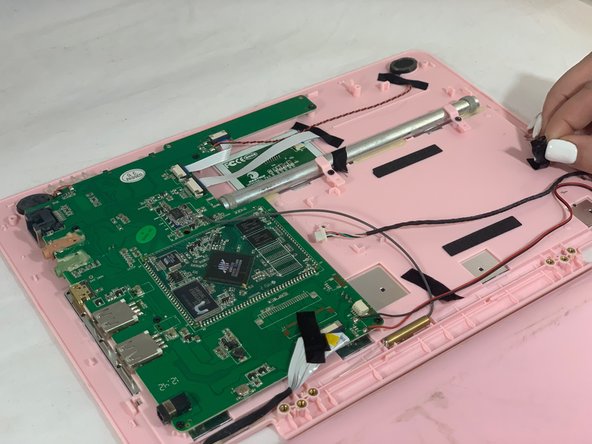
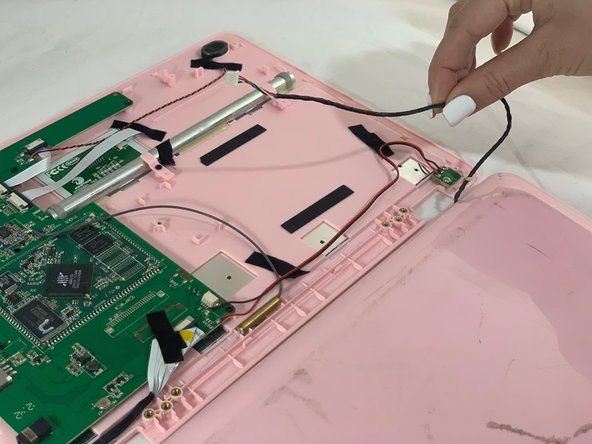
      • Remove the black tape holding down the red, green, black, and white intertwined wires.

      • Remove the screen.

      Demander à FixBot

      Ajouter un commentaire

Conclusion

To reassemble your device, follow these instructions in reverse order.

Annulation : je n'ai pas terminé ce tutoriel.

katelyn buckman

Membre depuis le 01/13/20

553 Réputation

5 tutoriels rédigés

0 commentaires de tutoriel

Ajouter un commentaire

Nombre de vues :

Dernières 24 heures : 0

7 derniers jours : 3

30 derniers jours : 19

Total : 389